Detailed Guide to Custom Closet Built-In Options
Closet Built-Ins That Fit Your Space and Your Wardrobe
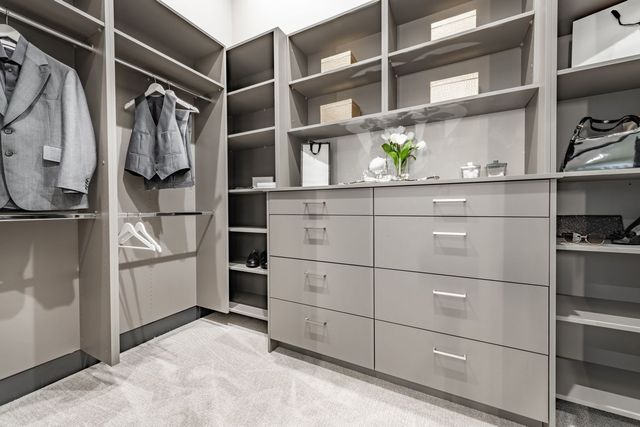
The best closet built-ins start with what you own, not a set of shelves. Count what needs to hang, fold, or go in drawers. Then measure the closet, check door clearance, and place everyday items within easy reach. A custom build gives you the most control over awkward spaces and finishes; a modular system can be a simpler starting point.
A good plan also accounts for the parts you cannot see at first glance: uneven walls, shelf support, and secure anchoring to wall studs. This guide covers those choices, from layout and materials to installation and the trim that makes the result feel like part of your home.
I'm David Alan, president of Pittsburgh-based Closets by David Alan. I work with clients on closet built ins for walk-ins, reach-ins, and other custom storage spaces, with a focus on design that fits both the wardrobe and the home.
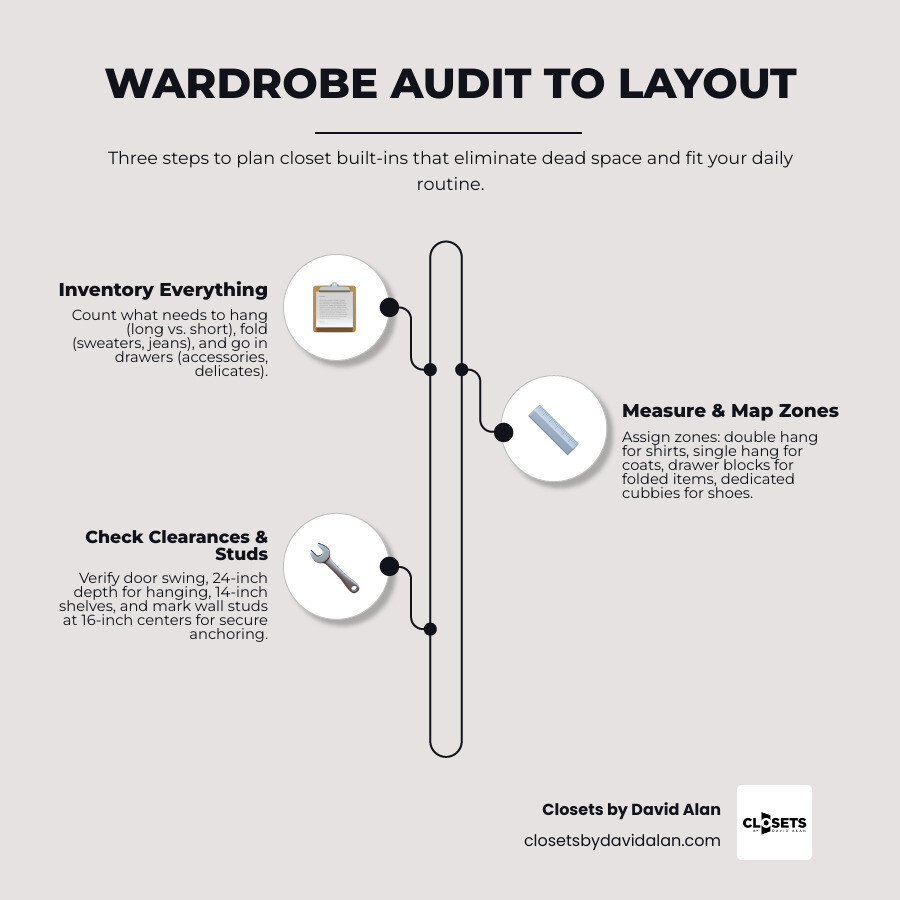
Planning and Measuring for Closet Built Ins
A successful built-in project never begins with a saw or a trip to the lumberyard; it begins with an honest inventory of your wardrobe. When we convert standard builder-grade closets into tailored storage spaces across Pittsburgh—from historic homes in Shadyside and Sewickley to newer builds in Cranberry Township—the goal is always the same: eliminating dead space while making daily routines effortless.
Designing Closet Built Ins Around Your Wardrobe Needs
Before taking a single dimension, empty your closet completely and perform a thorough wardrobe audit. Sort your clothing into distinct categories to establish functional storage zones:
- Long Hang: Formal dresses, evening gowns, long overcoats, and jumpsuits require roughly 60 to 66 inches of vertical hanging clearance.
- Medium Hang: Blazers, suits, midi dresses, and skirts generally require 40 to 48 inches of vertical drop.
- Double Hang: Button-down shirts, blouses, casual jackets, and folded-over trousers take up 38 to 40 inches per tier, letting you stack two rods vertically to double your hanging capacity.
- The Reach Zone: Position everyday essentials—work shirts, daily trousers, and primary accessories—between 30 and 65 inches from the floor so they remain at eye level.
- Drawer Placement: Built-in drawers are best positioned in the lower-to-middle section of a central tower to keep jewelry, undergarments, and rolled garments accessible without crouching.
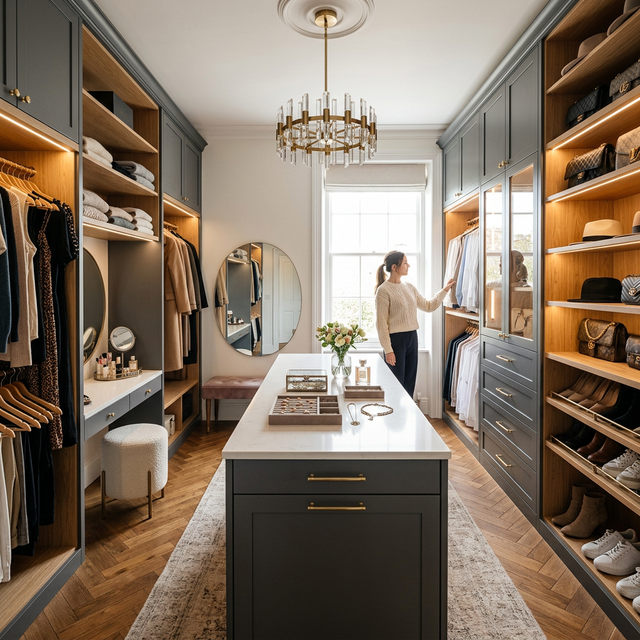
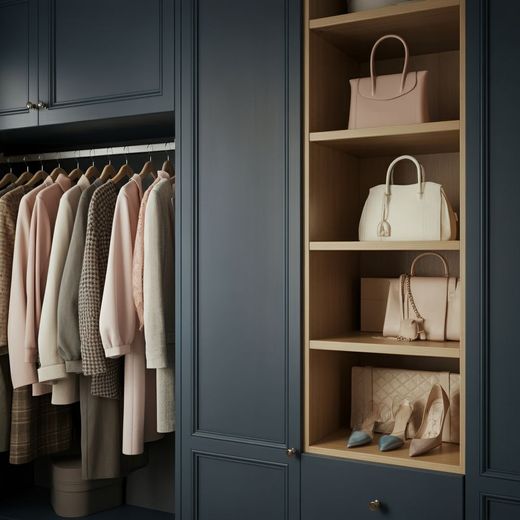
- Folded Items & Shoes: Bulky sweaters, denim, and shoe collections thrive on open, adjustable shelving. Flat shoe shelves need 12 inches of depth, while tilted display shelves with heel stops create an upscale boutique look.
For complex floor plans or unique architectural footprints, referencing custom wardrobe layout techniques can help you plan your zones systematically before cutting material.
Critical Dimensions, Clearances, and Spacing Rules
Precision framing clearances prevent everyday frustrations, such as hangers scraping drywall or wardrobe doors bumping into drawer pulls.
A standard reach-in closet requires a finished interior depth of at least 24 inches to allow standard 17- to 18-inch clothing hangers to swing freely without crushing garment shoulders against the door. Shelf towers within built-ins are typically built to a 14-inch depth for folded garments, while 12-inch depths suit dedicated shoe towers.
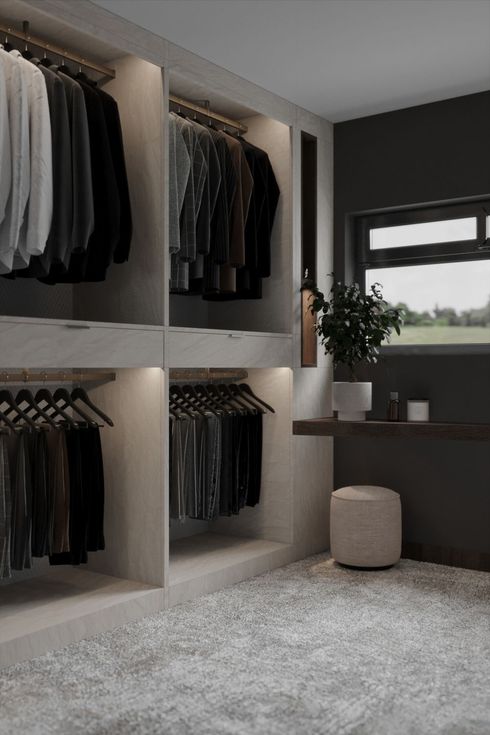
When planning double-hang rods, mount the upper rod center at 81 inches from the finished floor and the lower rod center at 40 inches. For a single long-hang rod, an installation height of 66 inches provides ample clearance. Metal garment rods must always be centered at least 10.25 to 12 inches away from the back wall to prevent plastic or wooden hangers from catching on the rear surface.
| Measurement Type | Standard Dimension | Functional Purpose |
|---|---|---|
| Reach-In Closet Depth | 24 inches | Ensures clothing on hangers clears closed sliding or hinged doors |
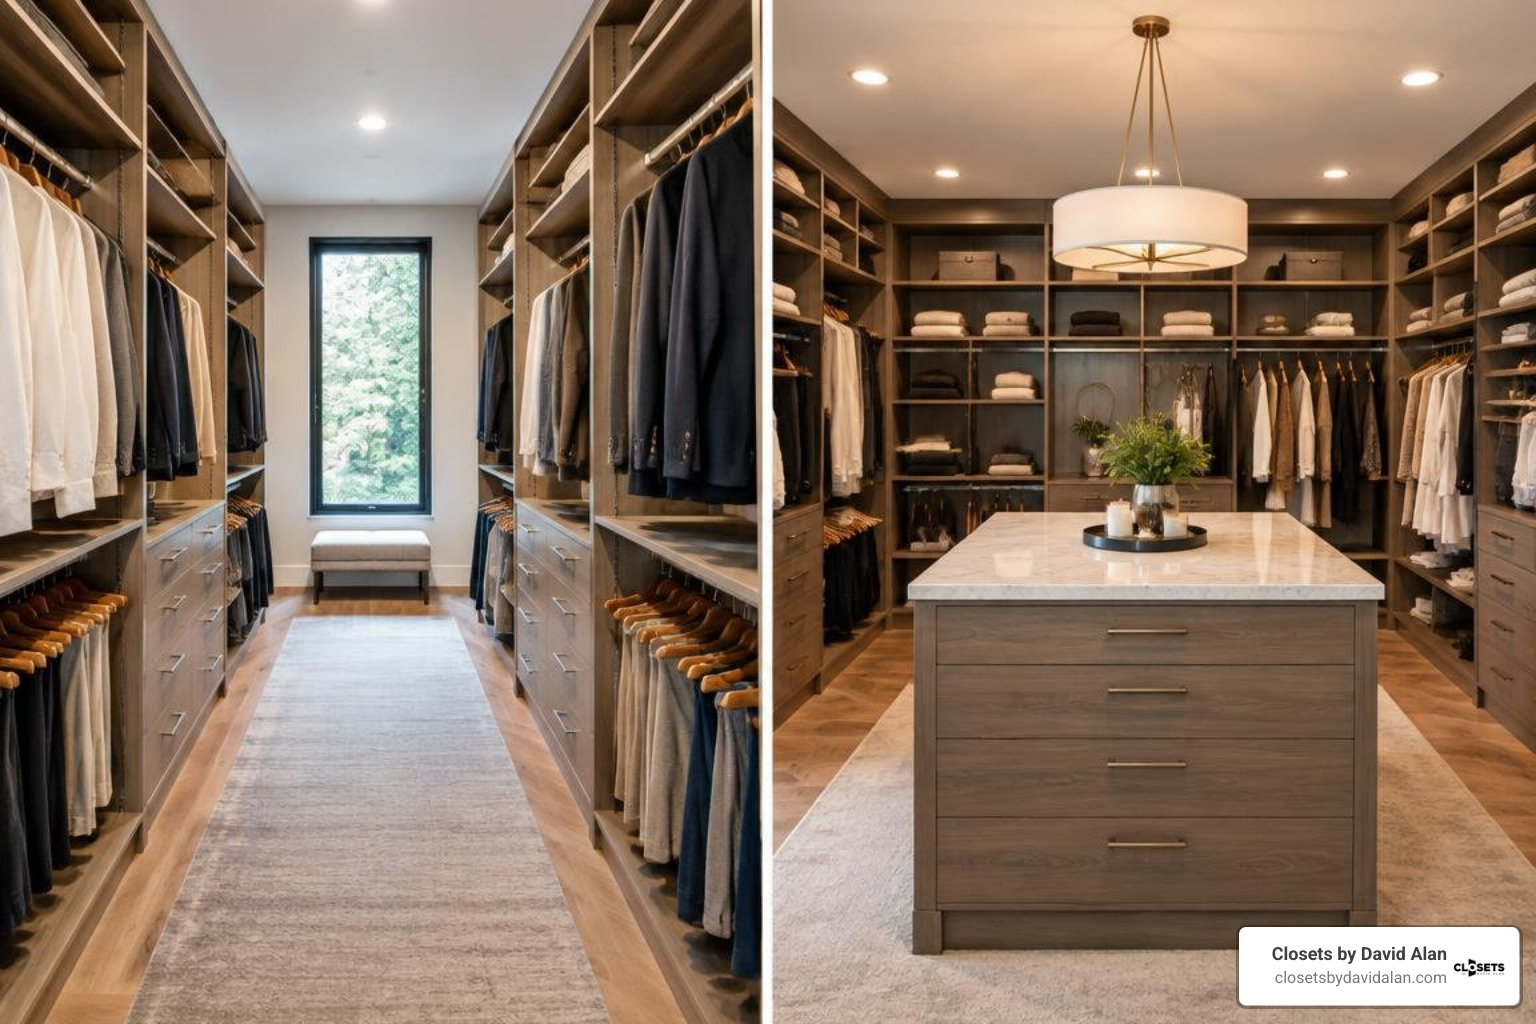
| Walk-In Aisle Width | 36 inches minimum | Provides comfortable walking and dressing clearance between opposite cabinets |
| Double-Hang Top Rod Height | 81 to 84 inches | Positions the upper garment tier high enough to leave space for the lower rod |
| Double-Hang Bottom Rod Height | 40 inches | Keeps shirts and folded pants elevated off the finished floor |
| Single-Hang Rod Height | 66 inches | Prevents full-length dresses, trench coats, and evening gowns from bunching |
| Rod-to-Back-Wall Clearance | 10.25 to 12 inches | Centers hangers so garments do not drag or rub against the back wall |
| Standard Shelf Depth | 14 inches | Supports standard folded clothing stacks without excess overhang |
| Shoe Shelf Depth | 12 inches | Fits standard footwear pairs flat without wasting aisle space |
| Vertical Shelf Spacing (Folded) | 10 to 12 inches | Prevents sweater stacks from tipping while maximizing vertical shelf count |
| Vertical Shelf Spacing (Shoes) | 6 to 8 inches | Standard clearance for flats, sneakers, and low heels |
Material Selection and Cost Breakdown
Selecting the right core substrate directly affects the durability, load capacity, and visual elegance of your storage system.
Plywood, Melamine, and Solid Wood Compared
Understanding the structural differences between these three primary cabinet materials ensures your built-in will hold its weight over years of daily use:
| Feature / Metric | 3/4-Inch Cabinet-Grade Plywood | Commercial Melamine (TFL) | Solid Hardwood (Maple/Oak) |
|---|---|---|---|
| Structural Rigidity | Excellent; crisscrossed veneers resist sagging over time | Moderate; heavy density, but can bow if spans exceed 30 inches | Superior; maximum natural tensile strength |
| Weight Capacity | High; holds up to 1,200 lbs when properly anchored to studs | Moderate; requires shorter spans and intermediate support | Very High; exceptional load capacity when anchored to wall framing |
| Screw-Holding Power | Superior; wood fibers grip coarse cabinet screw threads tightly | Fair to Moderate; prone to stripping if fasteners are over-torqued | Superior; requires pilot holes to prevent splitting |
| Moisture Resistance | High; exterior-glued plies resist ambient humidity shifts | Low; exposed core swells permanently if edge seal is breached | Moderate to High; expands and contracts with seasonal humidity |
| Finishing Options | Sandable, paint-grade birch or stain-grade hardwood veneers | Pre-finished in solid colors or textured woodgrains; no painting | Stain, clear-coat, or fine enamel paint finishes |
| Environmental Profile | Low-VOC adhesives available; durable lifecycle | Low-VOC available; synthetic decorative resin surface | Kiln-dried, VOC-free natural material |
3/4-inch hardwood plywood (such as cabinet-grade birch or maple) is the gold standard for custom residential built-ins because it combines superior screw-holding power with a rigid core. Melamine offers a pre-finished, wipe-clean surface at an attractive price point, but its particle core is heavy and vulnerable to water damage if unsealed. Solid hardwood provides timeless warmth and edge detail, though it is usually reserved for face frames, drawer boxes, and accent tops due to natural seasonal movement.
Budget Analysis: Materials and Professional Custom Installation
When deciding whether to tackle closet built-ins as a DIY project or invest in a professionally designed and installed solution, consider how materials, hardware, and shop fabrication intersect. A DIY plywood build requires sheets of 3/4-inch plywood, edge banding, pocket hole screws, cabinet fasteners, primer, and topcoats, along with specialized tooling like track saws, pocket hole jigs, and brad nailers.
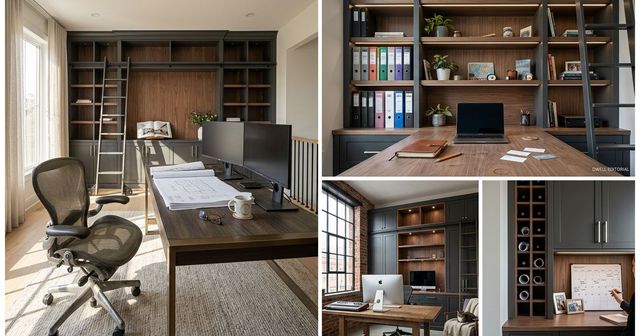
A professional luxury installation delivers furniture-grade construction, matching structural elements seen in custom entertainment centers. Professional fabricators use precision 32mm computer-controlled machining, seamless continuous-grain wood matching across drawer banks, premium soft-close undermount slides, and factory-baked lacquer finishes that resist chipping. Professional installation also eliminates the risk of costly miscalculations on out-of-plumb walls in older homes throughout Fox Chapel or Mt. Lebanon.
Step-by-Step Construction and Installation Process
Building custom closet organizers requires systematic planning, accurate layout lines, and rock-solid wall anchoring.
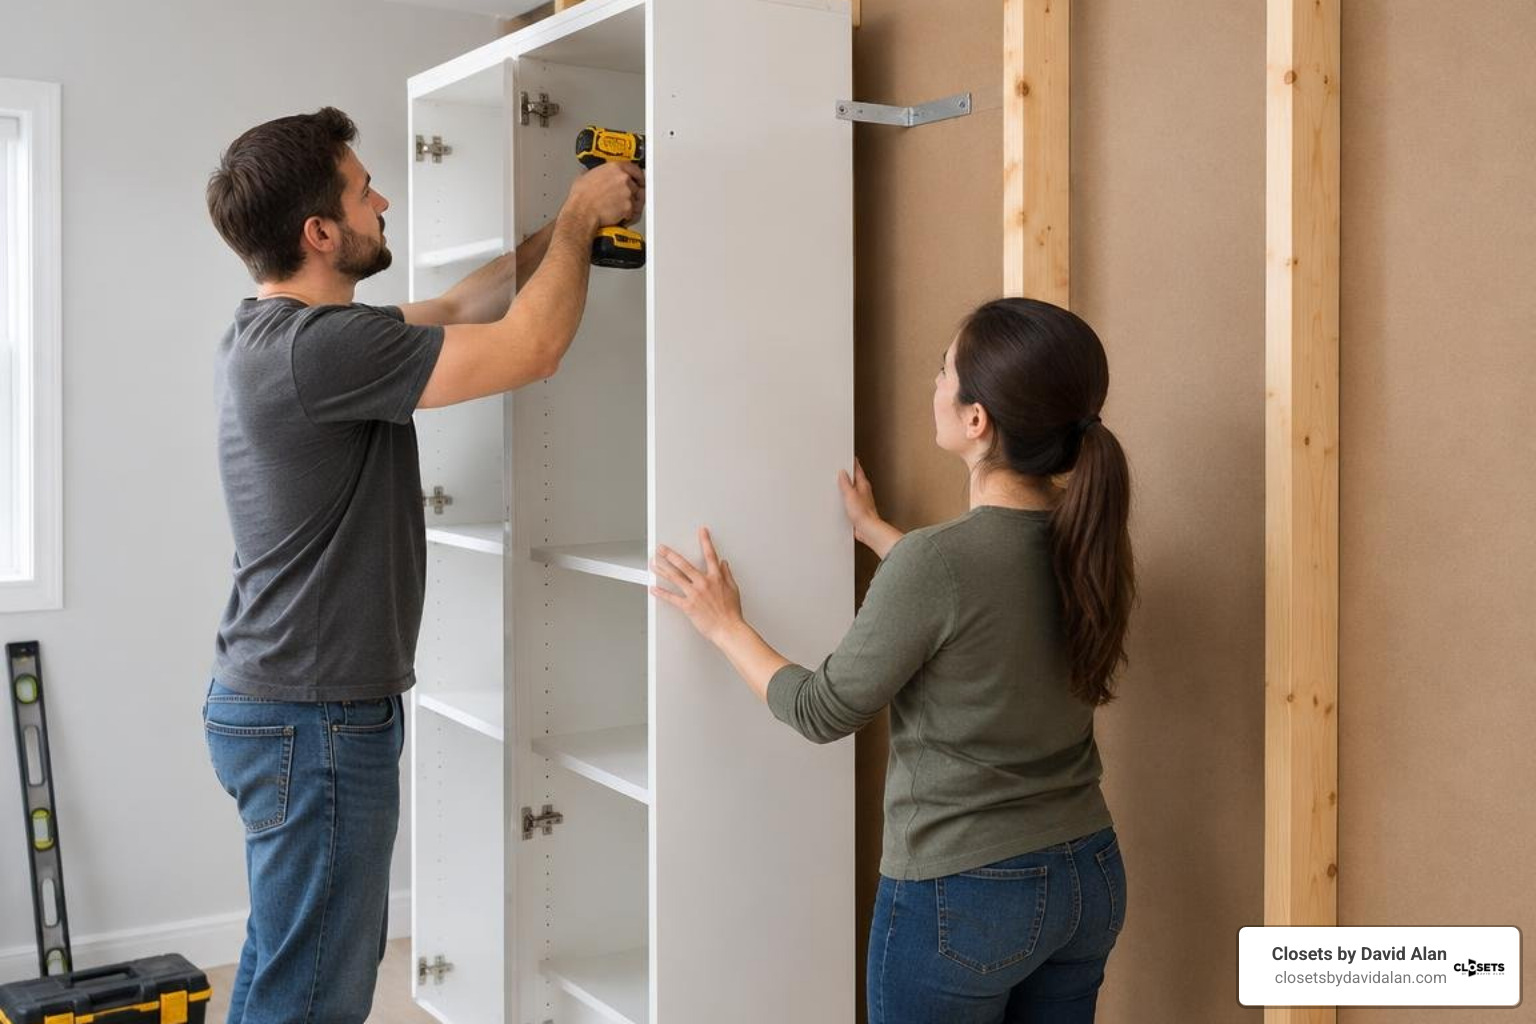
Cabinet Assembly and Professional Wall Anchoring
A sturdy closet organizer starts from the ground up:
- Prep the Closet Envelope: Remove old wire shelving, patch drywall holes, and remove existing baseboards where the new cabinetry will sit flush against the wall. Paint the closet walls before installing any boxes.
- Build a Level Sub-Base: Construct a sturdy 2x4 lumber platform level with the floor, shimming it as needed to compensate for uneven subfloors. This base raises the cabinetry above floor level and provides a solid foundation for baseboards.
- Assemble the Carcass Boxes: Cut 3/4-inch plywood side panels, bottom shelves, and top stretchers. Join the panels using routed dado joints or pocket hole joinery reinforced with wood glue and 1-1/4-inch pocket screws. Ensure the boxes are perfectly square by measuring diagonal corners.
- Locate Wall Studs: Use a high-accuracy stud finder to locate the center of every wall stud behind the cabinet footprint, typically spaced 16 inches on center.
- Anchor to Framing: Position the cabinet tower on the leveled sub-base. Drive 2-1/2-inch structural cabinet screws through the solid rear mounting cleats of the cabinet directly into the center of the wall studs. Never rely solely on drywall anchors for hanging systems or heavy drawer towers.
Integrating Drawers, Adjustable Shelves, and Hardware Accessories
With the structural tower firmly fastened to the wall framing, you can install organizational components and accessories that make the space functional:
- Custom Drawer Banks: Install heavy-duty, soft-close undermount drawer slides rated for 75 to 100 pounds. Build drawer boxes using 5/8-inch solid birch or pre-finished plywood joined with dovetail or pocket joints. For a high-end look, cut consecutive drawer fronts from a single sheet of hardwood plywood so the woodgrain flows smoothly down the tower face.
- Adjustable Shelving: Drill vertical rows of 5mm shelf pin holes spaced 32mm apart along the interior panels using a dedicated shelf pin jig. Use steel shelf pins with rubber grommets to eliminate shelf rattle.
- Specialty Hardware: Mount slide-out belt racks, velvet-lined jewelry inserts, and pull-out tie organizers directly to the interior vertical gables, similar to the hardware used in integrated office storage solutions.
- Integrated LED Lighting: Conceal low-voltage LED ribbon channels behind vertical face frames or routed into the underside of shelves to illuminate hanging sections and display cubbies with warm 2700K to 3000K light.
Achieving a Flawless Custom Finish on Closet Built Ins
The hallmark of true custom cabinetry is the seamless transition between the furniture and the surrounding architecture.
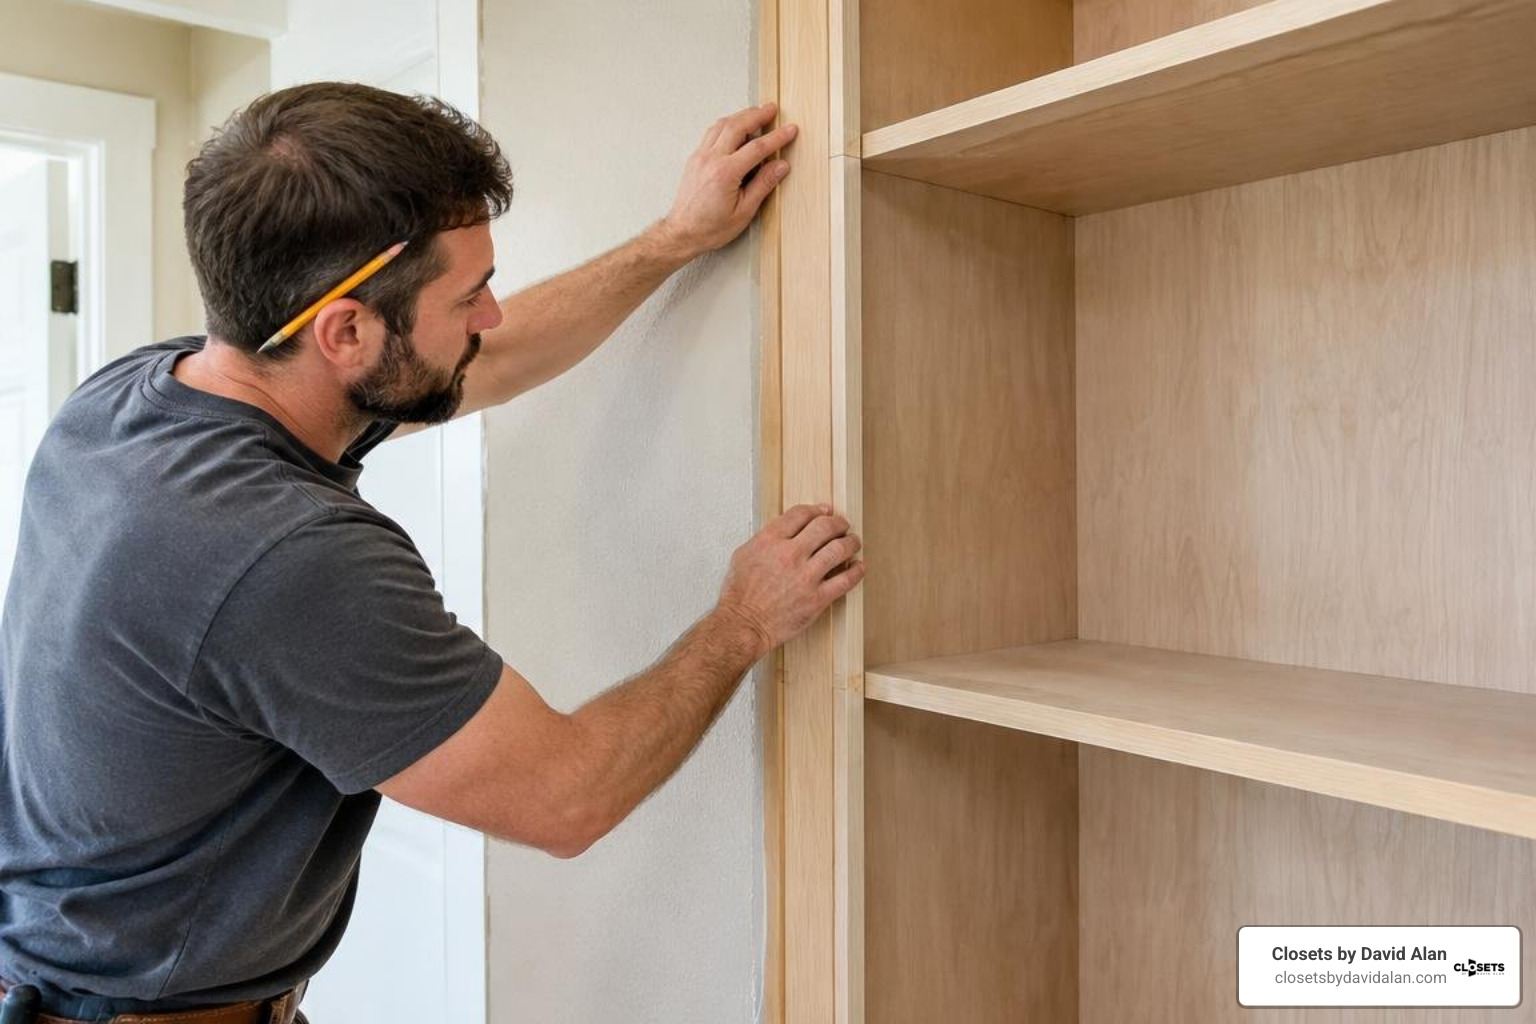
Face Framing, Scribing Uneven Walls, and Architectural Trim
Drywall corners in homes across Upper St. Clair and Peters Township are rarely plumb, and ceilings often settle over time. Face frames and scribed moldings hide these gaps:
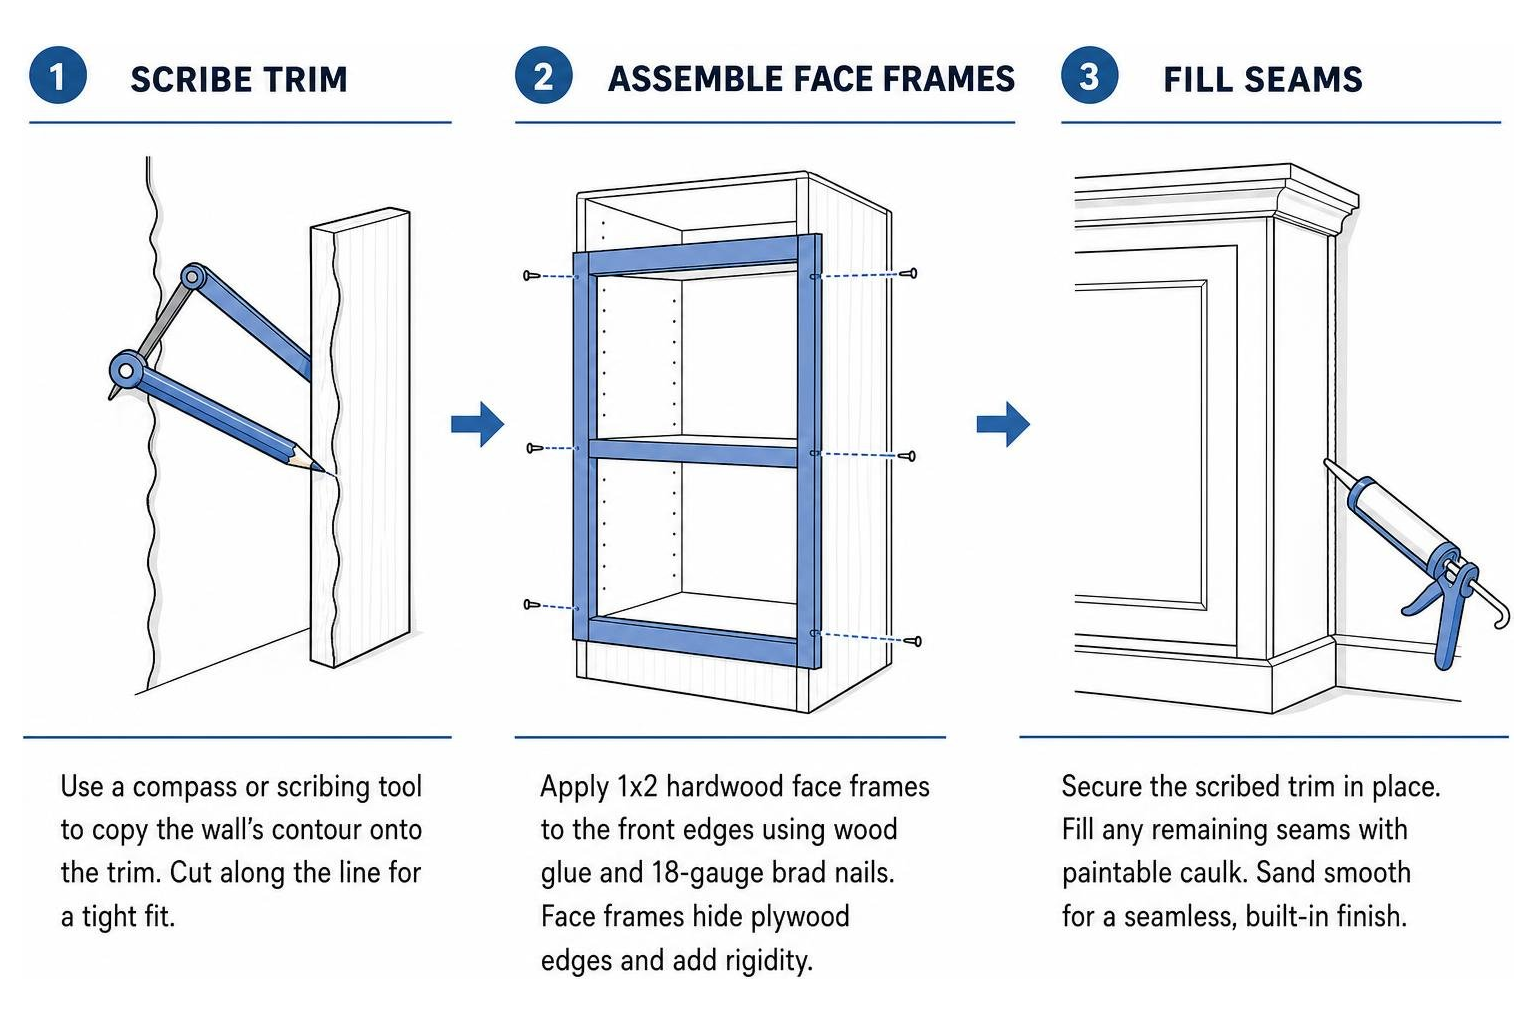
- Face Framing: Apply 1x2 solid hardwood face frames to the front raw edges of your plywood boxes using wood glue and 18-gauge brad nails. Face frames conceal plywood veneers, add structural rigidity, and give the unit a substantial, architectural look.
- Contour Scribing: To fit side panels or filler strips against wavy walls, use a compass or scribing tool. Run the point along the uneven drywall while the pencil copies the profile onto your trim piece. Cut along the pencil line using a jigsaw or hand plane for a tight, gap-free fit.
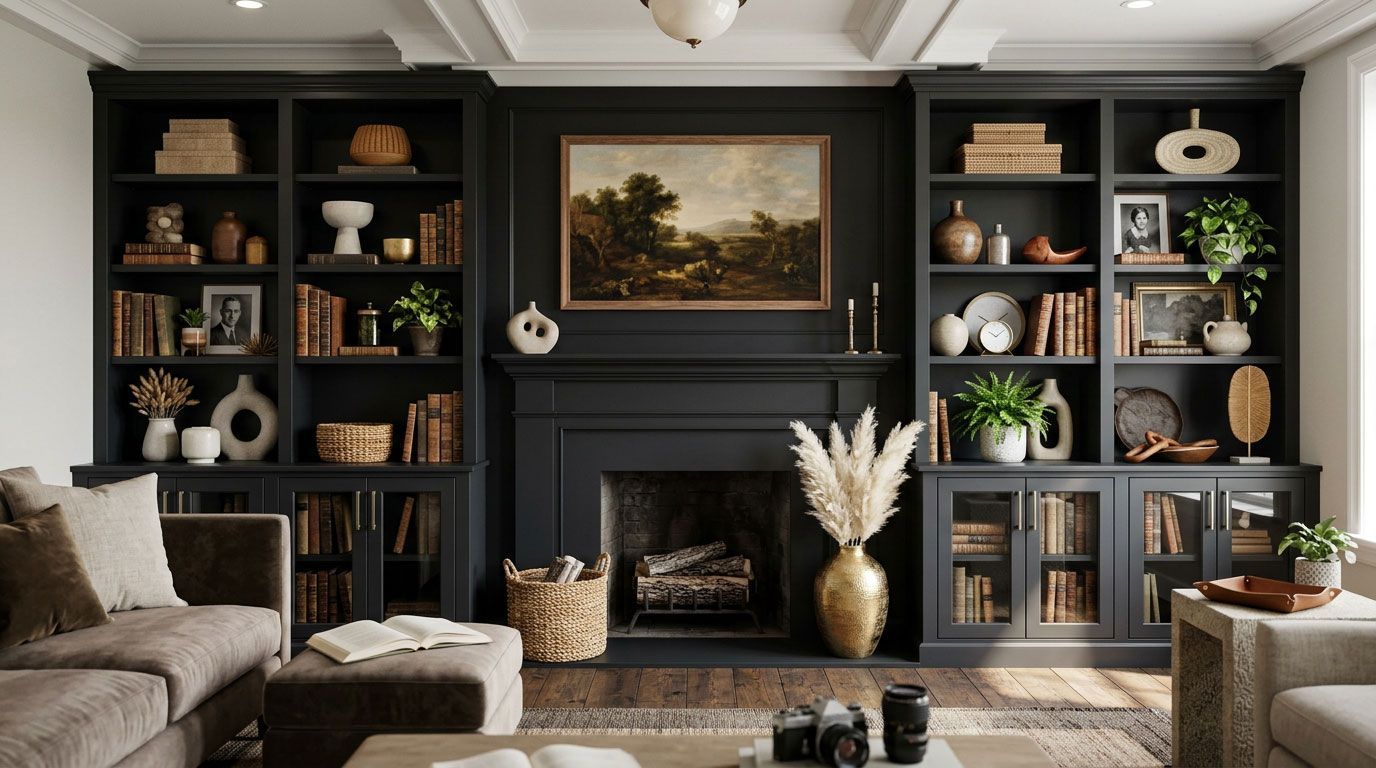
- Integrating Baseboards and Crown: Wrap the base platform with your room's matching baseboard molding, and crown the top of the cabinet towers with ceiling trim using traditional built-in trim techniques to make the installation look like an original architectural feature of your home.
Sanding, Priming, and Painting Techniques
A durable, furniture-grade paint finish protects your cabinetry from daily contact with hangers, belt buckles, and shoes:
- Surface Preparation: Fill all brad nail holes, seams, and pocket holes with sandable wood filler. Sand all surfaces smooth, stepping through 120-grit, 150-grit, and finishing with 220-grit sandpaper.
- Sealing Raw Edges: Apply heat-activated veneer edge banding or high-density wood filler to any exposed plywood core edges before sanding flush.
- Priming: Coat bare wood with a stain-blocking shellac or oil-based primer. These primers seal the wood grain, prevent tannin bleed-through on pine or maple, and create an even base for the paint.
- Topcoat Application: Apply two thin coats of waterborne alkyd or acrylic-urethane enamel paint using an HVLP paint sprayer or a high-density foam roller. Alkyd enamels cure to a hard finish that resists scuffing, chipping, and yellowing over time.
Frequently Asked Questions About Closet Built-Ins
How wide can closet built-in shelves span before they begin to sag?
Standard 3/4-inch plywood or melamine shelves should not span more than 36 inches under normal distributed loads. For adjustable shelves carrying heavy items like denim, books, or bulky bins, keep the span under 30 to 32 inches. If a design requires a shelf wider than 36 inches, reinforce the front and rear edges with a 1x2 solid wood stiffener or add a vertical center partition to prevent sagging over time.
How do you install closet built ins on uneven walls or sloped ceilings?
Start by finding the highest point of the floor using a laser level, and build a leveled sub-platform using shims. For out-of-plumb walls, hold the outer cabinet side or filler piece slightly away from the wall, trace the wall's profile with a scribing tool, and cut the traced line with a jigsaw or track saw beveled at a slight back-angle. For sloped ceilings—common in top-floor suites across historic Pittsburgh homes—cut the top edges of the vertical panels to match the ceiling pitch, and finish the joint with scribed crown molding.
What is the ideal rod height for a double hang closet setup?
The industry standard for a double-hang configuration is 81 to 84 inches from the floor for the top closet rod, and 40 inches for the bottom rod. This spacing provides roughly 38 to 40 inches of vertical hanging room beneath each rod, which accommodates button-down shirts, blouses, folded slacks, and jackets without letting them drag on lower tiers or the floor.
Conclusion
Custom closet built-ins transform cluttered, inefficient spaces into functional, beautifully organized dressing areas. By taking accurate measurements, selecting durable materials like 3/4-inch plywood or solid hardwood, and anchoring components securely to framing, you create storage that improves your daily routine and adds long-term value to your home.
Whether you are looking for design guidance or prefer a white-glove, turnkey transformation, explore our professional custom built-in solutions to begin planning your next storage project.
Recent Posts