DIY Built-in Bookcase with Desk Plans and Framing Instructions
Build a Bookcase and Desk That Fits Your Wall
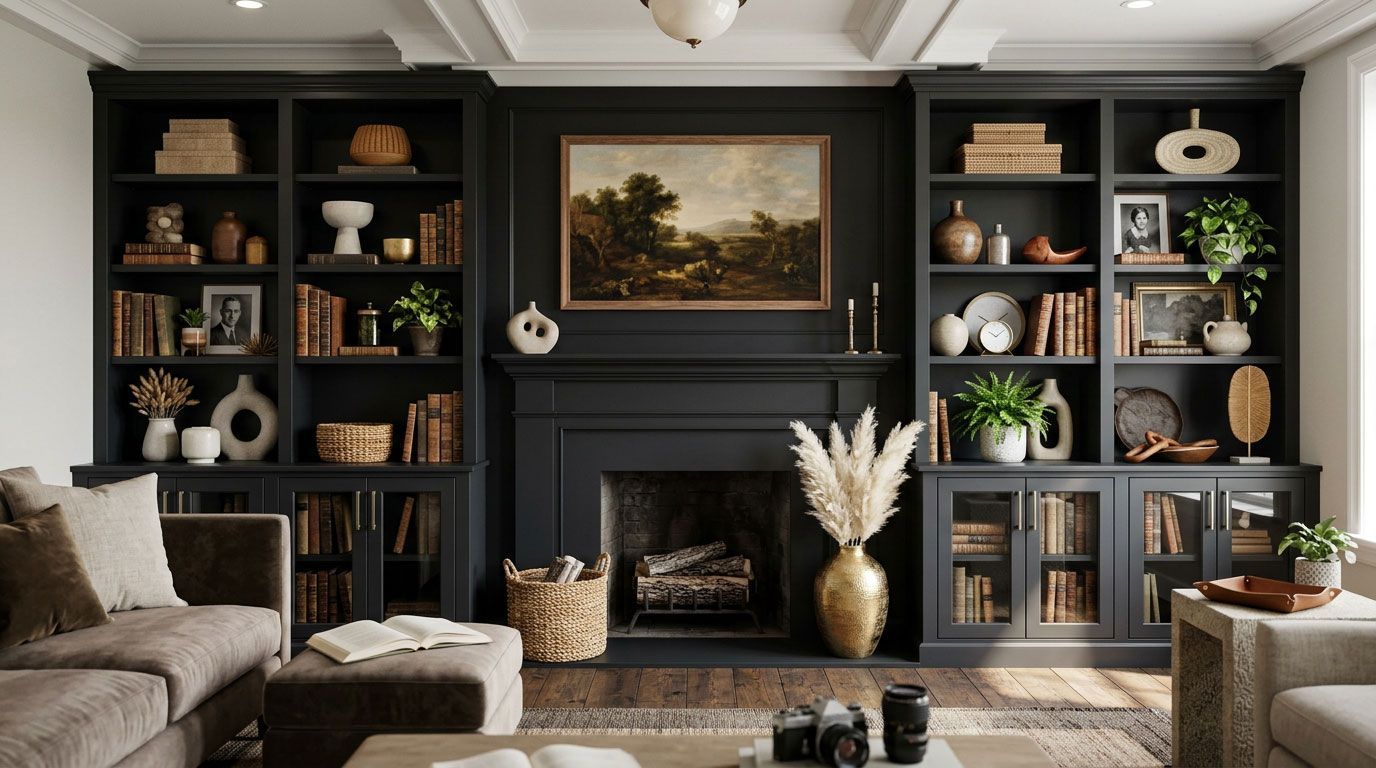
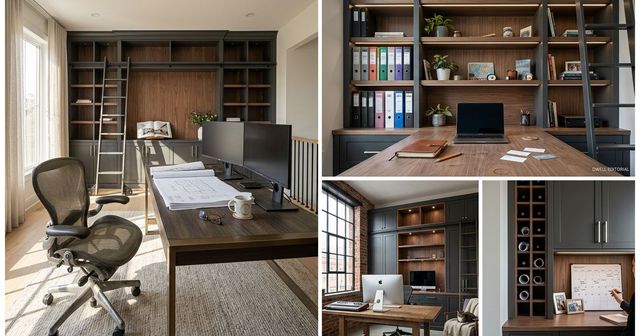
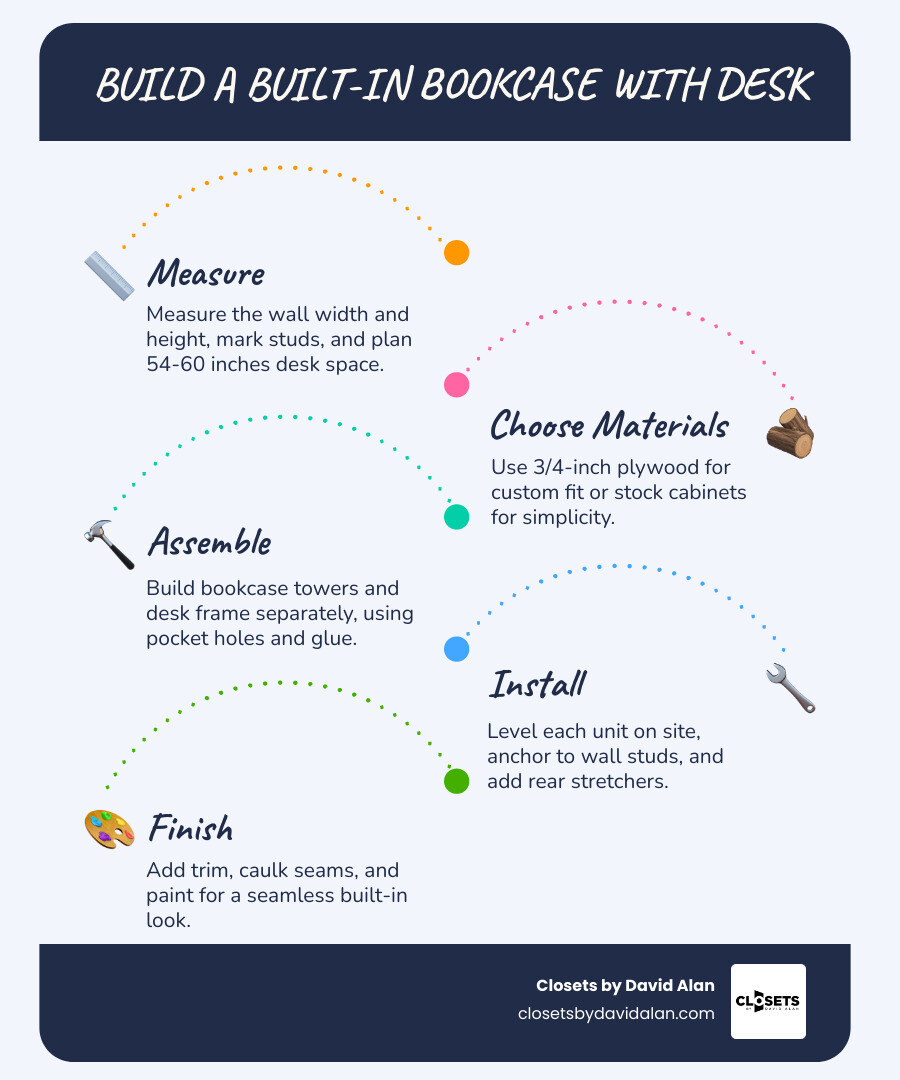
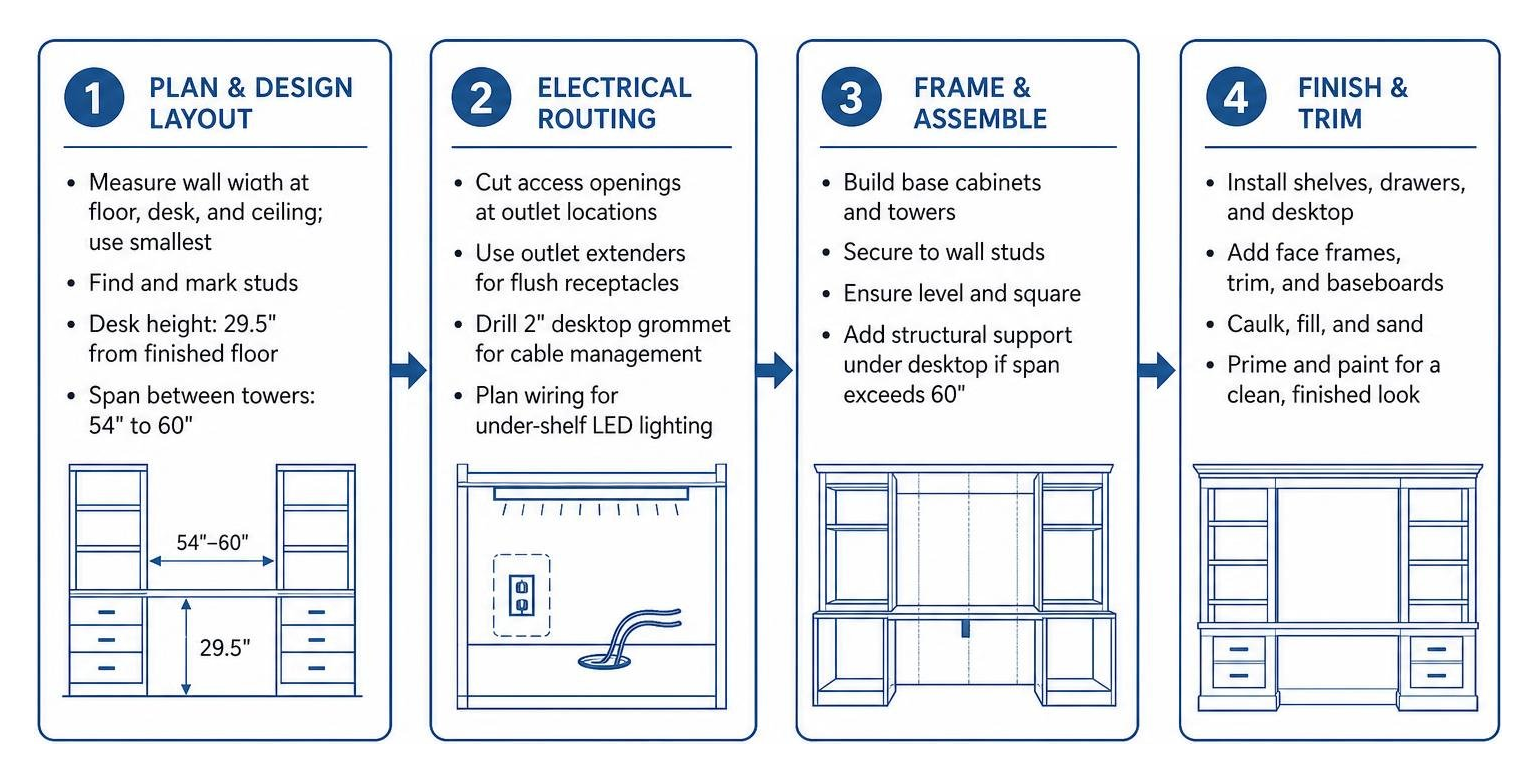
To build a bookcase with a desk in the middle, start by measuring the wall and marking the studs. Choose stock cabinets for a simpler build or 3/4-inch plywood for a more tailored fit. Leave about 54 to 60 inches between the bookcase towers for the desk, and aim for a desktop height near 29.5 inches , adjusted to your chair. Build the sections separately, level them on site, anchor them to wall studs, then add trim and paint to hide the gaps. This approach gives you a true diy built in bookcase with desk that fits your wall, your storage needs, and your daily work habits.
I'm David Alan, president of Closets by David Alan, where we design and install custom storage and cabinetry for Pittsburgh homes. That work shapes how I approach a diy built in bookcase with desk: plan the fit, support the structure, and make every finish detail count.
Discover more about diy built in bookcase with desk :
Planning and Designing Your DIY Built in Bookcase with Desk
Before making your first cut, mapping out every dimension on paper prevents costly material mistakes. Designing your layout requires balancing available wall length, ceiling height, and the everyday functional needs of your workspace. Whether you are outfitting a historic home in Shadyside or a newer build in Cranberry Township, uneven floors and out-of-square walls are practically guaranteed.
Start by finding and marking your wall studs with a reliable stud finder. Measure your room width at three points: along the floor, at desk level, and near the ceiling. Take the smallest measurement as your master constraint.
When establishing your design approach, look at our guide to custom home office built-ins to understand how storage modules interact. You can construct the entire system from scratch using plywood or adapt pre-made modular base cabinets to save time.
| Approach | Advantages | Considerations | Skill Level |
|---|---|---|---|
| Scratch-Built 3/4" Plywood | Completely custom sizing; seamless floor-to-ceiling fit; maximum storage efficiency | Requires precise cuts, pocket holes, or dado joints; more labor-intensive | Intermediate to Advanced |
| Modified Stock / Modular Bases | Saves substantial assembly time; built-in drawer slides; sturdy structural base | Locked into standard widths (e.g., 18", 24", 30"); requires filler strips | Beginner to Intermediate |
Determining Ergonomic Desk Height and Tower Spacing
Ergonomics dictate how comfortable you will be during an eight-hour workday. Standard factory desks sit between 29 and 30 inches high, but we recommend aiming for a finished desktop surface of 29.5 inches from the finished floor. If your office chair features non-adjustable armrests, measure its clearance before locking in your desk height.
Between your two flanking bookcase towers, maintain a span of 54 to 60 inches . This width gives you generous knee clearance, room to pivot smoothly in an executive chair, and space for dual monitors without crowding the vertical bookcases. If you exceed a 60-inch desktop span without center cabinetry, install a hidden 2x2 hardwood apron or metal angle iron underneath the desktop to prevent sagging over time.
Managing Cords, Power Outlets, and Built-In Lighting
Nothing ruins clean millwork faster than a bird's nest of black power cables. Planning your electrical access ahead of time ensures a clean, clutter-free desk surface:
- Cut Access Openings : Mark your existing wall outlet locations on the back panels of your base cabinets or lower shelving. Cut neat rectangular openings using a jigsaw.
- Install Outlet Extenders : Because your cabinetry adds depth in front of the drywall, use electrical box extenders so your receptacles sit flush with the interior cabinet backing.
- Incorporate Desktop Grommets : Drill a 2-inch hole through your desktop in a rear corner or center back, inserting a metal or brass grommet to route monitor and laptop cables cleanly underneath.
- Mount Integrated Lighting : Plan cable runs for under-shelf LED channel lighting before final assembly. Conceal low-voltage wiring behind face frames or in shallow routed grooves.
If you want structured templates and cutting schedules to guide your layout, review these printable building plans and cut lists for a solid spatial foundation.
Tools, Materials, and Desktop Selection
Quality millwork requires reliable materials and accurate cutting tools. Building straight, square boxes requires stable sheet goods that resist warping.
Essential Materials for a DIY Built in Bookcase with Desk
Here is what you will need on hand before starting construction:
- Cabinet Grade Plywood : 3/4-inch hardwood plywood (such as cabinet-grade birch or maple) for the tower carcasses, structural shelves, and base units. A 1/4-inch plywood sheet works well for the back panels.
- Solid Hardwood Trim : 1x2 and 1x3 select pine, poplar, or maple boards to create face frames, ledger strips, and structural stretchers.
- Fasteners : 1-1/4-inch pocket hole screws for carcass joinery, 2-1/2-inch to 3-inch cabinet screws for wall stud anchoring, and 1-1/4-inch 18-gauge brad nails for trim.
- Wood Glue and Fillers : High-tack PVA wood glue, stainable or paintable wood filler, and flexible paintable acrylic caulk.
- Core Woodworking Tools : Table saw or track saw, miter saw, pocket hole jig, drill/driver set, 4-foot level, tape measure, clamps, and an 18-gauge brad nailer.
Choosing the Right Desktop: Butcher Block vs. Solid Hardwood vs. Plywood
Your desktop takes the brunt of daily use, making material choice critical for long-term durability. We explore several cabinet and surface pairings in our guide comparing built-in desk cupboard options.
- Solid Butcher Block (1.5-Inch Thickness) : Pre-glued hardwood butcher block (birch, oak, or walnut) provides exceptional rigidity and visual warmth. It handles heavy monitors effortlessly and finishes beautifully with hardwax oil or polyurethane.
- Solid Edge-Glued Hardwood (1-Inch Thickness) : Edge-gluing your own select pine or maple boards gives you custom depth, though it requires flattening, jointing, and sanding.
- Hardwood Plywood with Solid Edge Banding : Economical and highly stable against seasonal humidity shifts. Applying a 1x2 solid wood front edge creates the optical illusion of a heavy, solid wood slab while keeping costs low.
Step-by-Step Framing, Assembly, and Installation
A professional built-in looks like it grew out of the wall. Achieving that seamless aesthetic requires building stable components on your workbench and assembling them securely on site.
Step-by-Step Framing for the DIY Built in Bookcase with Desk
Follow this structural framing sequence:
- Prep the Room : Carefully slice through paint and caulk lines along your baseboards with a utility knife, then pry baseboards away from the installation wall. This allows your carcasses to sit completely flush against the drywall.
- Build the Base Platform (Toe-Kick Base) : Construct a sturdy 2x4 ladder-frame base leveled across the floor using composite shims. Secure this base directly into the floor joists or wall studs.
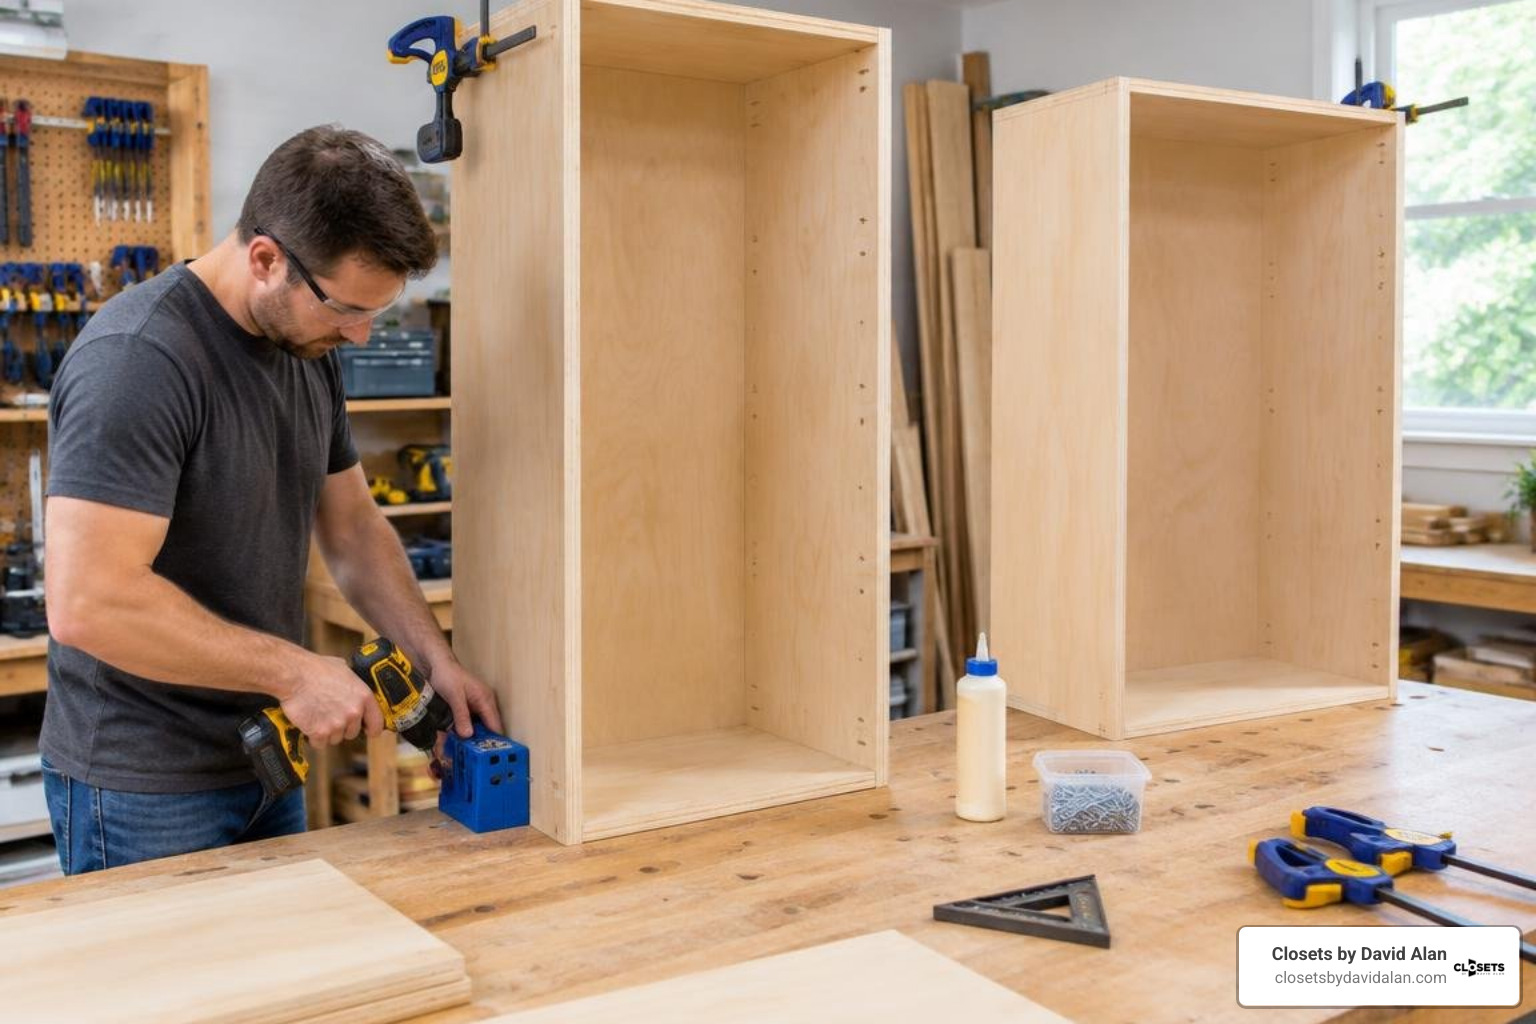
- Assemble the Tower Carcasses : Cut your 3/4-inch plywood side panels and fixed structural shelves. Drill pocket holes on the underside of shelves to keep fasteners hidden from eye level. Join the top, fixed middle shelf, and bottom panel to the sides using wood glue and pocket hole screws.
- Install Rear Stretchers : Glue and screw a 1x4 hardwood stretcher board horizontally across the upper and lower rear exterior of each tower. This adds structural squareness and provides a solid anchor point for driving screws into wall studs.
- Set and Anchor the Towers : Lift the bookcase carcasses onto your leveled base platform. Clamp the units together, ensure vertical plumb with a 4-foot level, and drive 3-inch cabinet screws through your rear stretchers directly into the marked wall studs.
- Mount the Desktop Bridge : Fasten a sturdy 1x3 or 2x2 ledger board securely into the wall studs between the two towers at your desired desk height. Slide your desktop into place, resting it on the wall ledger and securing it through the inner sidewalls of the flanking bookcase towers.
For deeper technical methods on box joinery, check out our guide to building bookcase built-ins.
Installing Face Frames and Adjustable vs. Fixed Shelves
Face frames give raw plywood boxes the appearance of finished, solid-wood custom cabinetry.
Build your face frames from 1x2 (actual 3/4" x 1-1/2") solid hardwood. Assemble the frame stiles (verticals) and rails (horizontals) using pocket hole joinery on the backside. Once assembled, apply wood glue to the front edges of the plywood carcasses, clamp the face frame flush, and secure it using 18-gauge brad nails.
For the shelving layout, decide between fixed and adjustable systems:
- Fixed Shelves : Glued and pocket-screwed in place; provides maximum structural rigidity.
- Adjustable Shelves : Use a commercial shelf pin jig to drill clean 5mm pin holes spaced 32mm apart along the inside panels. Rip shelves 1/8-inch narrower than the interior opening to avoid scratching side panels during adjustment.
If you appreciate decorative details like curved transitions, explore building architectural arch details to elevate your top shelf openings.
Seamless Finishing: Molding, Caulking, and Paint
The secret to turning a DIY woodworking project into luxury millwork lies in the finishing details.
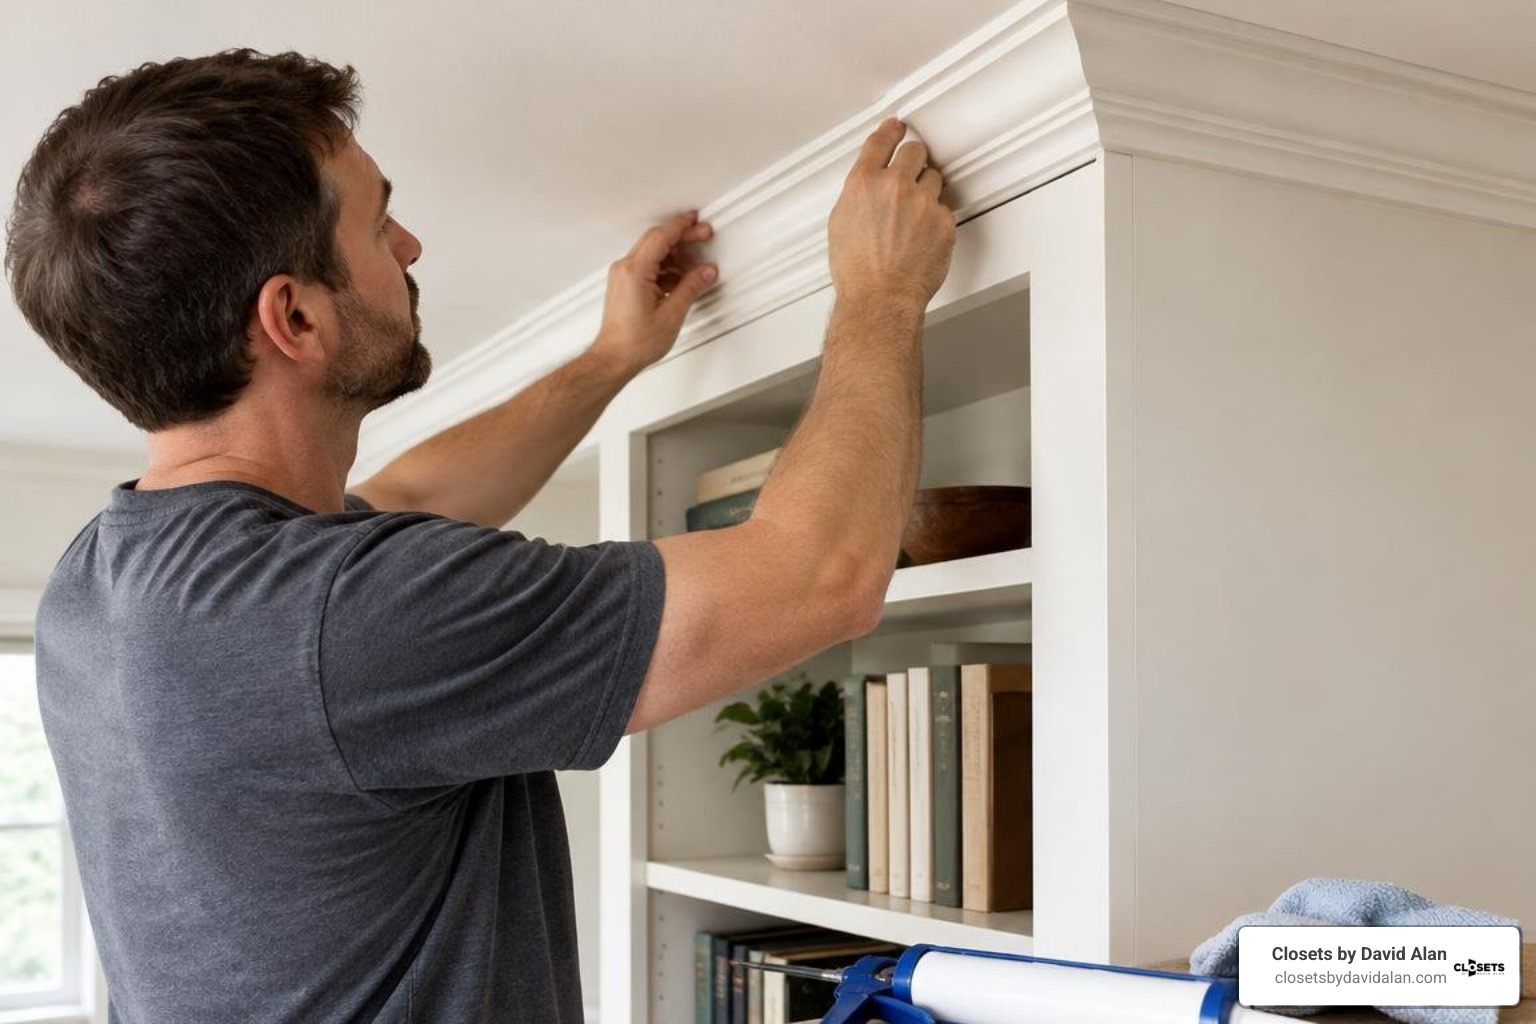
- Crown Molding : Install crown molding across the top of the entire unit, bridging the small gap between the upper cabinetry and your ceiling. Mitering outside corners at 45 degrees creates a crisp, architectural crown.
- Baseboard Integration : Run baseboard trim around the bottom toe-kick frame, tying the built-in directly into the room's existing trim profile.
- Caulking and Filling : Fill every nail hole and screw recess with wood filler; sand flush once dry. Run a thin bead of paintable acrylic caulk along all seams where wood meets drywall and where face frames meet cabinet walls. Wipe smooth with a damp rag.
- Paint Application : For a high-traffic built-in desk, use a dedicated waterborne alkyd or urethane trim enamel (such as Sherwin-Williams Emerald Urethane). Apply a stain-blocking primer first, sand lightly with 220-grit sandpaper, and apply two topcoats using a fine-finish mini microfiber roller or HVLP sprayer.
If you are currently renting or want a setup that can be disassembled later, check out these rental-friendly and modular built-in concepts for alternative attachment approaches.
Frequently Asked Questions About Built-In Bookcases with Desks
Do I need to anchor the bookcase towers and desk to wall studs?
Yes. Floor-to-ceiling bookcase towers carry substantial weight once loaded with books and equipment. Unanchored tall units pose an extreme tip-over hazard. Driving 3-inch cabinet mounting screws through solid 1x4 rear stretcher boards into wall studs creates a rock-solid, permanent structure that will never shift or bow when you lean on the desktop.
Should I paint the plywood panels before or after assembly?
Pre-painting your plywood panels while they lie flat on sawhorses saves hours of awkward rolling inside narrow cubbies. Prime and apply one coat of paint to your sheets before making final cuts. After assembly, installation, and caulking, apply your final coat across the face frames and touched-up areas for a flawless, uniform finish.
Can I incorporate custom elements like arched shelving or a rolling ladder?
Custom flourishes add high-end character to any library setup. You can easily cut decorative arches out of 1/2-inch MDF or plywood using a simple string-and-pencil compass and a jigsaw.
To add a rolling ladder, mount a steel track pipe across the upper face frame rails and build an angled wooden ladder fitted with rolling hardware. For inspiration on incorporating specialized architectural features into your home, view our gallery of custom bookcases.
Conclusion
Building your own office built-in requires careful planning and steady execution, but the payoff is substantial. By controlling your framing, dialling in ergonomic desk spacing, and finishing with clean architectural trim, you create a dedicated workspace that enhances both productivity and home value.
When you want an effortless transformation without spending your weekends cutting sheet goods, our team is here to help. At Closets by David Alan, we design, manufacture, and install tailored custom home storage and home office design solutions throughout Pittsburgh, Fox Chapel, Upper St. Clair, and beyond. Explore our full portfolio of home office designs or schedule a design consultation with our cabinetry specialists today.