
Step-by-Step Guide to Building Bookcase Built Ins

David Alan • September 15, 2026

Share this article

Build Bookcase Built Ins That Look Like They Belong

To build bookcase built ins, start with an accurate wall plan: measure the width, height, depth, baseboards, outlets, and stud locations. Then choose a path - custom plywood shelving, stock cabinets with shelves above, or upgraded bookcase units - and make every section level, securely fastened to studs, trimmed, caulked, and finished in one consistent paint color.

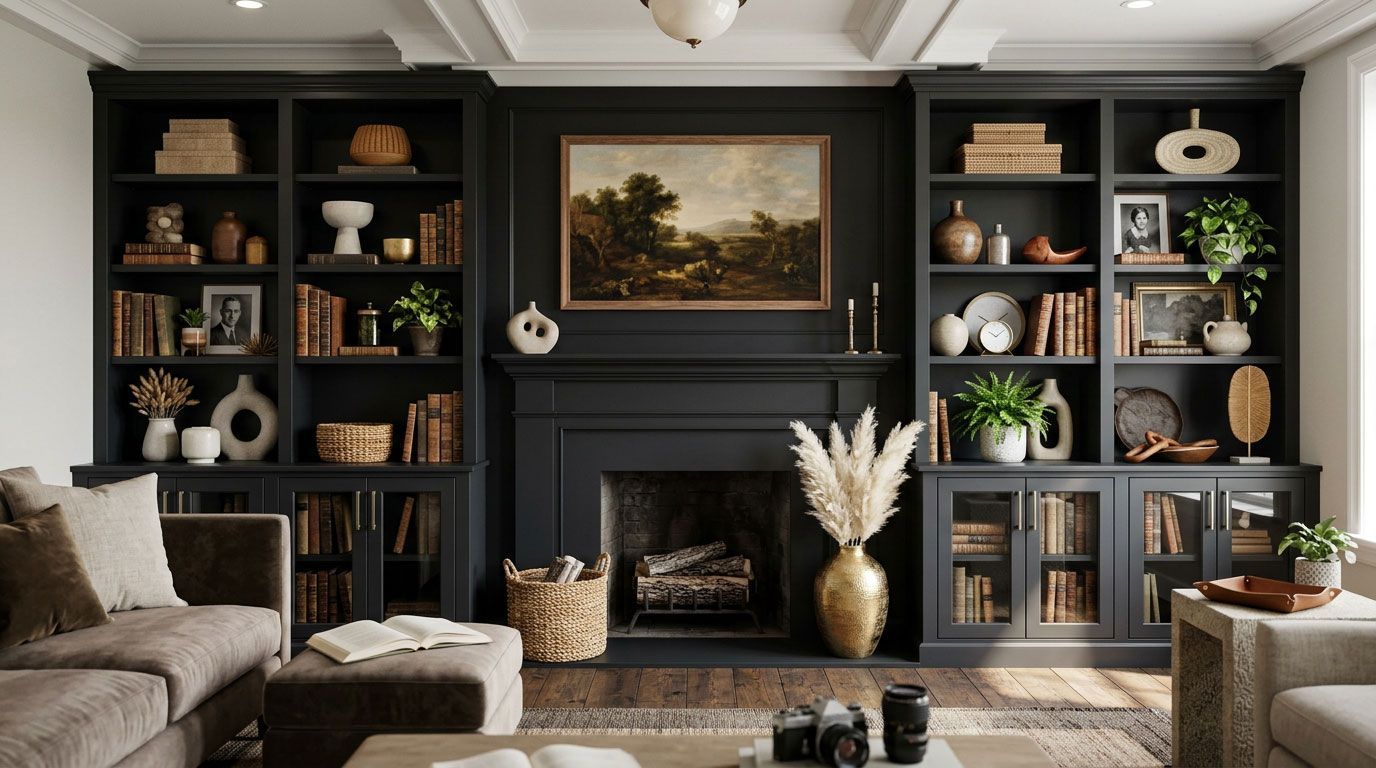
Built-ins turn unused wall space into organized storage and a natural focal point. Unlike freestanding furniture, they can run from wall to wall or floor to ceiling, work around windows and fireplaces, and blend with existing millwork. The details matter most: proper depth for what you will store, strong shelf support, and filler strips that hide gaps between units.

I am David Alan, President of Closets by David Alan in Pittsburgh, where I lead the design and installation of tailored storage and cabinetry for clients who expect refined materials, precise fit, and a white-glove experience. In this guide, I will share the practical planning and finish details that help bookcase built ins feel intentional, durable, and truly integrated with your home.

Planning and Designing Bookcase Built Ins

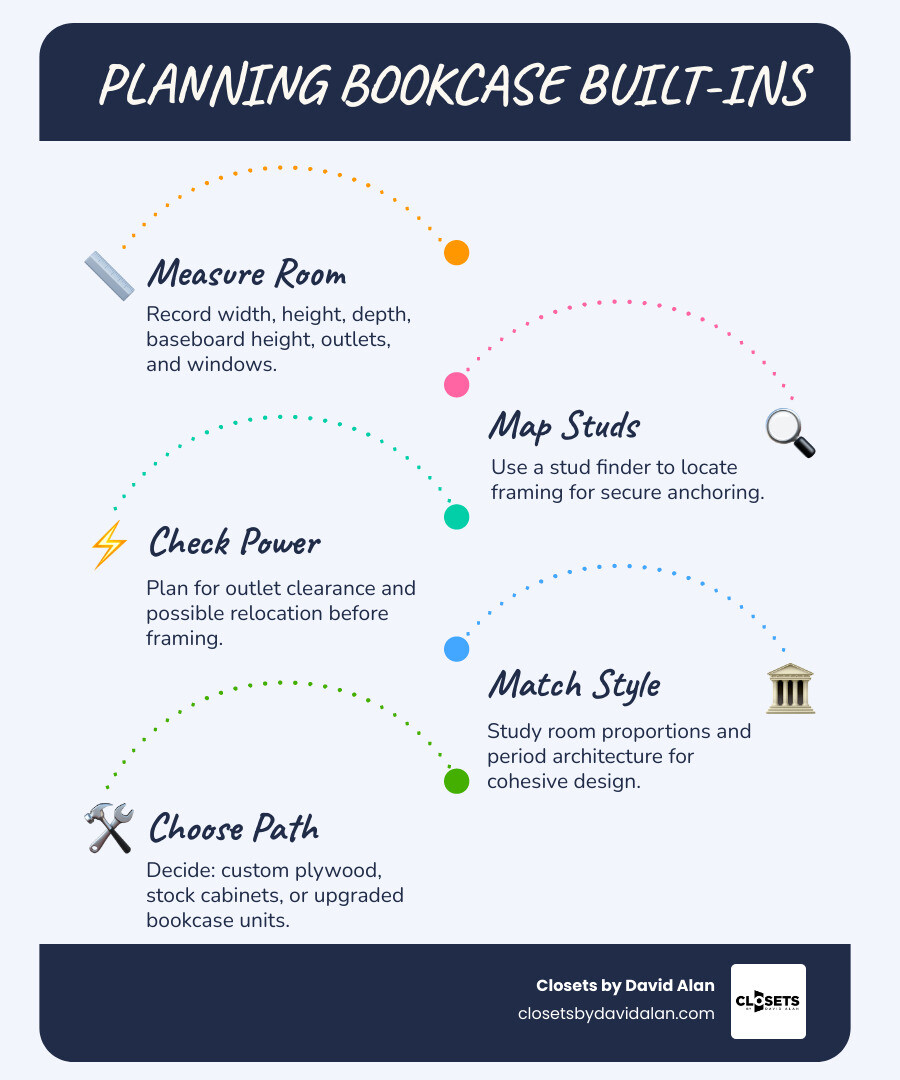
When we design and craft personalized storage, the planning stage is where the success of the entire project is determined. Bookcase built-ins must feel like an organic architectural component of the room rather than an afterthought bolted to the drywall. Achieving this requires studying your room proportions, mapping structural framing, planning for electrical distribution, and respecting the home's period architecture.

In established Pittsburgh neighborhoods like Shadyside, Sewickley, Squirrel Hill, and Fox Chapel, older residences boast rich historic architectural millwork traditions, featuring high baseboards, picture rails, and detailed plaster ceiling profiles. Conversely, modern open-concept layouts in Wexford, Upper St. Clair, or Cranberry Township demand clean lines and balanced symmetry. When tailored properly across dedicated Custom Spaces, a wall of shelving brings proportional harmony while solving everyday functional demands.

Begin by mapping your wall:

  1. Locate and Mark Studs : Use an electronic deep-scanning stud finder to locate every framing member along the wall. Mark the center of each stud at multiple heights (near the floor, at mid-wall, and near the ceiling). Stud spacing is typically 16 inches on center, but irregular framing is common around door frames and fireplace bump-outs.
  2. Account for Electrical Access : Identify all wall outlets, light switches, and air return grilles. If a built-in covers an outlet, decide whether to bring the box forward into the base cabinet face, install an integrated pop-up power grommet, or extend wiring for low-voltage LED shelf lighting. Never bury a live junction box behind permanent cabinetry.
  3. Check for Plumb and Level : Older walls are rarely straight. Measure your ceiling height in at least three places (left, middle, right) and check the wall with a 4-foot or 6-foot level to identify bows, dips, or leaning drywall. Note these variations so you can scribe your filler panels to match the exact profile of the room.

Dimensioning Depth, Height, and Room Layout

Getting the scale right is essential to avoid crowding the room or ending up with shallow, impractical shelves.

  • Shelf Depth : Standard literature, hardcovers, and decorative items fit comfortably on a 10- to 12-inch deep shelf. If you plan to incorporate base cabinetry beneath the shelves for board games, large albums, or electronics, set the base cabinet depth between 14 and 18 inches. This creates a functional 2- to 6-inch countertop reveal that gives the installation architectural grounding.
  • Vertical Spacing & Height : Standard novels require 8 to 9 inches of clear height, hardcovers need 10 to 12 inches, and large art volumes or binders require 13 to 15 inches. For a full-height wall, taking the casework right up to the ceiling with top-tier extensions creates vertical lift, drawing the eye upward and making standard 8- or 9-foot ceilings feel significantly taller.
  • Span Limits to Prevent Sagging : To prevent unsightly shelf deflection under the weight of books, limit unsupported shelf spans. For 3/4-inch furniture-grade plywood or solid hardwood, keep the span under 32 to 36 inches. If you use medium-density fiberboard (MDF), keep spans under 28 inches unless reinforced with a solid wood front face edge.
  • Baseboard and Crown Alignment : Plan your base plinth so your existing room baseboards (or matching replacements) can wrap continuously around the bottom of the cabinetry. The top trim should leave sufficient space to receive continuous crown moulding that ties directly into the adjacent walls.

Materials, Tools, and Foundation Prep

Building long-lasting built-in bookcases starts with solid materials and reliable carpentry tools.

Essential Tools & Equipment

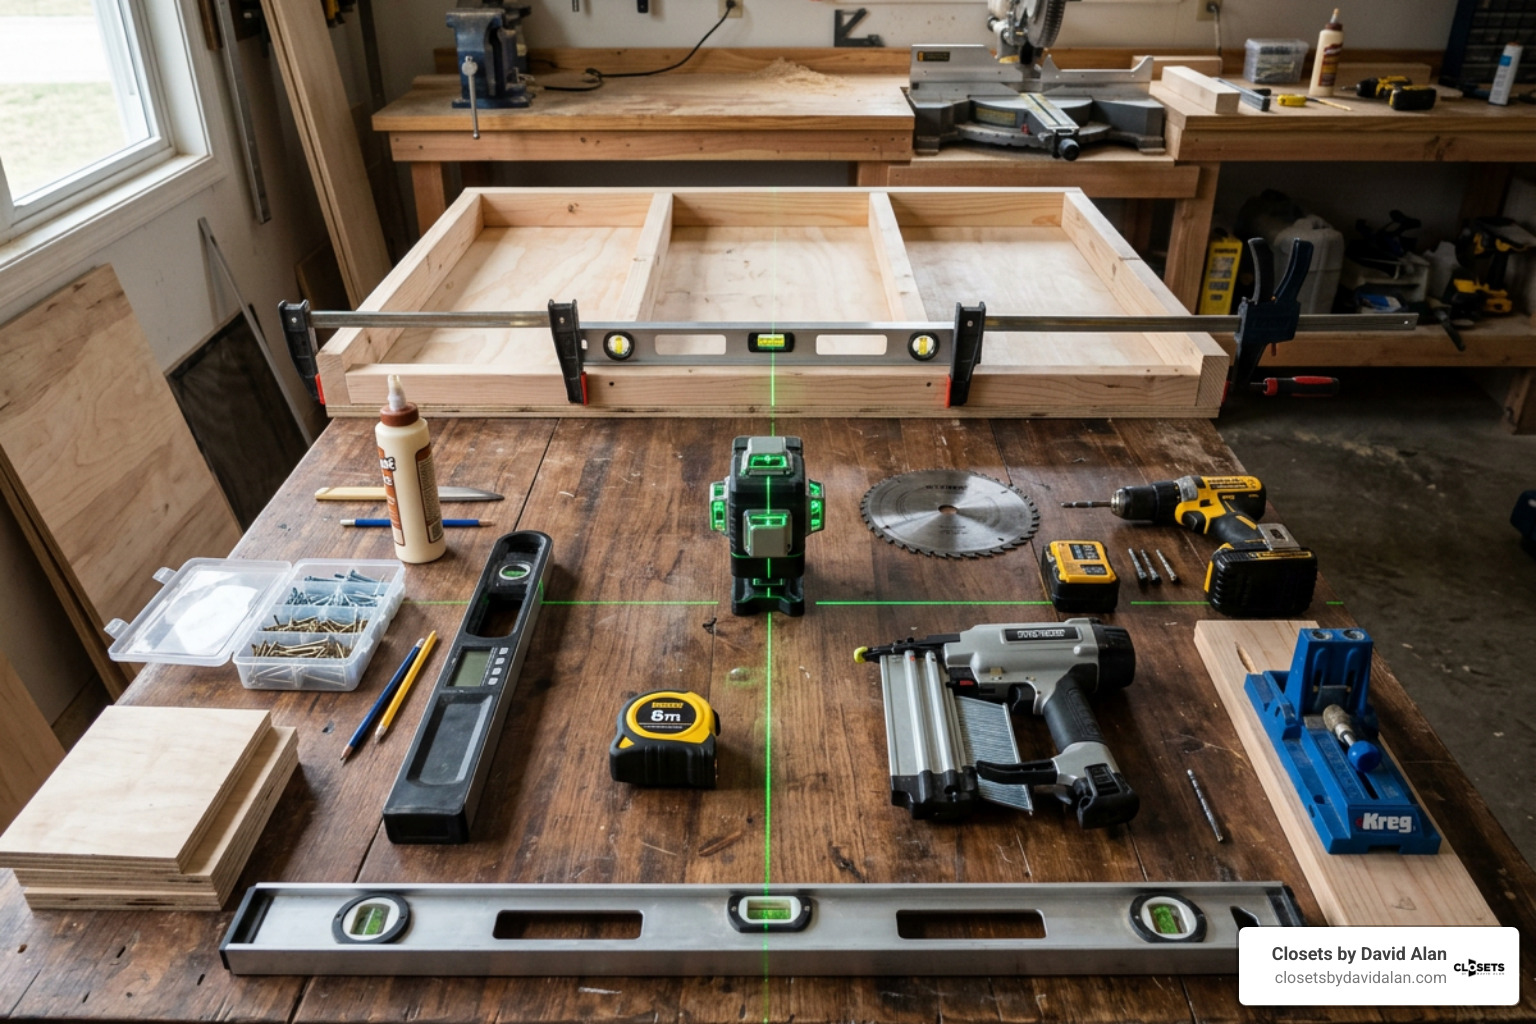
  • Measuring & Leveling : 25-foot tape measure, 4-foot bubble level, digital angle finder, and a self-leveling cross-line laser level.
  • Cutting Tools : Table saw with a fine-finish blade (60+ teeth), track saw or circular saw with edge guide, and a dual-bevel sliding miter saw.
  • Fastening & Joinery : Pocket-hole jig (such as a Kreg jig), drill/driver set, 18-gauge brad nailer, 2-1/2 inch cabinet mounting screws, wood glue, and heavy-duty bar clamps.
  • Safety Gear : Dust mask, eye protection, and hearing protection.

Selecting Materials

For structural casework that stays flat and resists seasonal humidity changes, cabinet-grade 3/4-inch birch or maple plywood is the gold standard for upright gables and structural shelves. Use 1/4-inch to 1/2-inch plywood for backing panels to keep the boxes square and rigid. Solid poplar is ideal for face frames, shelf nosing, and structural battens because it mills cleanly, takes paint evenly, and resists denting.

Avoid construction-grade framing lumber for visible finished components, as its moisture content causes twisting and joint separation over time. For the base platform, standard kiln-dried 2x4 lumber is suitable once checked for straightness and allowed to acclimate to your indoor room climate.

Preparing the Foundation Platform

Never set your bookcase carcasses directly onto an unlevel floor or against finished carpet.

  1. Remove Baseboards : Carefully score the paint line between the baseboard and drywall with a utility knife. Use a trim puller or pry bar backed with a wide putty knife to remove the moulding without gouging the drywall.
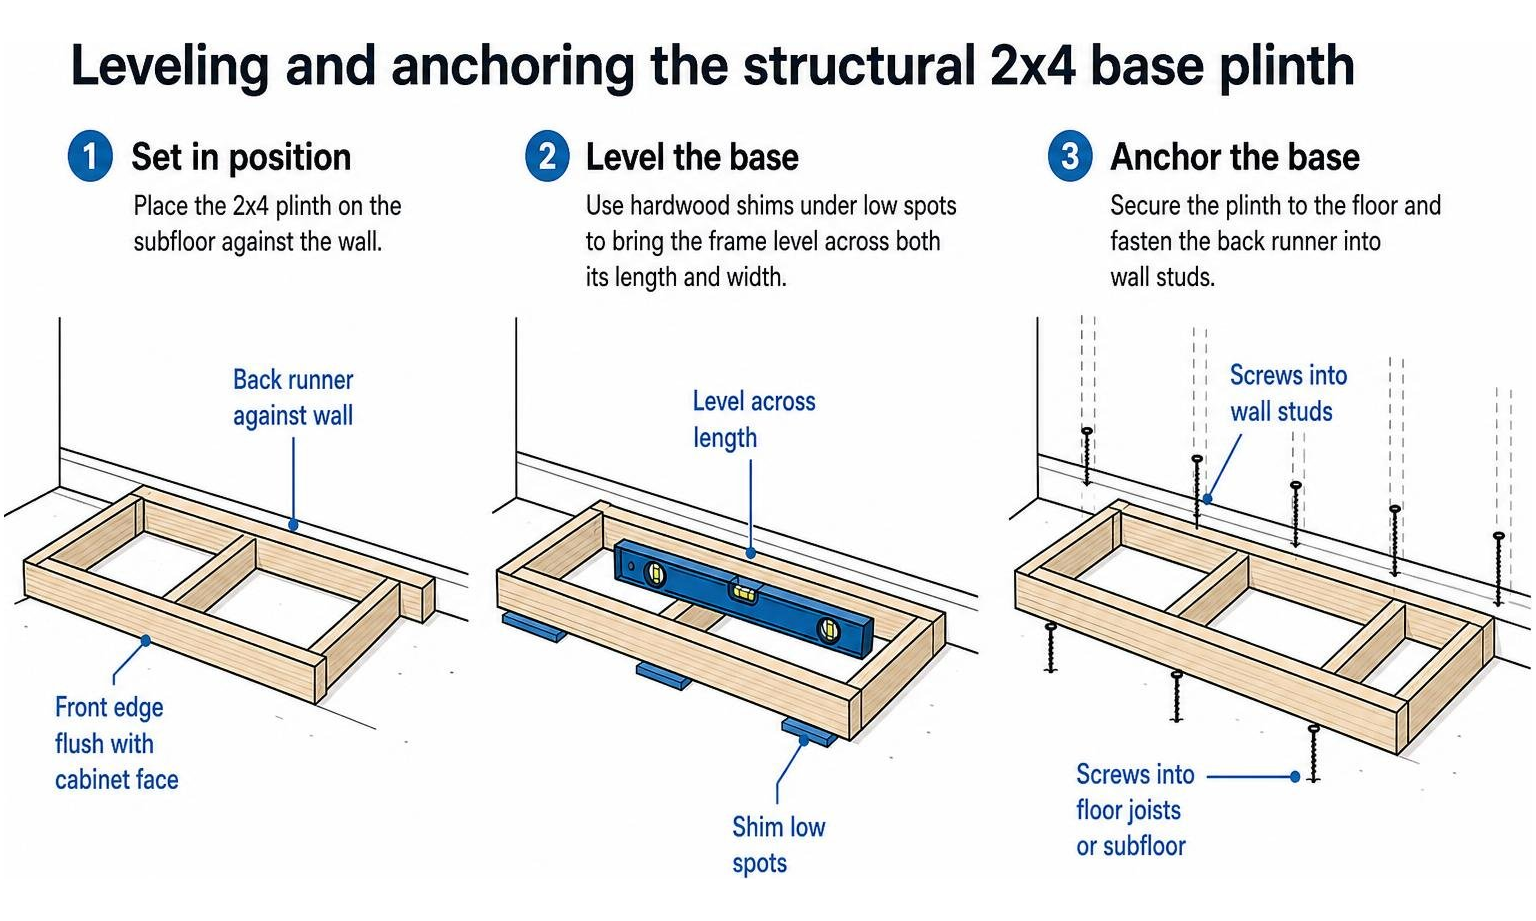
  2. Build a 2x4 Plinth Base : Construct a ladder-frame base box out of 2x4 lumber turned on edge, assembled with 3-inch wood screws. Size the frame so the cabinet carcasses will sit flush with its front edge once face frames are added.
  3. Level and Anchor the Base : Set the 2x4 plinth in position on the subfloor. Use hardwood shims beneath low spots to bring the entire frame into level across both its length and width. Secure the base to floor joists or the subfloor using heavy-duty screws, and fasten the back runner into the wall studs.

Converting Stock Furniture into Bookcase Built Ins

If building custom cabinet boxes from raw sheet goods feels daunting, you can adapt pre-manufactured components to achieve a custom look. Homeowners often combine prefabricated units—such as unfinished kitchen upper cabinets for base storage and modified IKEA Billy bookcases or pre-made shelving towers for the upper sections—to save time.

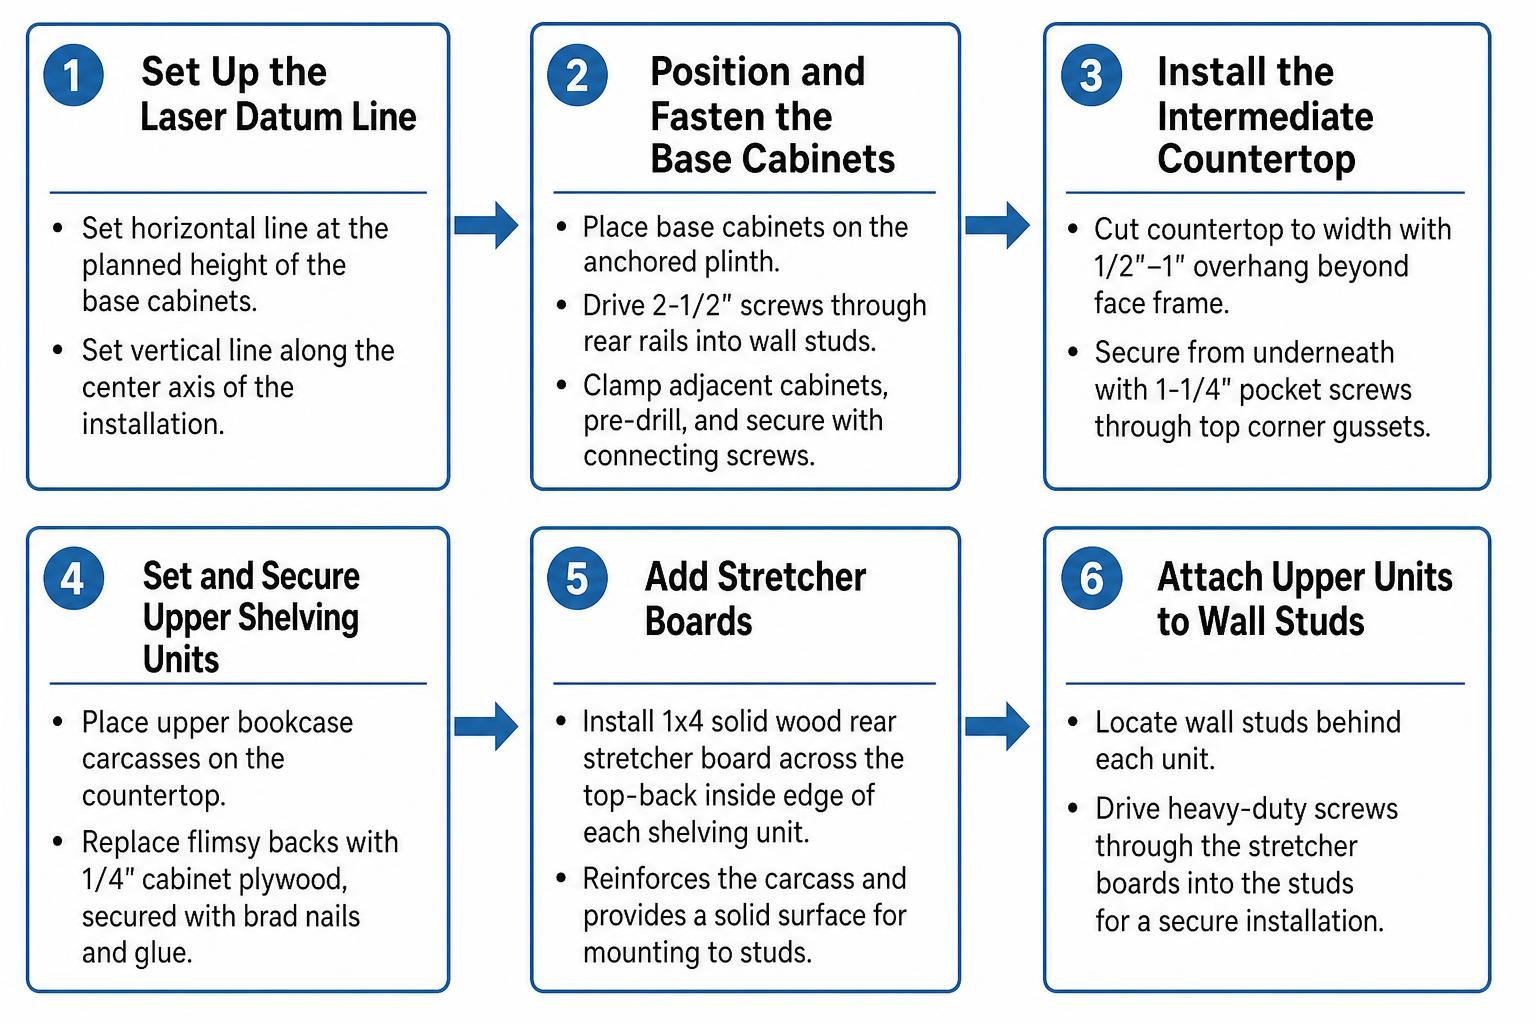
  1. Base Assembly with Stock Wall Cabinets : Inexpensive unfinished 12-inch or 15-inch deep upper wall cabinets work well as base units. Because they are shallower than standard 24-inch base cabinets, they provide ample concealed storage without crowding floor space. Mount them side-by-side on your leveled 2x4 base platform, screw the face frames together with 1-1/4 inch trim screws, and install a 3/4-inch plywood, butcher block, or painted MDF countertop across the top.
  2. Integrating Upper Shelving Units : Position your upper bookcase carcasses on top of the counter platform. If using flat-pack units, reinforce their structural integrity by swapping flimsy cardboard backs for 1/4-inch cabinet plywood secured with brad nails and glue.
  3. Adding Stretcher Boards : Install a 1x4 solid wood rear stretcher board horizontally across the top-back inside edge of each shelving unit. This batten reinforces the carcass and gives you a solid wood surface through which to drive heavy-duty mounting screws into wall studs.

Step-by-Step Assembly and Wall Installation

Achieving a high-end look comes down to alignment, secure structural anchoring, and seamless trim carpentry. In a dedicated Home Office or library wall, the cabinetry must support hundreds of pounds of books safely.

  1. Set Up the Laser Datum Line : Set up your laser level to cast a horizontal reference line across the wall at the planned height of the base cabinets, and a vertical line along the center axis of your installation.
  2. Position and Fasten the Base Cabinets : Place the base units onto the anchored plinth. Drive 2-1/2 inch cabinet mounting screws through the rear structural rails into the wall studs. Clamp adjacent cabinets together at the face frames or side panels, pre-drill, and secure them with connecting screws.
  3. Install the Intermediate Countertop : Cut your countertop to width, allowing for a 1/2-inch to 1-inch overhang beyond the face frame. Secure the top from underneath by driving 1-1/4 inch pocket screws upward through the top corner gussets of the base cabinets.
  4. Erect and Plumb the Upper Towers : Set the upper bookcase boxes atop the countertop. Use face clamps to pull the side stiles tightly together. Level and plumb each box with shims behind the rear stretchers, then fasten through the stretchers directly into wall studs.
  5. Apply Continuous Face Frames and Trim : Bridge the joints between units using 1x2 poplar stiles, and cap the top with continuous crown moulding to merge the casework flawlessly with your ceiling.

Construction Approach Structural Durability Custom Fit & Scribing Time Investment Ideal Application
Custom Plywood Build Exceptionally high; supports heavy loads Perfect match to uneven walls and ceilings High; requires intermediate carpentry tools Luxury home libraries, full-wall custom suites
Stock Cabinet Modification Moderate to high; relies on solid frames Moderate; requires add-on filler strips Medium; saves cabinet box assembly time Living room media walls, dining room buffets
Prefabricated Flat-Pack Hack Fair; requires structural backing upgrades Limited; fixed standard box dimensions Low; quick assembly with basic tools Rental upgrades, budget guest room alcoves

Recent Posts

By David Alan September 14, 2026
Learn how to maximize a 3 foot wide walk in closet with expert layout tips, clearance standards, and storage solutions for compact spaces.
By David Alan September 12, 2026
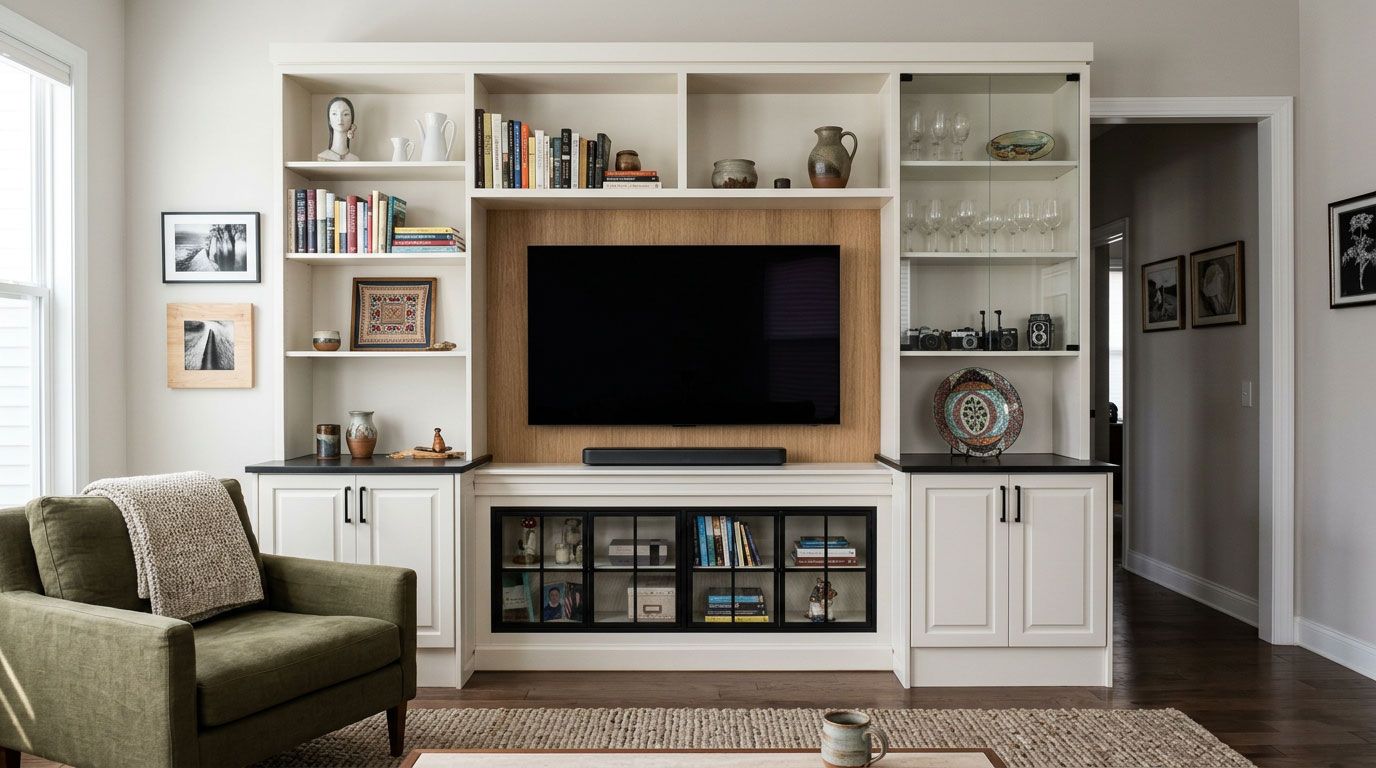
Compare custom, modular, and DIY built in desk and cupboards for your home office, kitchen, or living room to maximize space and style.
By David Alan September 11, 2026
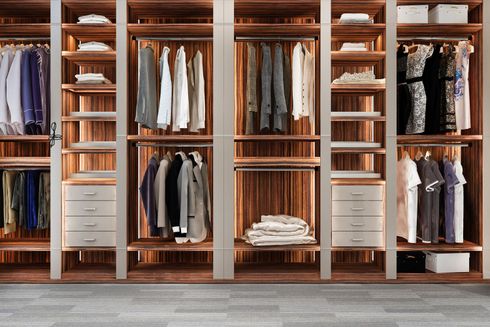
Maximize your reach-in closets with custom vertical zoning, double-hang rods, and smart storage solutions for a clutter-free, organized wardrobe.
By David Alan September 10, 2026
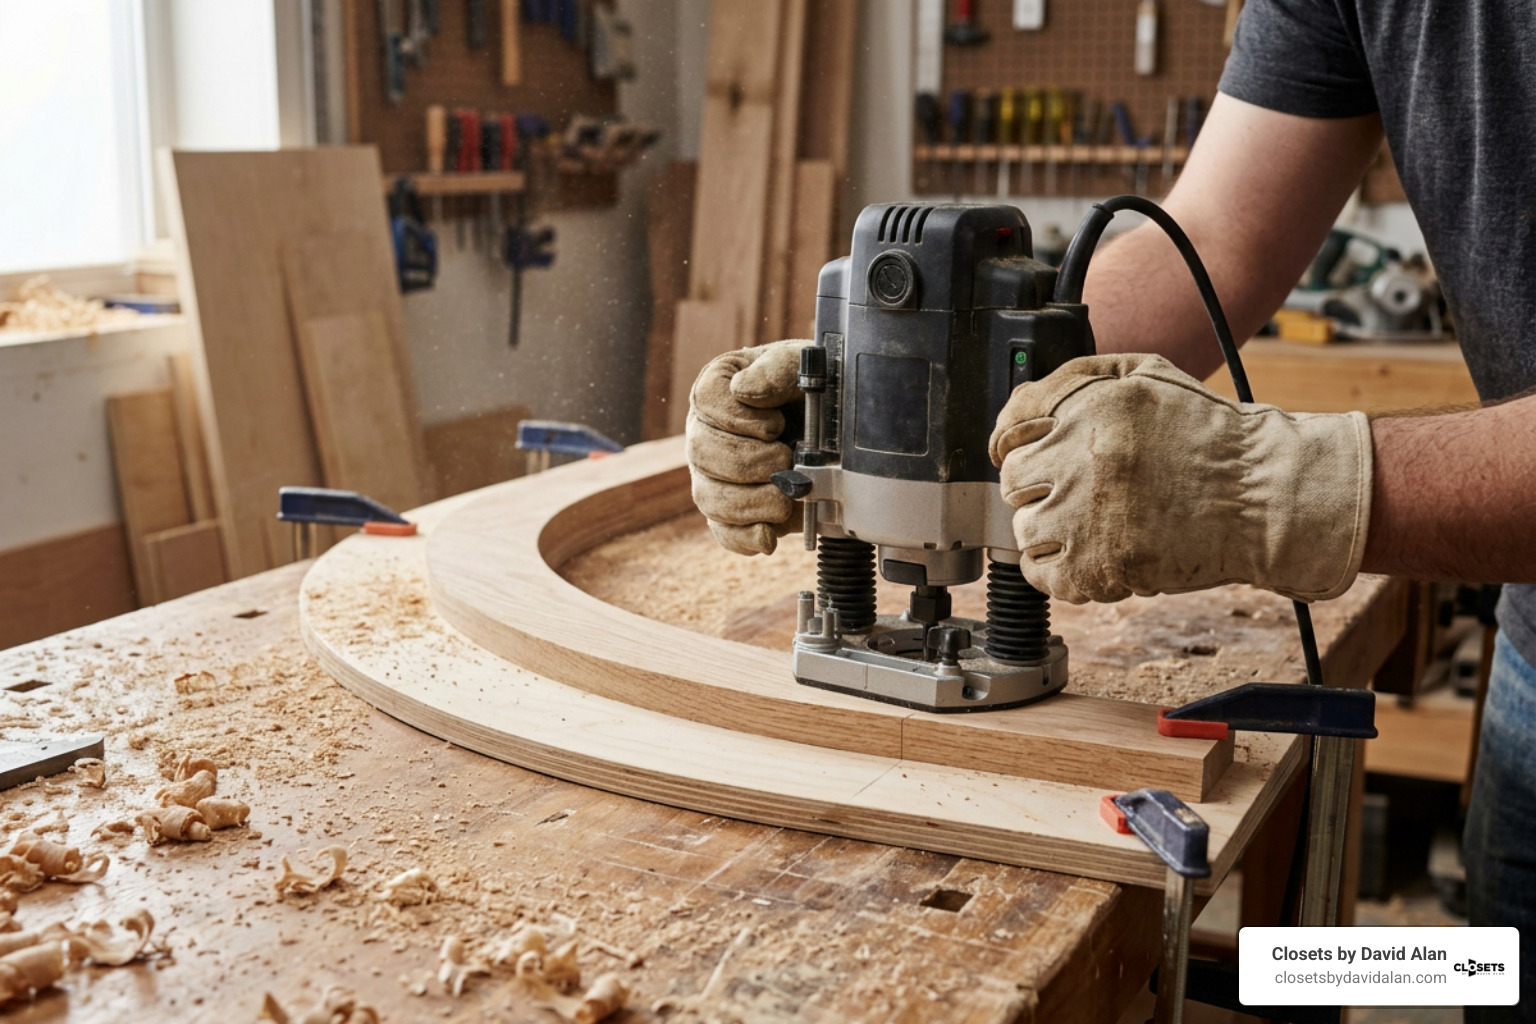
Learn 5 proven methods to build an arch bookshelf built in, from DIY hacks to custom millwork with lighting and trim.
By David Alan September 9, 2026
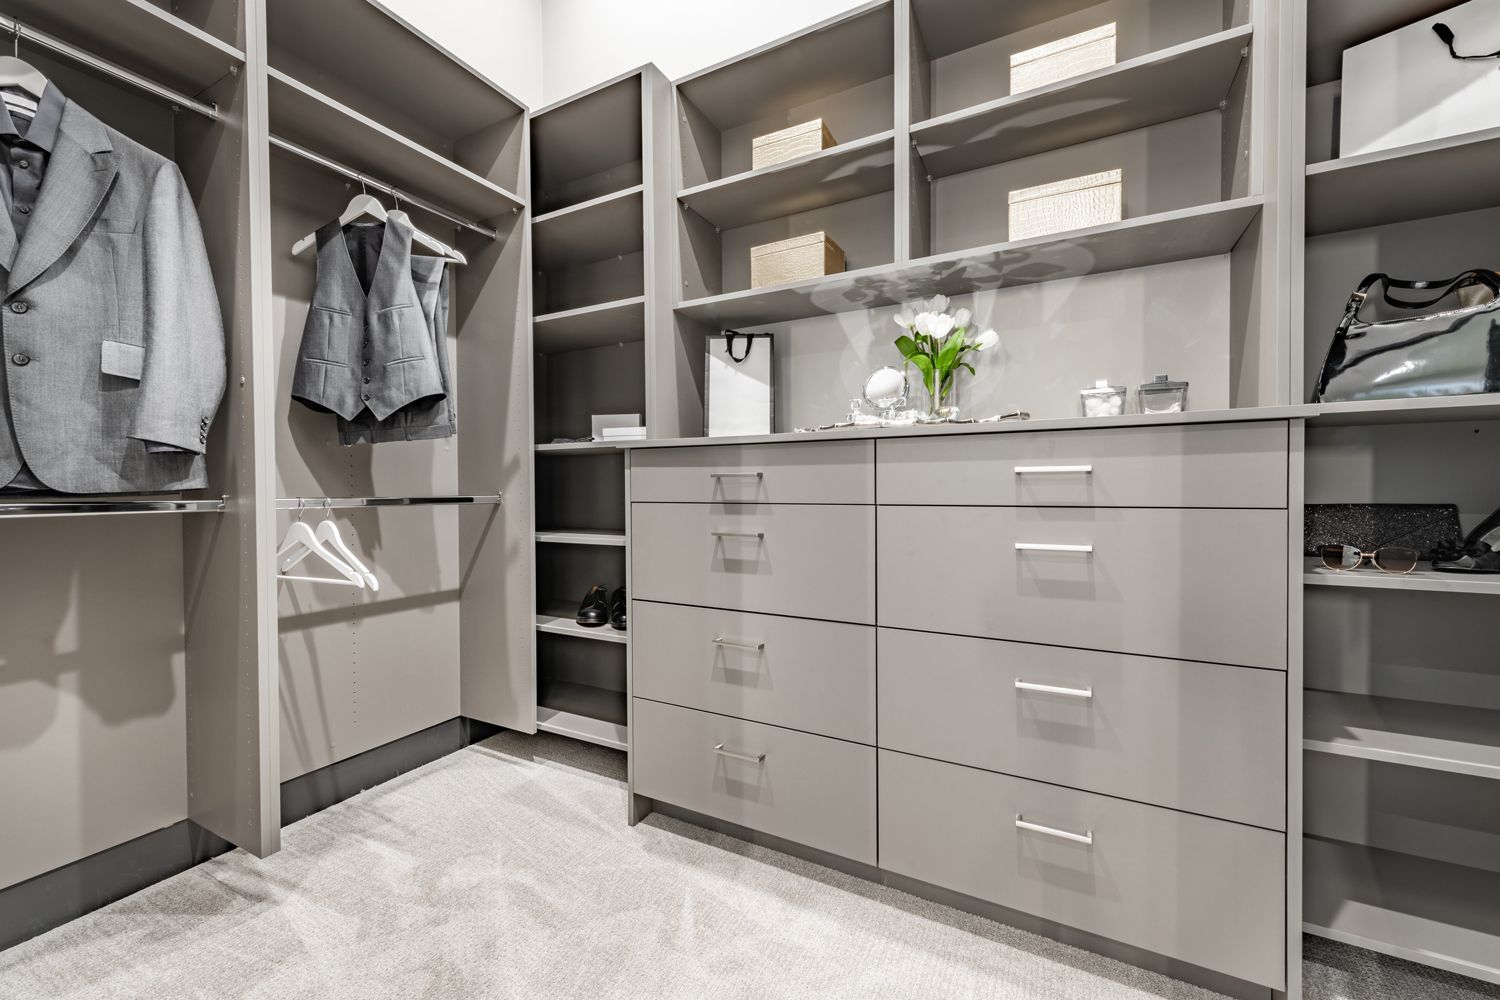
Discover expert layouts for a 4 foot wide walk in closet, with essential dimensions, storage tips, and design solutions to maximize your narrow space.
By David Alan September 8, 2026
Design your dream wardrobe room with expert spatial planning, custom joinery, and luxury storage solutions for any space.
By David Alan September 5, 2026
Design your dream his and hers closets with custom layouts, luxury islands, and smart storage for streamlined morning routines.
By David Alan September 4, 2026
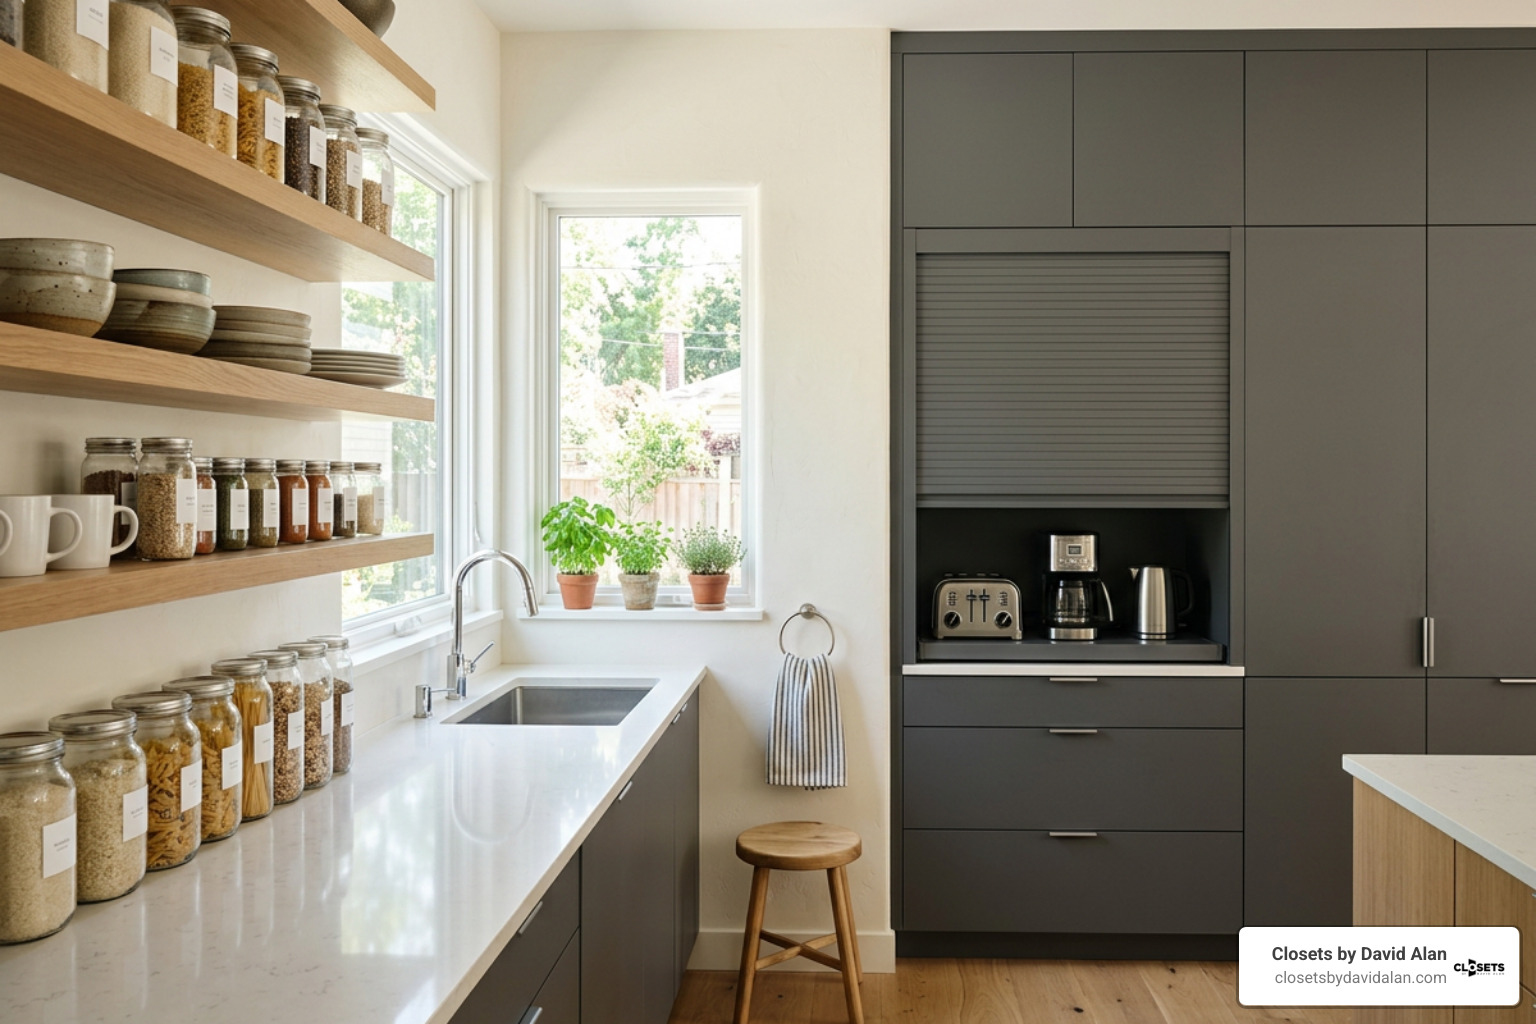
Browse inspiring kitchen pantry designs pictures for walk-in, compact, and luxury layouts with storage solutions and architectural details.
By David Alan September 3, 2026
Learn the minimum reach in closet size for a functional wardrobe, including depth, width, and door clearance requirements.
By David Alan September 2, 2026
Design your dream 6x6 walk in closet with expert layout tips, essential dimensions, and custom storage solutions for maximum space.

Show More