
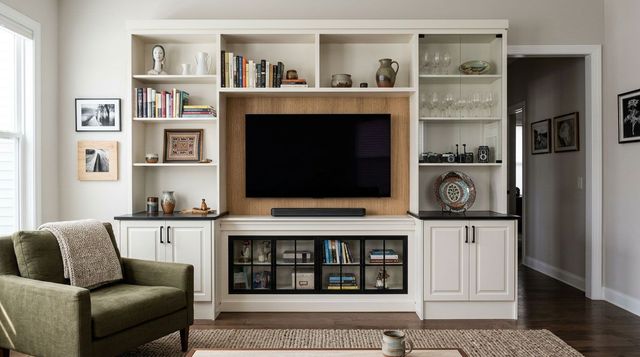
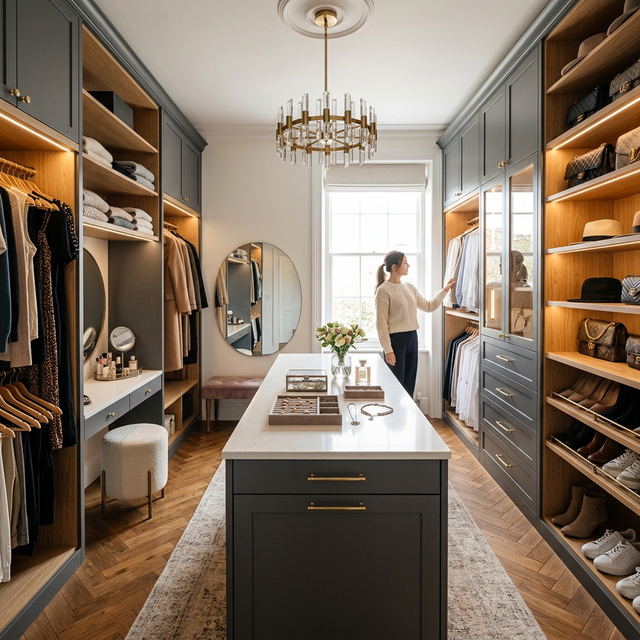
A Woodworker's Practical Guide to Building a Custom Entertainment Center

David Alan • October 21, 2026

Share this article

How to Build an Entertainment Center That Fits Your Space

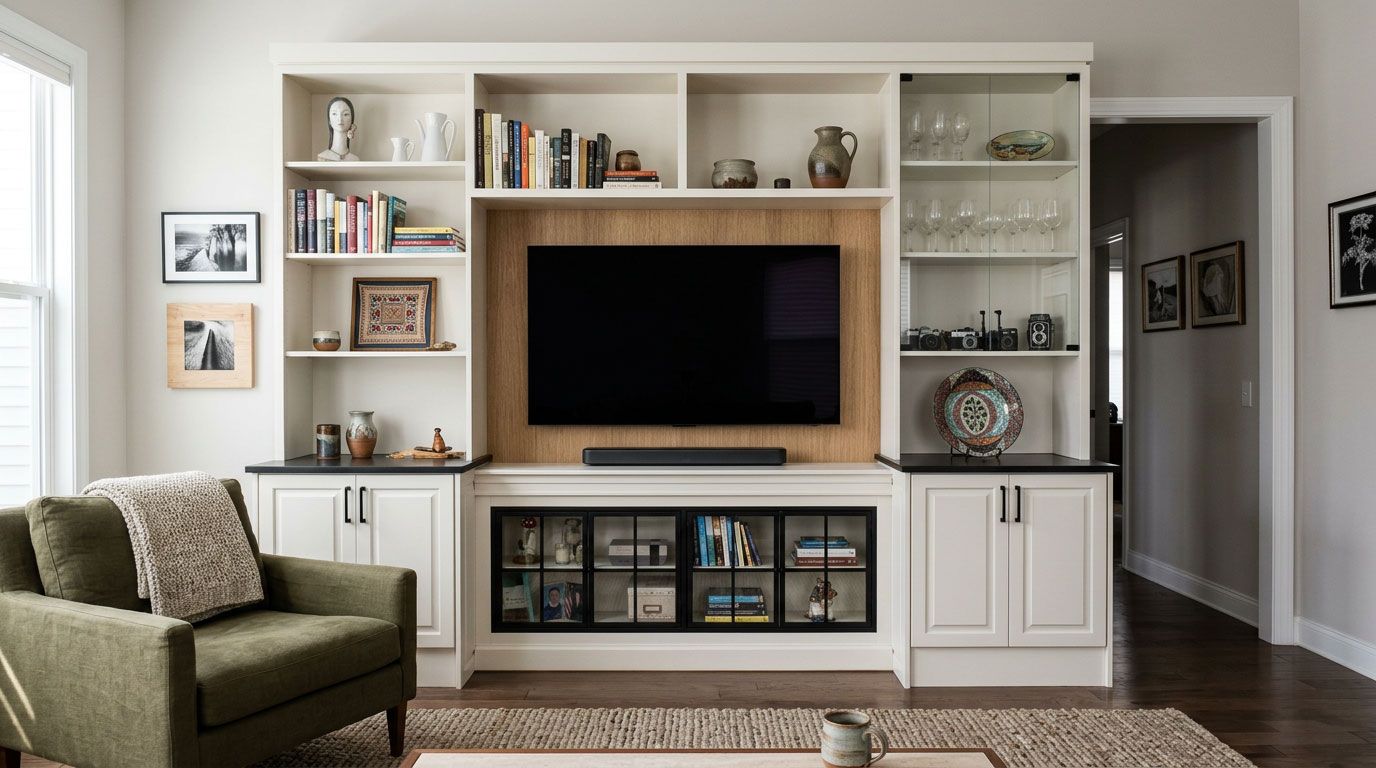
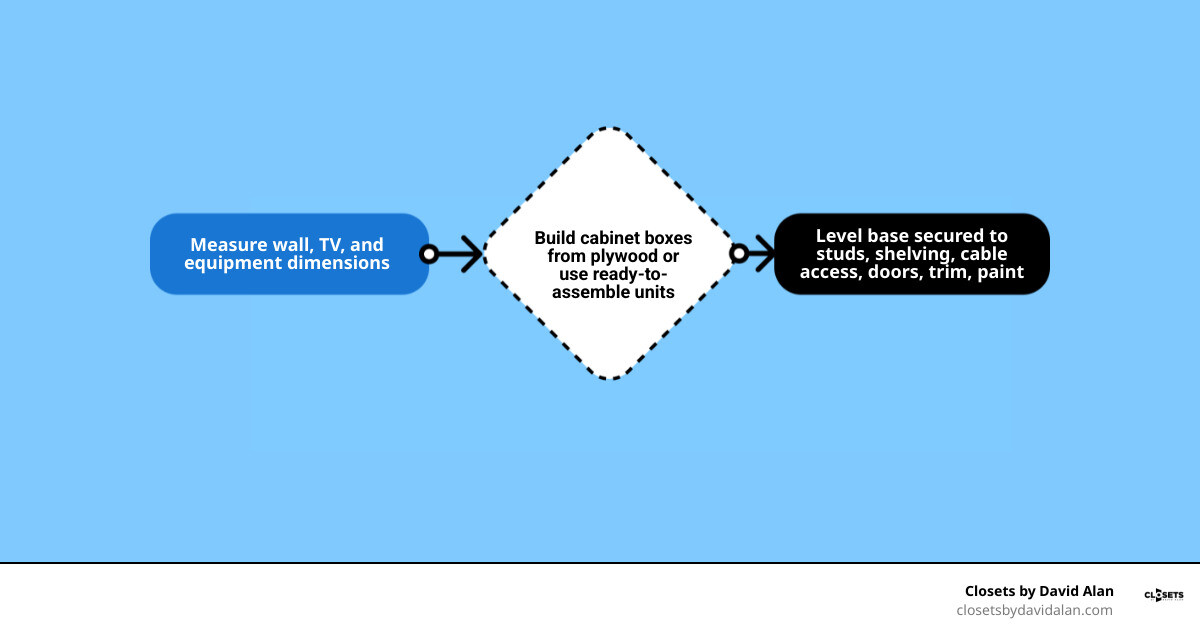
Start by measuring your wall, TV, and equipment. Choose between building cabinet boxes from plywood or using ready-to-assemble cabinets. Set the base level, secure it to wall studs, then add shelving, cable access, doors, trim, and paint. Plan the TV mount, ventilation, and power access before you close in the wall.

I'm David Alan, president of Closets by David Alan, where I design and install custom storage and cabinetry. I bring that focus on fit, finish, and daily use to every entertainment center build.

Planning, Sizing, and Designing Your Entertainment Center Build

A successful project begins on paper before making a single cut. Start by measuring your entire room wall—width, floor-to-ceiling height, baseboard depth, and the locations of existing electrical outlets, HVAC vents, and window trim.

Next, measure your television. Don't rely solely on the screen diagonal. Measure the television’s overall exterior width, height, and depth, including its mount. When framing the TV opening, leave at least 3 to 4 inches of clearance on all sides. This breathing room makes mounting the screen straightforward and gives you flexibility if you upgrade your display down the road.

Map your wall studs using a reliable magnetic or electronic stud finder. Mark each stud location on blue painter’s tape across the wall. Because drywall is rarely flat and floors are rarely level, use a long 4-foot level or laser level to identify high spots along the floor.

When drafting your design cut list, you must decide whether to build every carcass from sheet goods or modify pre-assembled modular bases. Here is how both approaches compare:

Feature Scratch-Built Plywood Carcasses Pre-Assembled / RTA Bases
Customization Unlimited dimensional control down to 1/16-inch Constrained to standard 3-inch cabinet width increments
Assembly Time Higher; requires pocket joinery, dados, and squaring Lower; fast box assembly using pre-drilled cams or dowels
Cost Profile Lower raw material costs, higher labor investment Higher material cost per box, saves construction hours
Material Quality Full control over cabinet-grade plywood core species Depends on grade; ranges from particleboard to plywood
Skill Requirement Intermediate to advanced carpentry skills Beginner to intermediate DIY skills

If you want to transform your living room with a custom entertainment center and bookshelf setup, aligning your base dimensions with your media equipment upfront ensures a balanced, architectural layout.

Essential Woodworking Tools and Cabinet-Grade Materials

Building durable cabinetry requires stable materials and precise tools.

Recommended Materials:

  • Cabinet Boxes: 3/4-inch hardwood plywood (such as cabinet-grade birch or maple) or pre-finished UV birch plywood for interior carcases.
  • Cabinet Backs: 1/4-inch or 1/2-inch plywood panels for racking prevention.
  • Face Frames and Door Stiles: 1x2 and 1x3 solid hardwood (poplar for painted builds, oak or maple for stained finishes).
  • Fasteners: 1-1/4 inch pocket hole screws, 2-1/2 inch cabinet mounting screws, and 18-gauge brad nails.

Essential Tools:

  • Table saw or circular saw equipped with a straight-edge track guide
  • Miter saw for clean crosscuts and trim bevels
  • Pocket-hole jig for strong, hidden joinery
  • Cordless drill and impact driver
  • 18-gauge pneumatic or cordless brad nailer
  • Laser level or 48-inch spirit level
  • Shelf-pin drilling jig

Budget Breakdown and Realistic Time Commitment

The material investment for a complete media wall typically scales with the overall footprint, hardware selections, and finish types. Raw sheet goods, solid face frame hardwood, integrated LED pucks, soft-close hardware, and high-performance paint make up the primary material expenses. Choosing high-end accents like butcher block countertops or custom fluted door panels will naturally raise total material requirements.

In terms of labor, an experienced woodworker can assemble modular bases and pre-built components in about 12 to 15 focused hours of construction. However, a comprehensive scratch-built project—spanning carcass assembly, face framing, sanding, priming, spray finishing, and trim integration—typically spans 4 to 6 weekends for an intermediate DIYer. Following a dedicated step-by-step guide to building bookcase built-ins helps you pace each construction phase efficiently.

Constructing the Cabinet Foundation and Upper Structure

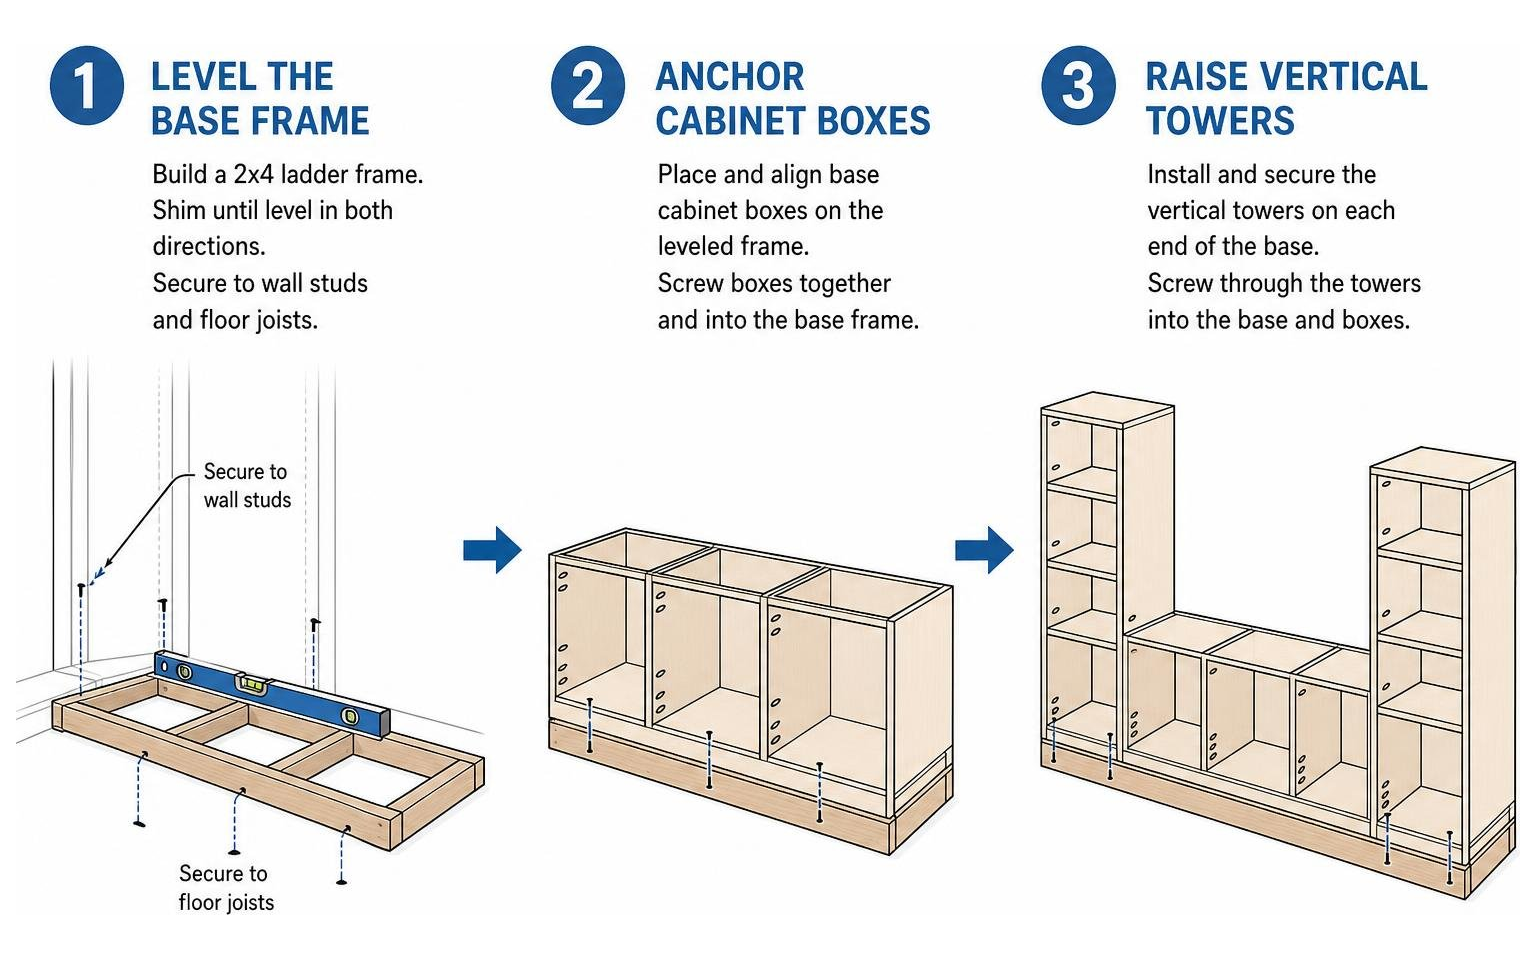
A stable installation relies on a continuous, level sub-base. Rather than leveling individual cabinet boxes across an uneven floor, build a dedicated 2x4 lumber platform spanning the full width of the entertainment center.

Construct the 2x4 ladder frame on edge, securing the joints with 3-inch framing screws. Place the platform against the wall, shim underneath until it is level in both directions, and fasten it directly into the wall studs and floor joists. Reference helpful walkthroughs like Building Our Dream Entertainment Center | Start to Finish DIY for visual examples of securing structural support platforms.

Executing the Base Platform and Lower Entertainment Center Build

Assemble your lower cabinet boxes using pocket-hole joinery or dado joints reinforced with wood glue. Pocket holes placed on the exterior sides of outer boxes will be covered by finished end panels, keeping the interior clean.

  1. Set the assembled base carcasses onto the leveled 2x4 support platform.
  2. Clamp the adjacent cabinet face edges flush using parallel clamps.
  3. Fasten the cabinet sidewalls together using 1-1/4 inch connector screws.
  4. Drive 2-1/2 inch washer-head cabinet screws through the internal rear hanging rails into your marked wall studs.
  5. Install full-extension, soft-close drawer slides using a dedicated slide jig to guarantee identical offset heights.

For a deeper look into sizing robust lower cabinetry, review our definitive guide to custom bookcases.

Assembling Upper Shelving for Your Entertainment Center Build

Construct upper shelving towers from 3/4-inch plywood. Drill adjustable shelf pin holes along the interior faces using a jig before assembling the box carcasses. This keeps your hole spacing uniform and vertical.

Apply real wood veneer edge banding to all exposed plywood front edges using an ordinary household iron, then trim the excess with an edge-banding tool. Alternatively, leave the plywood edges raw if you plan to install a solid wood face frame over the assembled structure. Connect the upper side towers with a rigid horizontal bridge shelf across the top of the TV opening to tie the entire upper unit into a unified structure.

Integrating AV Cabling, Built-In Lighting, and Hardware

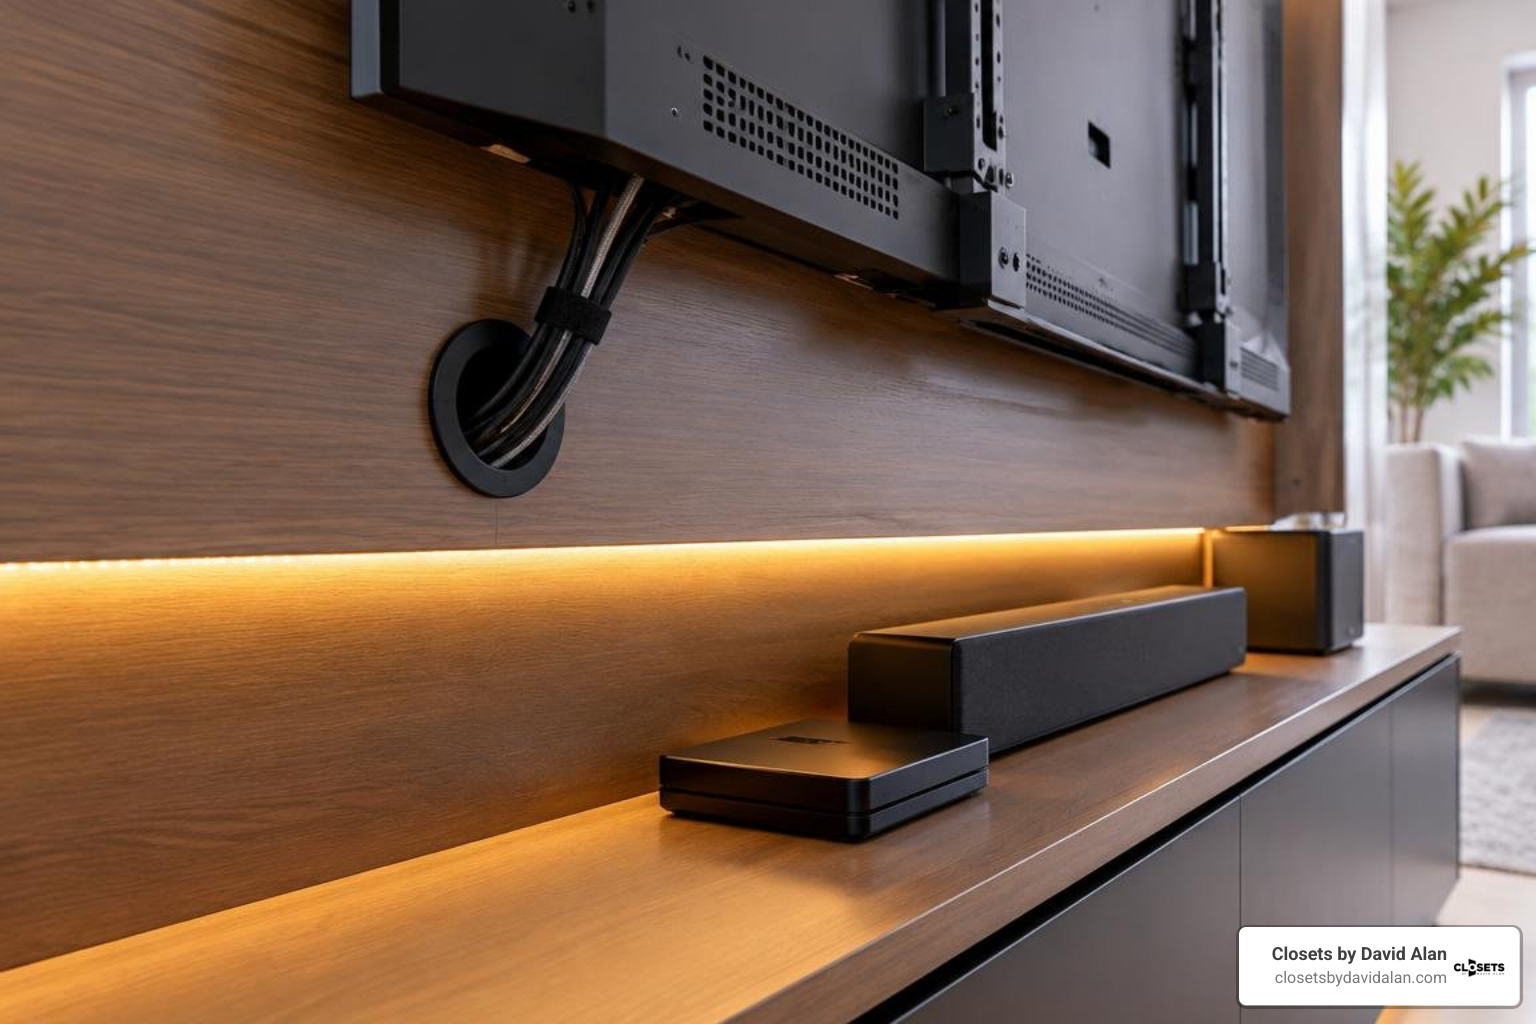
Concealing electronics wiring is essential for a clean, built-in aesthetic. Cut pass-through holes in the cabinet sides and top surfaces using a 2-inch hole saw, then install plastic or metal desk grommets to protect your cables from raw wood edges.

Route low-voltage LED strip channels along the underside of shelves or vertically behind the face frames for soft accent lighting. Label both ends of all HDMI, ethernet, and audio cables using colored tape or wire tags before sliding components into their bays.

TV Wall Mounting and Component Ventilation

Modern electronics generate significant heat that can degrade hardware if trapped in closed cabinets:

  • Mounting Backer: Anchor a 3/4-inch plywood backer board directly to the wall studs behind the TV opening to provide a solid mounting surface for your articulating wall bracket.
  • Passive Airflow: Route 2-inch ventilation slots or decorative brass grilles into the bottom and rear panels of lower media bays to establish continuous convective cooling.
  • Component Clearance: Maintain a minimum 2-inch gap above AV receivers and gaming consoles inside enclosed cabinets to prevent thermal throttling.

Countertops, Doors, and Decorative Hardware Customization

A continuous countertop placed over the lower cabinets ties the lower cabinetry together. Solid hardwood butcher block, stained edge-glued panels, or laminate-topped birch plywood provide durable, attractive surfaces.

Hang shaker-style doors across the lower cabinets using concealed, soft-close Euro-style cup hinges. For extra visual texture, consider adding pole wrap or fluted inlays to the door center panels. Complement your build with matte black or brushed brass hardware pulls that match your home's interior trim.

Professional Finishing Touches and Troubleshooting

Transforming individual cabinet boxes into a built-in architectural fixture comes down to face framing and paint prep.

Build face frames from 1x2 solid poplar using pocket holes on the back side. Nail and glue the face frames directly over the raw plywood carcass edges.

Achieving a Seamless Built-In Look with Trim and Caulking

  1. Install continuous baseboard trim along the bottom platform, matching the profile of your room's existing floor moldings.
  2. Fasten crown molding along the top of the upper towers, bridging the gap between the shelving and the ceiling.
  3. Fill all brad nail holes with premium non-shrinking wood filler, then sand flush using 220-grit sandpaper once dry.
  4. Run a bead of high-performance elastomeric stretch sealant along all joints where wood meets drywall. These sealants expand and contract with seasonal shifts without cracking.
  5. Apply a high-adhesion primer followed by two coats of self-leveling cabinet enamel using a fine-finish HVLP sprayer or high-density foam roller.

Troubleshooting Wood Movement, Warping, and Alignment Issues

Wood moves with changes in seasonal humidity, which can occasionally create alignment challenges:

  • Cupped Boards: If a plywood upright shows minor bowing, pull it into alignment by fastening it to fixed interior shelves or securing it to the face frame.
  • Misaligned Cabinet Doors: Adjust your European concealed hinges. Turning the depth, lateral, and vertical adjustment screws allows you to fine-tune door gaps without re-drilling hinge pockets.
  • Out-of-Square Walls: Older drywall corners are rarely 90 degrees. Scribe your outer face frame stiles or side filler strips to match the wall’s specific contour using a compass, then trim along the scribe line with a block plane or jigsaw.

Frequently Asked Questions About Entertainment Center Construction

How long does a DIY entertainment center take to build?

A straightforward setup using pre-assembled base units takes about 12 to 20 working hours spread across a weekend. A full, scratch-built wall unit with custom bookcases, face frames, integrated lighting, and painted finishes typically requires 4 to 6 weekends to account for glue, primer, and paint drying times.

What is the average cost to build a built-in media center?

A DIY built-in media center built with quality materials generally costs between several hundred and a couple thousand dollars for raw sheet goods, solid face frame lumber, slides, hinges, integrated wiring, and finish coatings. This is significantly less than hiring a bespoke carpenter for custom architectural cabinetry.

Can a beginner build a custom built-in entertainment center?

Yes. An advanced beginner with basic tool confidence can achieve professional results by using pre-assembled lower cabinet boxes and modular upper shelving. Using pocket-hole joinery, reliable measurement techniques, and careful trim work simplifies the carpentry while delivering a polished built-in look.

Conclusion

Building your own custom media center adds tailored storage, conceals tangled cords, and creates a striking focal point in your home. By taking the time to level your base platform, route your wiring early, and detail your trim work, you can create a durable, beautiful piece of furniture.

When you're ready to bring this level of custom organization to other spaces in your home, explore our practical guide to minimum reach-in closet dimensions for expert tips on maximizing household storage efficiency.

Recent Posts

By David Alan • October 20, 2026
Compare custom closet built-ins for reach-in and walk-in spaces. Learn load capacity, materials, and installation to maximize your wardrobe storage.
By David Alan • October 19, 2026
Discover 7 key design strategies for beautiful small walk in closets, from vertical storage to boutique luxury, maximizing every inch of your space.
By David Alan • October 16, 2026
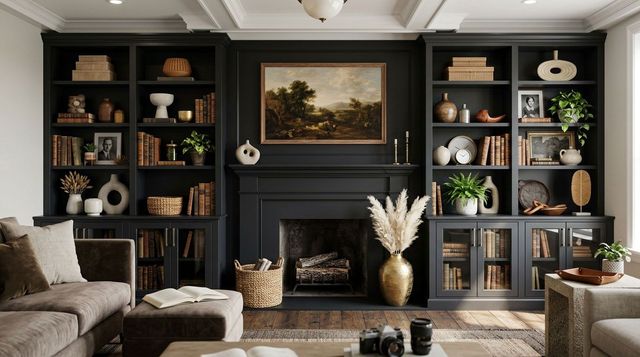
Design your dream space with custom bookcases built to fit your home. Explore styles, materials, and expert installation for lasting beauty.
By David Alan • October 15, 2026
Learn how to build a closet island with expert layout, sizing, storage, and material tips for your walk-in dressing room.
By David Alan • October 14, 2026
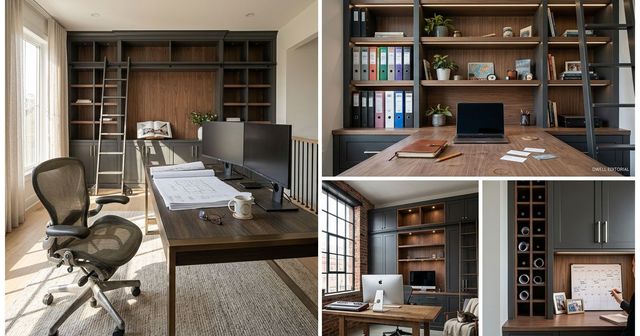
Build your own DIY built in bookcase with desk using our step-by-step framing plans and expert finishing tips.
By David Alan • October 13, 2026
Compare modular vs. custom closet cabinets for durability, storage, and installation. Find the best system for your space.
By David Alan • October 12, 2026
Design a beautiful walk in wardrobe with expert layout, lighting, storage, and luxury features—from open shelving to smart organizers.
By David Alan • October 10, 2026
Learn how to design and install custom closet built ins with our detailed guide on planning, materials, and professional finishing techniques.
By David Alan • October 9, 2026
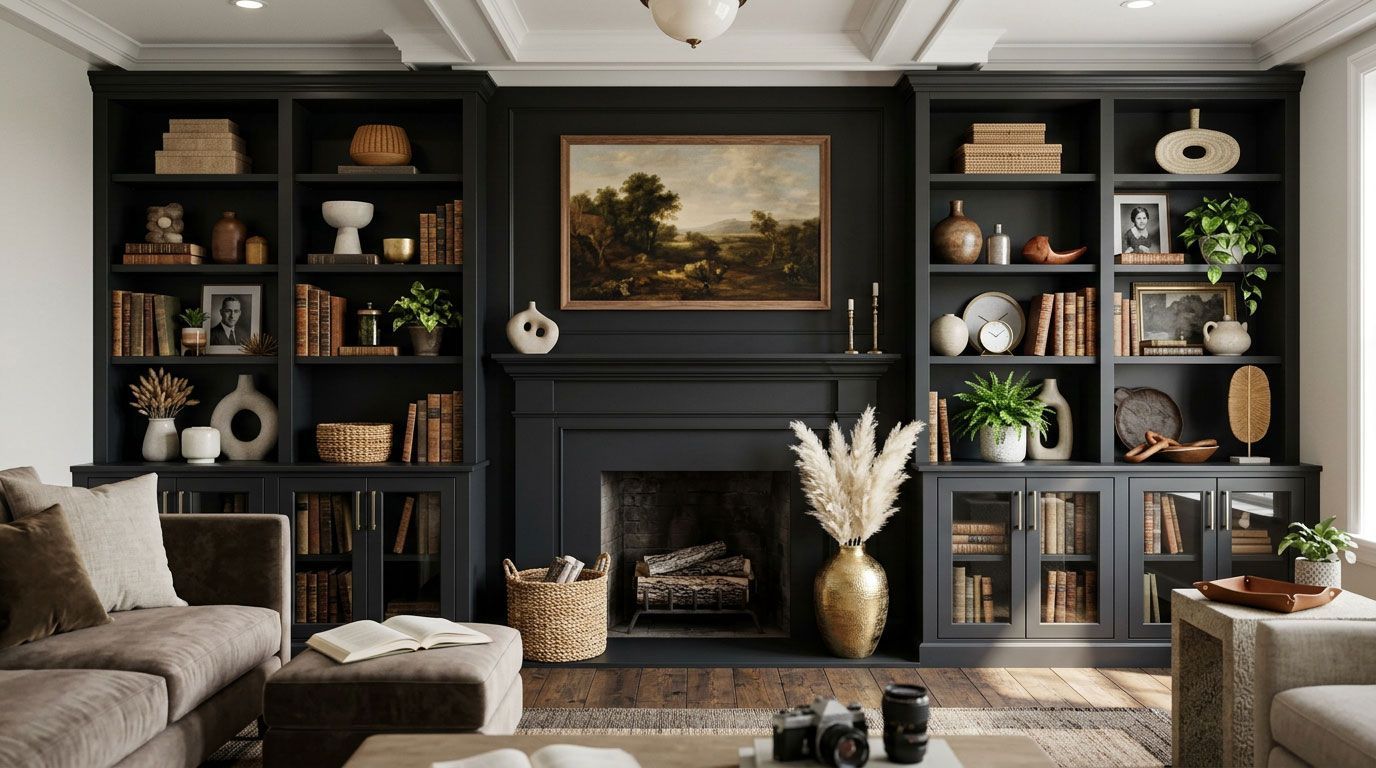
Hire local bookshelf makers near me for custom built-ins that outlast mass-produced shelving with precision fit, solid wood, and lasting value.
By David Alan • October 8, 2026
Discover smart reach-in closet remodel ideas to maximize storage and style. Transform your space with expert layout and design tips.

Show More