A Savvy Buyer's Guide to Durable Closet Cabinets and Modular Systems
How to Choose Closet Cabinets That Fit Your Space
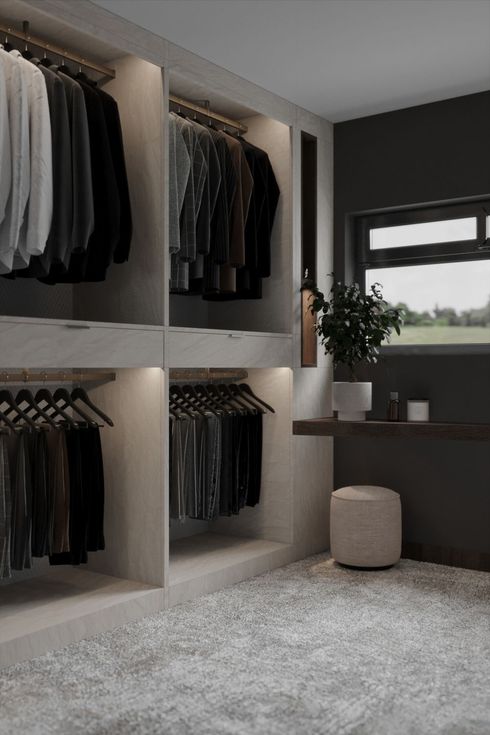
Start with the fit, then check the build. Modular closet cabinets are a good choice when you want flexible shelves, drawers, and hanging space without changing the closet opening. Custom built-ins make more sense when you want cabinetry shaped to an unusual space or a seamless, wall-to-wall look. For either option, look for sturdy cabinet materials, smooth drawer hardware, and a layout based on what you actually store.
This guide compares modular systems and built-ins so you can narrow your options before choosing finishes or accessories.
I'm David Alan, president of Closets by David Alan in Pittsburgh. My team designs and installs high-end closet cabinets for walk-ins, reach-ins, and other spaces, and I'll share what matters most when choosing a system built to last.
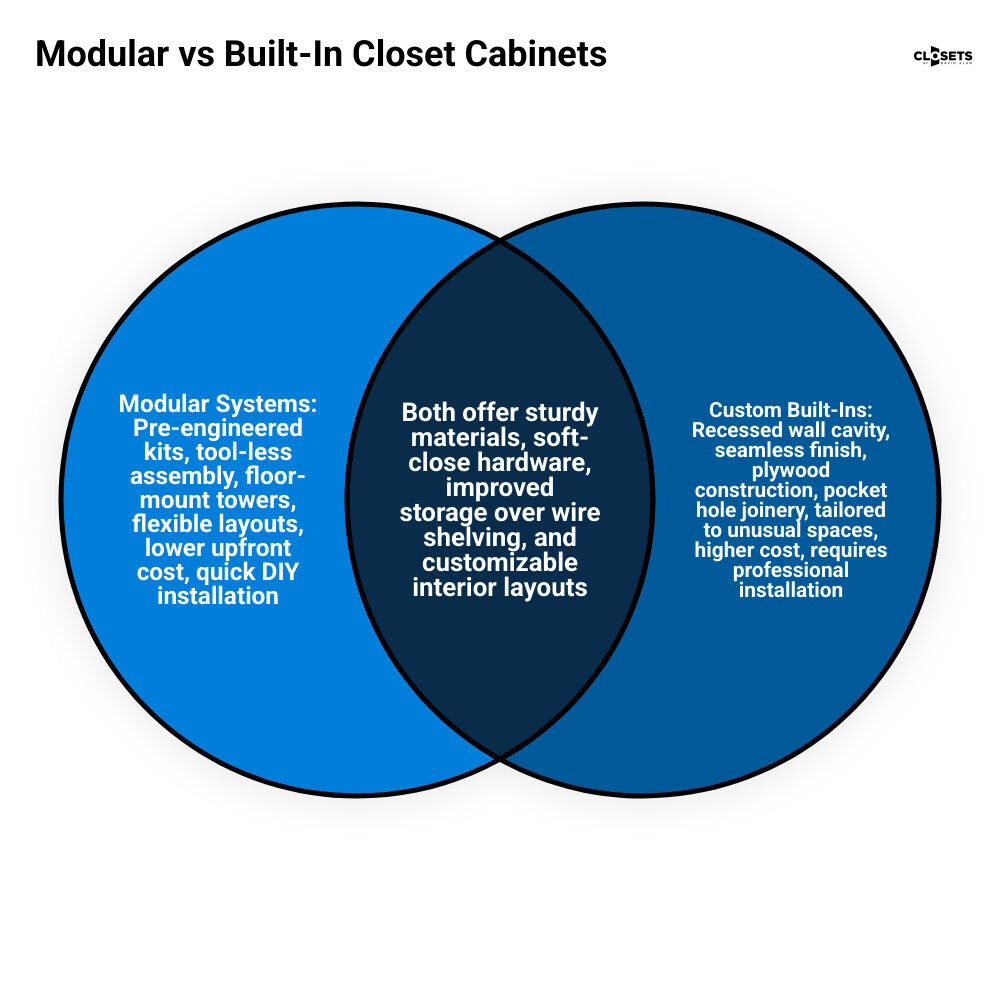
Types of Closet Cabinets: Modular Kits vs. Custom Built-Ins
When evaluating storage upgrades, homeowners generally choose between two distinct design paths: pre-engineered modular systems or architectural, recessed built-in cabinetry. Both provide substantial improvements over builder-grade single-wire shelving, but they differ significantly in construction technique, installation demands, and visual permanence.
Modular closet systems use standardized, flat-pack components—typically vertical towers, horizontal shelves, drawer boxes, and suspension rods. These systems are designed for rapid configuration along open walls. In contrast, custom built-ins integrate directly into the room's structural framing. They often sit recessed inside an existing wall cavity, utilizing face frames and molding to create the appearance of permanent furniture.
Understanding these trade-offs helps you determine which path matches your home's layout, your timeline, and your storage goals. When reviewing options for custom built-ins, consider how each system performs across critical factors:
| Feature / Metric | Pre-Made Modular Closet Kits | Custom Built-In Closet Cabinets |
|---|---|---|
| Primary Material | High-density core with thermal laminate | 3/4-inch hardwood cabinet-grade plywood |
| Assembly Method | Tool-less snap-fit joints or cam-locks | Pocket-hole joinery, wood glue, and brad nails |
| Installation Speed | Fast (often completed in a few hours) | Multi-day (framing, drywall, paint, trim) |
| Spatial Adaptation | Standardized incremental widths (e.g., 72" to 130.5") | Built to the exact millimeter of the opening |
| Wall Cavity Use | Sits outward on the floor or suspension rail | Can recess into interior wall framing to reclaim floor depth |
| Drawer Engineering | Pre-assembled solid wood dovetail with soft-close | Custom-built plywood or solid hardwood boxes |
| Aesthetic Integration | Contemporary, clean furniture look | Seamless, historic, or architectural integration |
Key Features of Pre-Made Modular Closet Cabinets
Modern modular kits have evolved far beyond basic utility shelving. High-end kits are engineered around modular floor-mount towers that bear downward vertical loads directly onto the flooring structure. This design provides exceptional rigidity compared to older wall-hung track systems.
Key engineering highlights of quality modular closet systems include:
- Floor-Mount Towers: Standing vertical towers (commonly 85 inches or taller) anchor against wall studs for lateral stability while sending all weight straight to the floor.
- Tool-Less Assembly Mechanisms: Advanced precision fittings allow system towers to lock together without requiring specialized hand tools, speeding up assembly by 6 to 10 times compared to traditional fasteners.
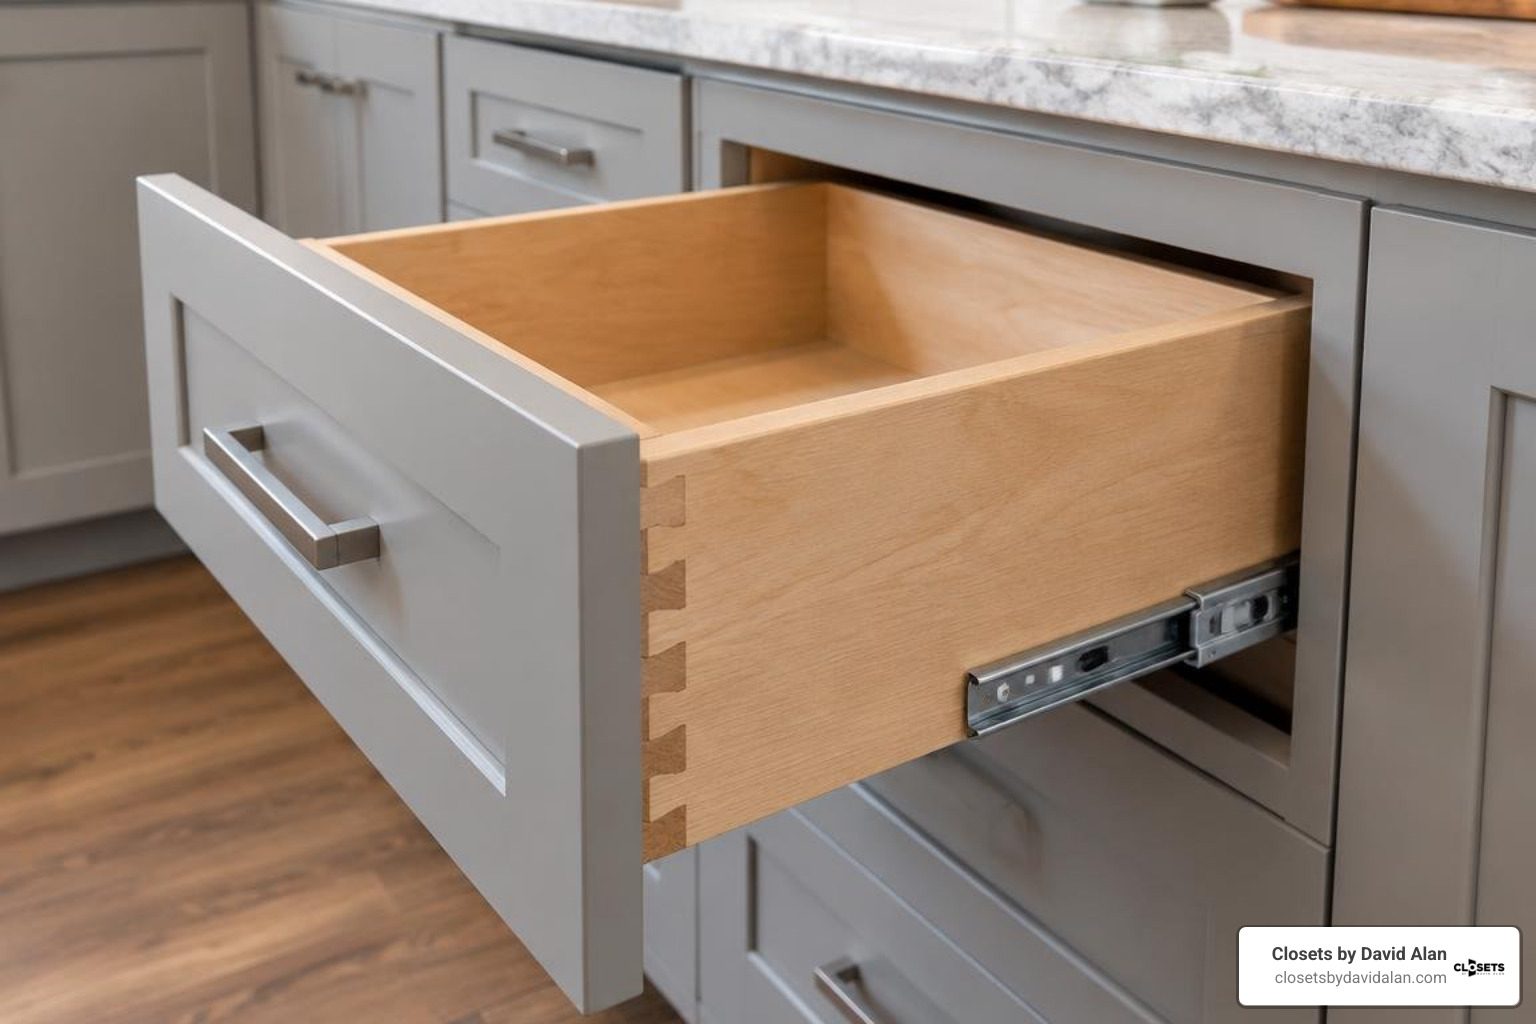
- Dovetail Drawer Construction: Drawer boxes crafted with interlocking English or French dovetail joints resist mechanical tensile stress during daily opening and closing.
- Soft-Close Slides and BLUM Hinges: Premium European concealed hinges and full-extension, under-mount drawer slides eliminate slamming and maintain smooth operation over years of use.
- Adjustable Shoe and Flat Shelves: Vertical hole runs with matching metal shelf pins allow shelves to be rearranged to fit everything from tall boots to flats.
- Integrated Hanging Rods: Heavy-gauge, anodized metal hanging rods resist bowing under heavy winter coats and provide smooth garment sliding.
Architectural Appeal of Recessed Built-In Closet Cabinets
While modular units sit against the wall plane, custom recessed built-in cabinets fit directly within the wall framing. This method is especially popular in older homes found in historic neighborhoods throughout Shadyside, Squirrel Hill, and Sewickley, where room footprints are fixed and floor space is at a premium.

By removing existing drywall, swinging bifold doors, and header trim, you can slide a custom cabinet box directly into the open stud cavity.
- Reclaiming Depth: A recessed cabinet utilizes the 3.5-inch to 4-inch depth inside the wall stud wall framing. This frees up precious square footage in the room while maintaining generous storage depth.
- Overhanging Face Frames: The solid wood face frame is milled slightly wider (typically 1/2 inch to 3/4 inch) than the plywood carcass. When slid into the rough opening, this overhang covers the raw cut drywall edge, eliminating the need for complex drywall taping and mudding around the frame.
- Structural Plywood Construction: Built-in carcasses rely on 3/4-inch cabinet-grade hardwood plywood, such as red oak or maple, joined with pocket-hole joinery. This creates a solid structure that never wobbles or sags.
- Tailored Interior Zones: Interior partitions can be customized with dedicated drawer banks, open cubbies, and variable-spaced shelving to fit your wardrobe. Applying practical reach-in closet design strategies ensures every vertical inch serves a distinct purpose.
Essential Construction Specs and Hardware Quality
Whether choosing a factory-machined modular setup or commissioning a custom built-in, a closet system is only as durable as its core materials and operating hardware.
1. Carcass Material: 3/4-Inch Plywood vs. Particle Board
In budget systems, manufacturers often use 1/2-inch low-density particle board wrapped in paper foil. Over time, humidity changes and heavy loads can cause these thin panels to bow, sag, or pull away at the screw holes. High-grade systems use 3/4-inch furniture-grade plywood or industrial-grade thermofused melamine cores (minimum 45-lb density). These materials provide the structural integrity needed to support full-length hanging garments, heavy winter coats, and stacked accessories without deflecting.
2. Drawer Engineering: Reveal vs. Inset vs. Overlay
The drawer face style defines the cabinet's outward look:
- Reveal Drawers: Designed with a slight setback between the drawer front and the side gable, creating clean shadow lines for a minimalist aesthetic.
- Slab Doors & Drawers: A single, unbroken front panel that provides an ultra-clean, modern profile. It is easy to clean and pairs well with contemporary interiors.
- Shaker Profiles: Recessed center panels that deliver timeless transitional appeal, bridging traditional trim with modern lines.
Inside the drawer, look for 5/8-inch or 1/2-inch solid wood or multi-ply sides connected with precision dovetail joints. Dovetail joints lock mechanical panels together, preventing the front face from separating when pulling a fully loaded drawer.
3. Functional Hardware and Finishes
- Slide Ratings: Drawer hardware should use under-mount, full-extension, soft-close ball-bearing slides rated for a minimum 75- to 100-pound dynamic load capacity.
- Concealed Hinges: Cabinet doors should be mounted on six-way adjustable European hinges (such as BLUM soft-close mechanisms) to allow micro-adjustments for perfect gap alignment.
- Hardware Finishes: High-touch hardware should feature durable coatings—such as matte black powder coat, satin nickel, brushed brass, or polished chrome—to resist finger oils and tarnishing.
- Integrated LED Lighting: Low-profile LED channel strips (3000K warm white to 4000K neutral daylight) routed into vertical tower gables provide shadow-free illumination across hanging rods and drawer contents.
Planning and Sizing Your Closet Space for Optimal Flow
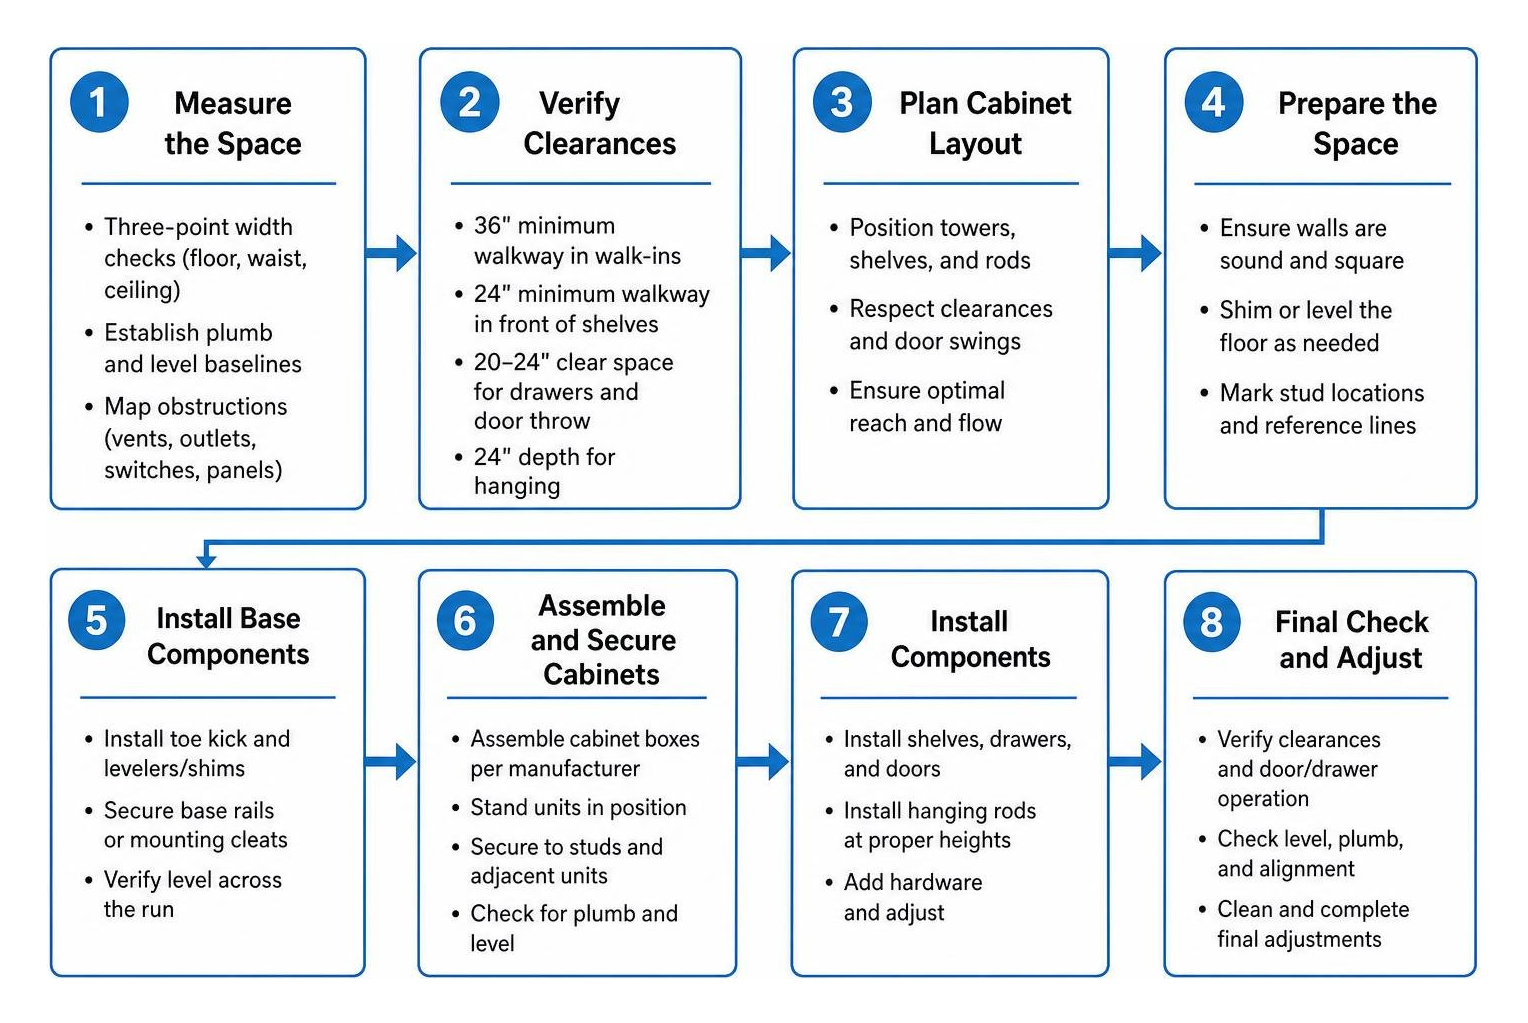
A successful closet cabinet design starts with precise measurements of your space, accounting for human clearances, door swings, and wall squareness.
Measuring the Space
- Three-Point Width Checks: Measure the horizontal width between walls at three distinct heights: near the floor, at waist height, and near the ceiling. Walls are rarely plumb; always design modular widths or custom boxes to accommodate the narrowest dimension.
- Plumb and Level Baselines: Check corner squareness with a framing square and verify the floor level. If the floor slopes, floor-mount modular towers require leveling shims or adjustable leg levelers beneath the toe kick.
- Obstruction Mapping: Note the exact locations of HVAC supply vents, return grilles, electrical outlets, light switches, baseboard heaters, and access panels.
Clearances and Egress
Maintaining clear movement pathways keeps a closet safe, functional, and easy to use. Be sure to align your layout with standard building principles and closet exit and clearance regulations to maintain adequate walkway dimensions:
- Walkway Width: Maintain a minimum 36-inch clear walkway between opposing cabinet fronts or hanging rods in walk-in layouts. In compact reach-in closets, ensure a minimum 24-inch walkway in front of open shelves.
- Drawer and Door Throw: Allow at least 20 to 24 inches of clear space in front of cabinet towers so drawers can extend fully and doors can swing open 90 degrees without bumping facing elements.
- Hanging Depths: Dedicate 24 inches of overall depth for standard wardrobe hanging to keep shirt sleeves and coat shoulders from rubbing against the back wall or projecting past the tower front.
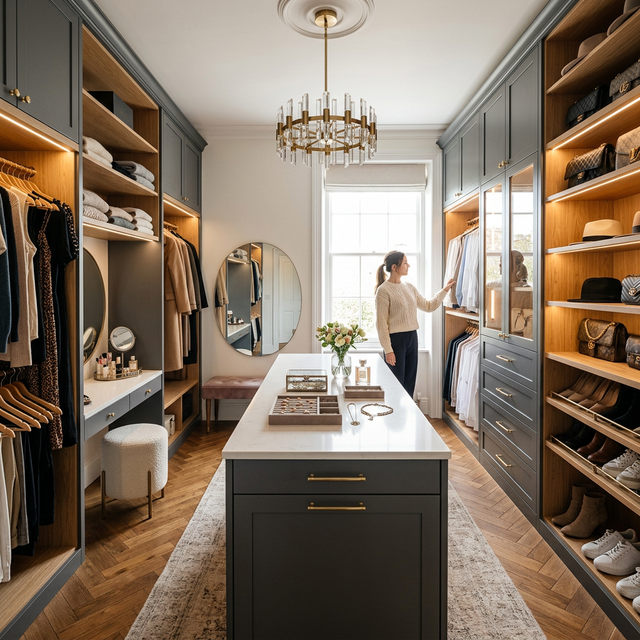
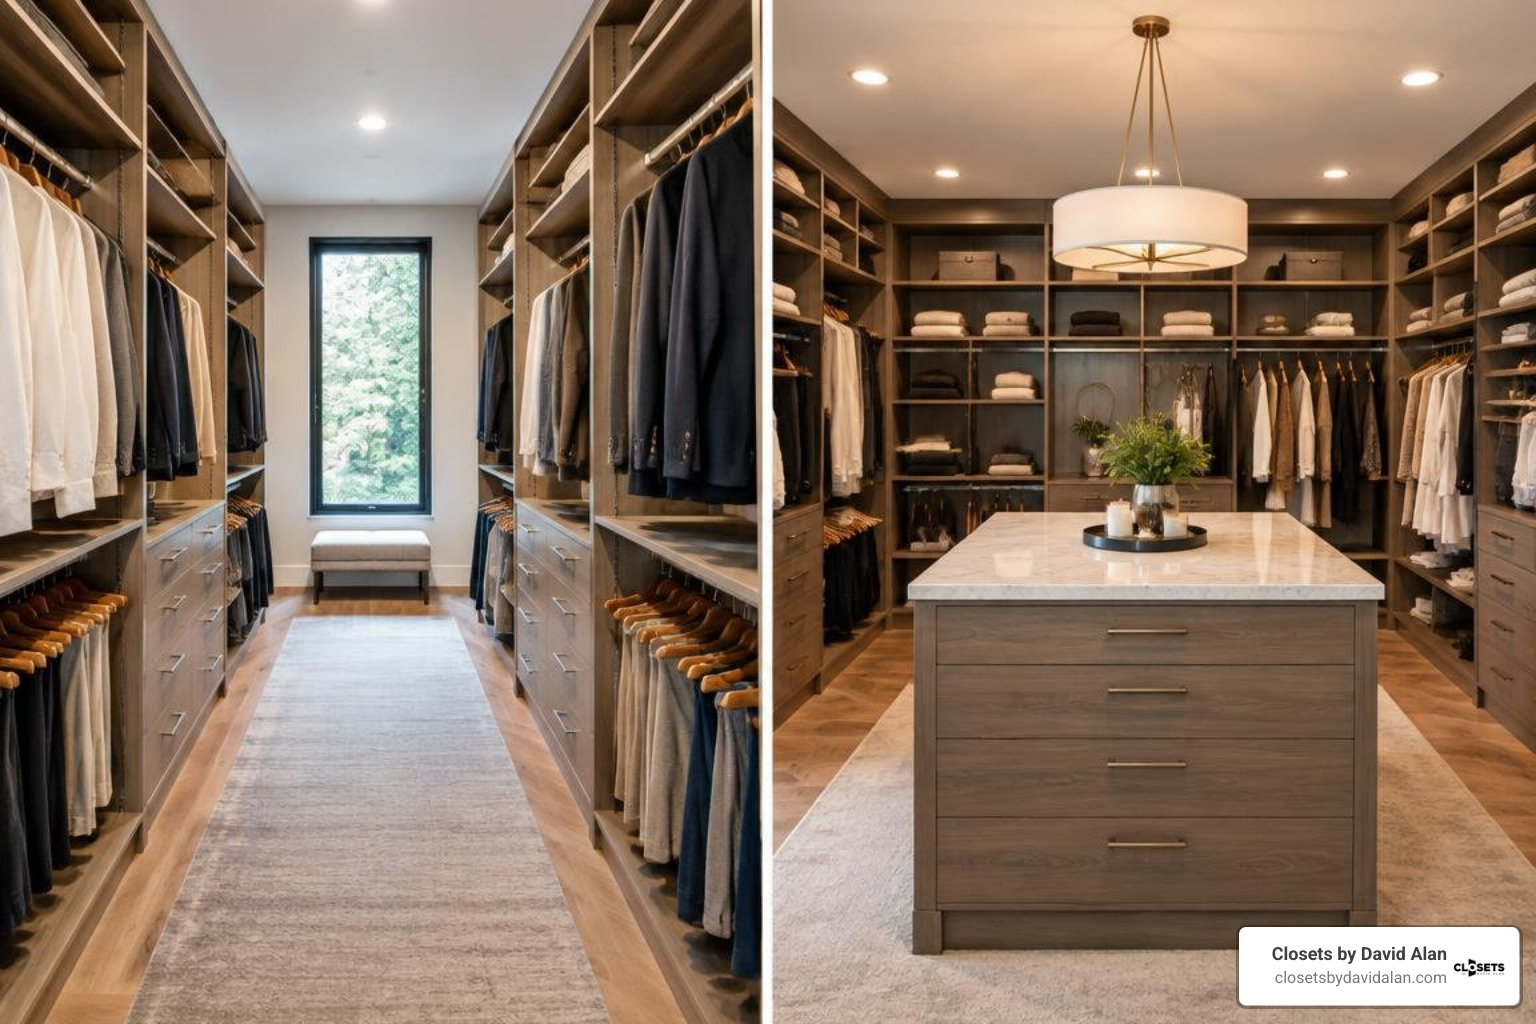
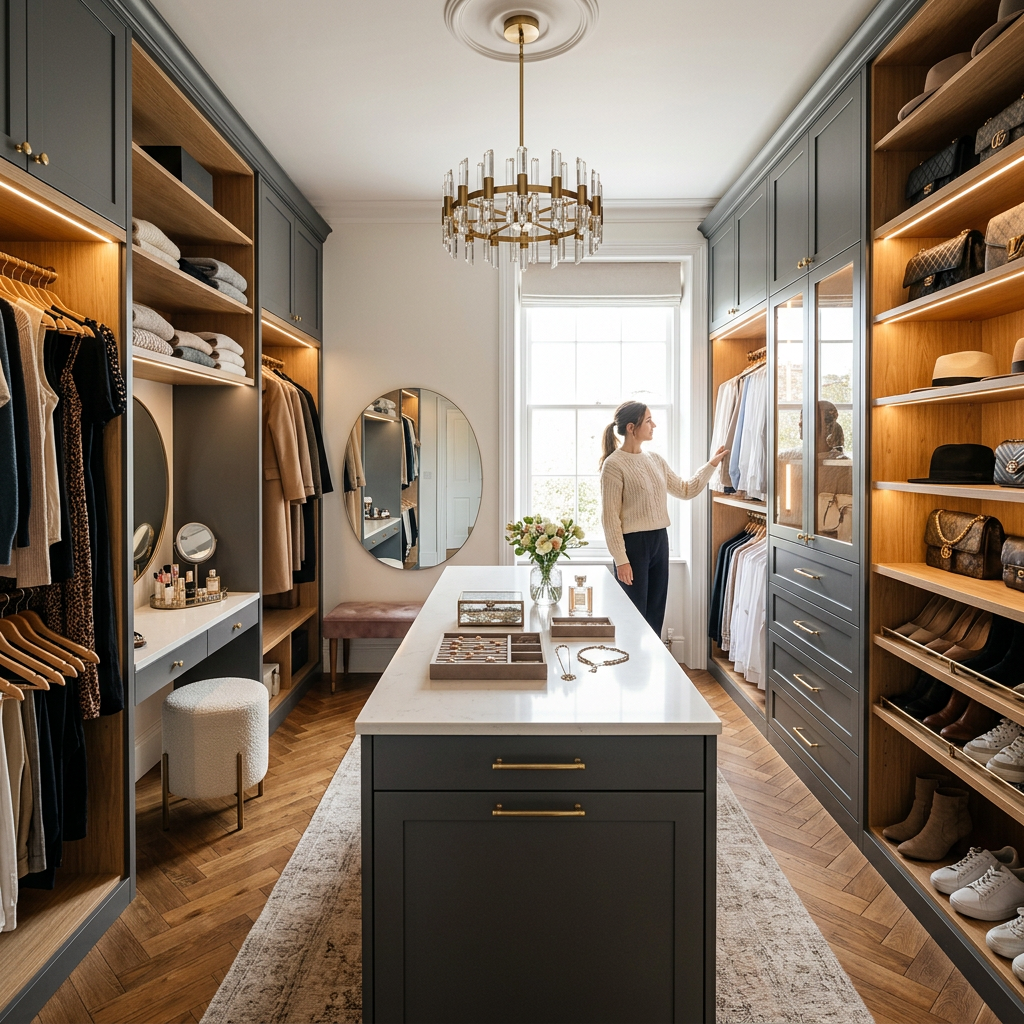
For larger spaces, explore our comprehensive collection of walk-in closet design ideas for inspiration on integrating center islands, shoe lounges, and vanity stations.
Step-by-Step Installation: Modular Setup vs. Built-In Conversion
Whether assembling a modular kit or building a recessed cabinet, following a structured workflow ensures clean lines, level shelves, and stable performance.
Required Tools and Materials Checklist
Essential Tools:
- Rotary laser level or 48-inch spirit level
- Stud finder with deep-scan capability
- Cordless drill/driver and impact driver
- Miter saw and circular saw with fine-finish blade (for built-in carpentry)
- Pocket-hole jig (for custom cabinet joinery)
- Shelf-pin drilling jig
- Brad nailer with 18-gauge fasteners
- Measuring tape and pencil
Hardware & Materials:
- 3/4-inch hardwood plywood (for built-in box)
- 1/4-inch plywood (for cabinet back panel)
- 1x3 and 1x4 select hardwood boards (for face frame and support cleats)
- Structural cabinet mounting screws (GRK or washer-head)
- Pocket hole screws (1-1/4 inch coarse thread)
- Wood glue, edge banding, and stain/clear finish
Method A: Installing a Modular Tower Kit
- Unbox and Sort Components: Lay out vertical gables, fixed horizontal shelves, drawer boxes, and hardware bags.
- Set and Level the Base: Place the bottom plinth or base tower section against the designated wall. Use a spirit level to verify level across both axes, adjusting integrated leveling feet or shims as needed.
- Assemble the Towers: Connect vertical gables using the system's tool-less snap-fit joints or cam-lock connectors. Tighten all locking pins to keep the tower square.
- Anchor to Wall Studs: Use a stud finder to locate framing members behind the towers. Drive structural cabinet screws through the upper and mid-level structural cleats directly into the centers of the studs. Never rely on hollow-wall drywall anchors for primary support.
- Install Drawers and Hardware: Click full-extension drawer slides into the pre-drilled vertical system 32mm hole patterns. Slide drawer boxes onto the tracks until the soft-close catches engage.
- Set Shelves and Wardrobe Rods: Insert metal shelf pins at your desired heights, rest flat and slanted shoe shelves securely on the pins, and mount hanging rods using end-flange brackets.
Method B: Converting an Existing Closet into a Recessed Built-In
- Demolition and Opening Prep: Remove the existing closet doors, track hardware, jamb casing, and drywall jamb extensions. Clear away all interior wire shelves and patching surfaces.
- Base Framing: Construct a solid 2x4 base platform at the bottom of the rough opening (typically 12 to 14 inches high to clear room baseboards). Fasten this base directly into the floor joists and wall plates. Cover the front face with drywall, tape the seams, and install matching baseboard trim.
- Fabricate the Cabinet Carcass: Cut 3/4-inch hardwood plywood to create the cabinet top, bottom, and side gables. Ensure the assembled carcass outer dimensions are 1/2 inch to 1-1/2 inches smaller than the rough opening to allow easy positioning within out-of-square walls. Join panels using pocket holes placed on outer faces where they will sit hidden inside the wall.
- Attach Face Frame: Build a 1x2 or 1x3 solid hardwood face frame. Fasten it to the front edges of the plywood box using pocket-hole joinery. Ensure the frame overhangs the outer box edges by 1/2 to 3/4 inch to cover the drywall cut line.
- Pre-Finish Before Installation: Sand, stain, and seal the entire cabinet carcass, face frame, shelves, and drawer fronts in your workspace. Finishing before installation avoids working in cramped closet corners and ensures smooth, even clear-coat coverage.
- Set, Level, and Fasten: Install solid 1x3 scrap wood support ledger strips level along the interior side studs of the opening. Slide the pre-finished cabinet box into the wall cavity until the overhanging face frame sits flush against the room drywall. Drive 2-1/2-inch screws through the cabinet side panels and into the wall studs, then install your adjustable shelves and drawer hardware.
Frequently Asked Questions About Closet Cabinets
How much clearance is needed between closet cabinets and doorways?
To ensure smooth movement and avoid clearance issues, maintain at least 30 to 36 inches of open space between the front of your closet cabinets and any adjacent room entry door. When an entry door swings into the closet space, ensure its travel arc clears all cabinet faces, drawer pulls, and hanging garments by at least 3 inches. For walk-in closets with an open doorway, keep a 36-inch path from the entrance through the main room corridor to meet standard residential egress guidelines.
Is tool-less modular assembly durable enough for long-term use?
Yes. Quality tool-less modular systems use heavy-duty polymer and metal snap-lock fasteners that are pre-inserted into precision CNC-machined pockets. When snapped together, these fasteners expand inside structural anchor holes to produce a tight joint that resists racking and vibration.
Combined with vertical floor-mount towers that send weight down to the floor, tool-less systems reliably support heavy loads. Premium modular kits often come backed by limited lifetime warranties that cover everyday residential use.
How do I choose between floor-mount and wall-hung modular towers?
Choose floor-mount towers if you are storing heavy items (such as folded denim, winter coats, or shoe collections), have older plaster walls, or want the built-in look of integrated toe-kicks and baseboards. Floor-mount units transfer weight directly to the subfloor, reducing dynamic pull on wall fasteners.
Choose wall-hung systems (which mount to a horizontal steel rail anchored to studs) if you want to keep the floor underneath clear for easy vacuuming, need to leave room for floor heating registers, or are working with budget constraints.
Conclusion
Upgrading your home with durable closet storage improves daily organization while adding long-term value to your living space. Whether you assemble a versatile modular kit with soft-close drawers and adjustable shelving or build a custom recessed cabinet that fits flush into an interior wall, the key is using quality materials: choose 3/4-inch structural panels, dovetail drawer joints, and smooth European hardware.
If you are ready to transform an awkward reach-in, design a primary walk-in suite, or install custom cabinetry tailored to your home's layout, our team is here to help. Explore our custom closet design and professional installation services to schedule an in-home design consultation, complete with 3D renderings and premium finishes.
Recent Posts