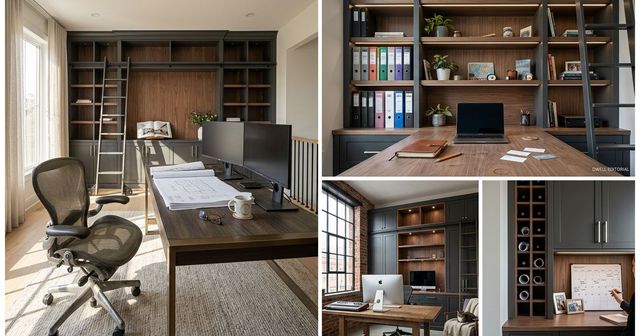
How to Build an Arch Bookshelf: 5 Methods that Guarantee Results
Planning Your Arch Bookshelf Built In: Design and Prep
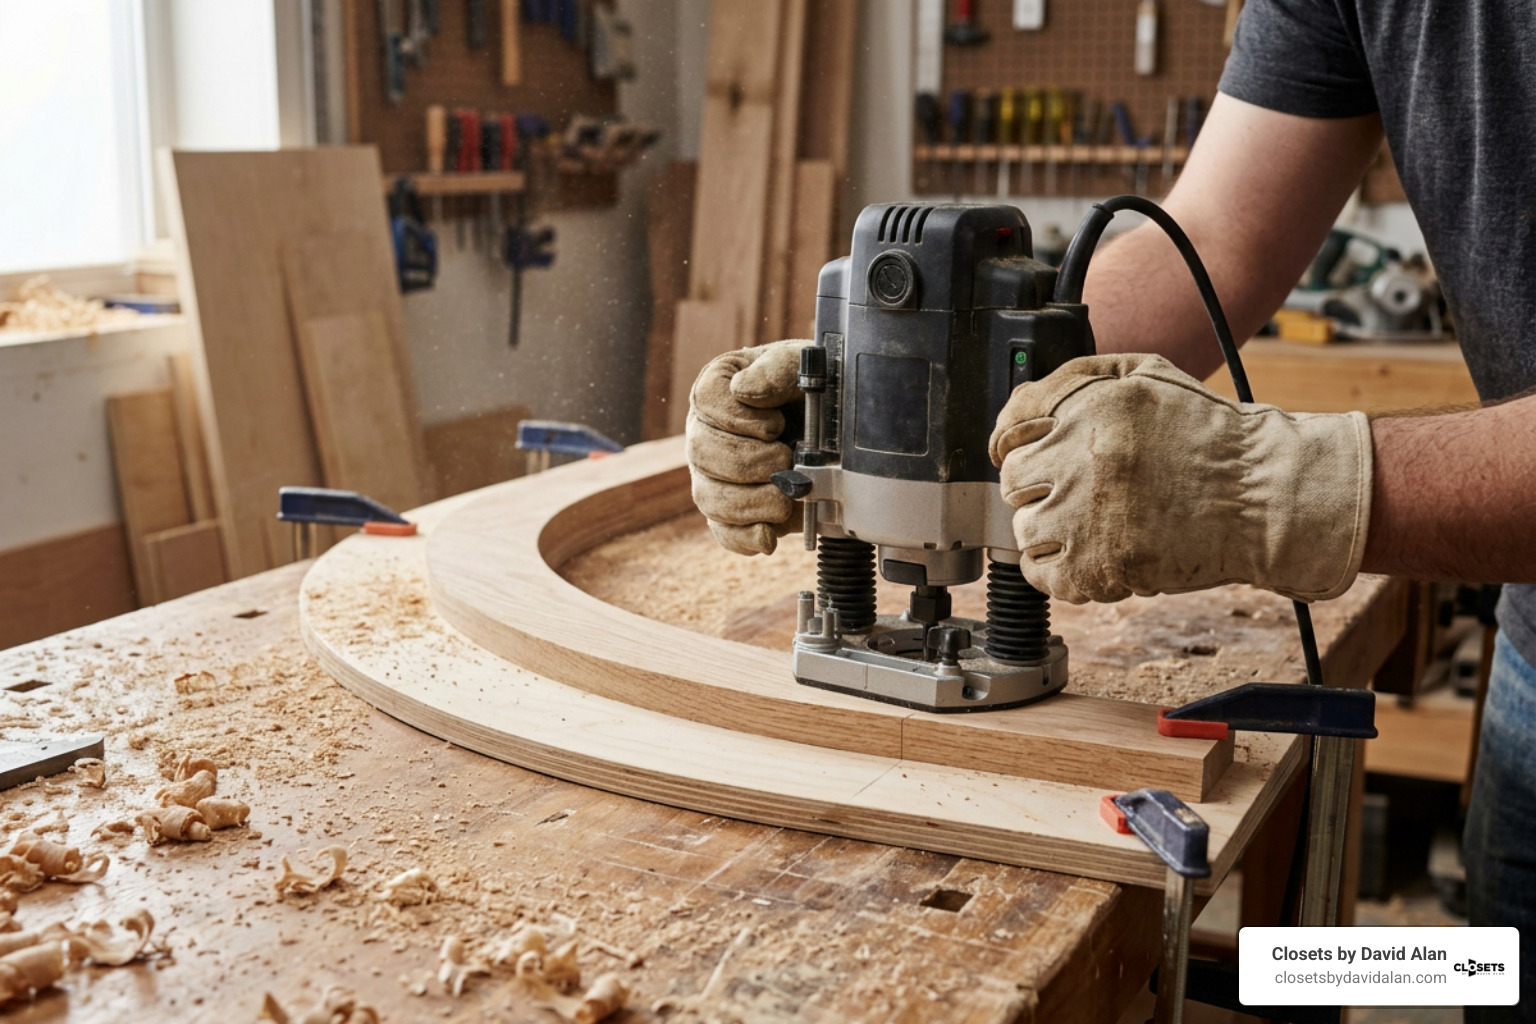
Building an arch bookshelf built in involves constructing or modifying a sturdy cabinet carcass, routing a curved arch header from cabinet-grade plywood or MDF using a template or trammel jig, assembling a matching face frame, and anchoring the structure directly into wall studs. Adding integrated lighting, seamless base and crown trim, and a high-grade paint or stain finish completes the built-in millwork look.
Before cutting your first sheet of lumber, proper site preparation determines whether your built-in looks like fine architectural millwork or an afterthought. Start by mapping your wall with laser precision. Walls, ceilings, and floors in residential homes are rarely plumb or level, especially in historic properties throughout areas like Sewickley or Shadyside.

1. Key Measurements and Clearance Checks
Take three horizontal measurements (top, middle, and bottom) and three vertical measurements (left, center, and right). Note the locations of all wall studs using a reliable deep-scan stud finder, along with electrical outlets, HVAC vents, and baseboard heat registers.
- Ceiling Height & Crown Clearance: If you have 8-foot or 9-foot ceilings, determine whether the arch apex will terminate flush beneath a continuous run of crown moulding or leave intentional negative space above the curve.
- Bookshelf Depth: Standard shelf depth ranges from 11 to 12 inches for literature and decorative objects. If you plan to incorporate lower closed cabinetry, extend the lower base depth to 16–20 inches to create a natural visual grounding ledge.
- Arch Radius Calculation: For a classic semi-circular (Roman) arch, the radius is exactly half of the unit's interior width. For example, a 36-inch wide opening requires an 18-inch radius. For wider openings or lower ceilings, a segmental arch (a shallower curve with a larger radius) provides a softer profile that avoids consuming too much vertical display room.
2. Templating the Curve
Never cut your primary building materials based purely on mental math. Use a cardboard or 1/8-inch hardboard template to test the scale directly on your wall.
You can draw a flawless curve using two dependable techniques:
- The String-and-Pencil Technique: Anchor a piece of non-stretch mason string at the center pivot point with a thumbtack, set the string length to your desired radius, attach a sharp pencil, and sweep the arc smoothly across your template material.
- The Beam Compass / Router Tracing Arm: For absolute precision down to 1/16 of an inch, mount your marking instrument onto a scrap wood strip with pre-drilled pivot holes.
Taking the time to mock up the profile allows you to evaluate proportional balance alongside existing windows, doorways, and mantels. If you prefer to bypass structural framing challenges, our team designs fully tailored custom bookcases engineered to integrate with your room's existing millwork.
5 Proven Construction Methods for Arched Built-Ins
Choosing the best construction method depends on your carpentry experience, available workshop tooling, and existing wall configuration. Here is how the primary sheet goods perform when building curved headers:
| Material Factor | 3/4" Cabinet-Grade Plywood (Birch/Oak) | 3/4" Medium-Density Fiberboard (MDF) |
|---|---|---|
| Structural Rigidity | High; holds heavy shelf loads without sagging | Moderate; requires continuous support on long spans |
| Edge Routing Quality | Crisp grain profile; requires edge-banding on curves | Highly uniform; cuts smooth but produces fine dust |
| Tear-Out Risk | Low-to-moderate across face veneers | High flaking risk if router bits are dull |
| Finishing Suitability | Exceptional for rich stains or fine lacquer paints | Excellent for smooth, grainless painted millwork |
| Moisture Resistance | Superior dimensional stability | Prone to swelling if exposed to direct water leaks |
Method 1: The Scratch-Built Arch Bookshelf Built In with Plywood and Face Frames
Building from scratch provides complete control over material quality, joinery strength, and cabinet dimensions.
- Construct the Outer Carcass: Build the cabinet box using 3/4-inch cabinet-grade birch plywood. Join the side gables, bottom shelf, and top brace using pocket-hole joinery reinforced with wood glue.
- Fabricate the Curved Header: Cut two matching face-frame arch blanks from 3/4-inch hardwood or paint-grade plywood. Rough-cut the curve 1/8-inch outside your line using a jigsaw, then clamp your template down and pass a flush-trim compression router bit over the edge for a glass-smooth radius, as detailed in classic approaches like Building an Arch Top Built In Bookshelf.
- Assemble the Face Frame: Secure the arched header to vertical 1x2 or 1x3 hardwood stiles using pocket screws driven from the back side.
- Install the Structural Backing: Nail and glue a 1/4-inch or 1/2-inch plywood back panel into a rear rabbet cut along the carcass sides. This squares the unit and prevents racking under heavy book loads.
Method 2: The Semi-Custom Arch Bookshelf Built In Using Modular Cabinets
For a balance of speed and structural consistency, you can transform flat-pack modular units into high-end architectural built-ins.
- Assemble and Extend the Carcass: Set up your base modular shelving units side by side. If your room features taller ceilings, attach matching vertical height extensions.
- Build a 2x4 Sub-Base and Frame: Set the units atop a level 2x4 timber platform to raise the bottom shelves above your room's baseboard profile. Fasten the individual cabinet sides together using connector bolts or 1-1/4-inch cabinet screws.
- Cut and Apply Arch Overlays: Cut arched headers from 1/2-inch MDF sheets matching the exact internal width of each modular opening. Fasten these curved headers to the upper cabinet frames using 18-gauge brad nails and construction adhesive. This popular technique—often adapted from creative transformations like the DIY Arched Bookshelves (IKEA Billy hack) —allows builders to achieve high-end built-in geometry on a practical budget.
- Fill and Blend Seams: Fill all pre-drilled shelf peg holes you do not plan to use with wood filler, apply paintable caulk along every joint, and bridge the outer perimeter with vertical filler strips.
Method 3: Drywall and Framing Alcove Arch Construction
If your room already features an unused drywall niche, or if you are framing a wall around a fireplace, forming the arch directly with drywall and structural framing yields a continuous, plaster-smooth finish.
- Frame the Rough Opening: Install vertical 2x4 timber studs and cut curved horizontal framing ribs from 3/4-inch plywood to define the upper arch profile.
- Mount Drywall and Flexible Arch Bead: Hang 1/2-inch drywall across the face. For the inner curve, score the back side of 1/4-inch drywall (or use flexible gypsum board) and screw it into the framing ribs. Install a vinyl arch corner bead along the curve.
- Mud, Tape, and Sand: Apply three coats of joint compound across the bead, feathering the edges 8 to 12 inches into the adjacent wall surface. Sand progressively with 120-grit and 220-grit screens.
- Insert Custom Shelving: Mount interior shelf cleats directly into the wall studs, or build a floating interior wood insert to add warm wood tones inside the painted drywall niche.
Method 4: Segmented Hardwood Arch with Precision Router Templates
For estate homes in neighborhoods like Fox Chapel or Upper St. Clair where clear-grain hardwoods are preferred over painted trim, a segmented solid-wood arch provides a refined look.
- Miter Matching Arch Segments: Instead of cutting a wide arch from a massive single slab (which exposes weak end-grain), cut three to five solid hardwood segments (such as walnut or white oak) with matching mitered end joints.
- Join with Floating Tenons and Epoxy: Cut mortises into each joint using a Festool Domino or biscuit joiner. Assemble the segments using structural epoxy or polyurethane wood glue, clamping across the assembly with custom angle blocks.
- Router Template Shaping: Fasten a master curved template over the rough-cut segmented piece and run a heavy-duty router table bit to shape the inner and outer radii. The continuous grain direction around the curve yields structural integrity and furniture-grade aesthetics.
Method 5: Freestanding Cabinet Conversion for Low Ceilings or Rental Spaces
When structural wall alterations are restricted, converting freestanding arched bookcases into a pseudo-built-in setup offers flexibility without permanent property modifications.
- Select Matching Arched Units: Source two or three freestanding tall arched units designed with flush outer sides.
- Level and Gang Units Together: Position the cabinets flush side-by-side along the target wall. Use leveling shims beneath the base plinths to ensure level alignment across all units, then clamp the side gables and drive connector screws through the internal sides to unify them into a single visual bank.
- Add Removable Perimeter Trim: Attach a continuous, color-matched base trim across the front bottom gap using light brad nails that can be removed later.
- Anchor to Wall Studs: Secure the tops of each unit directly into wall framing using heavy-duty L-brackets or anti-tip safety cables hidden behind the top face trim. This approach is ideal for organizing a flexible home office without opening up drywall.
Integrating Lower Storage, Trim, and Concealed Lighting
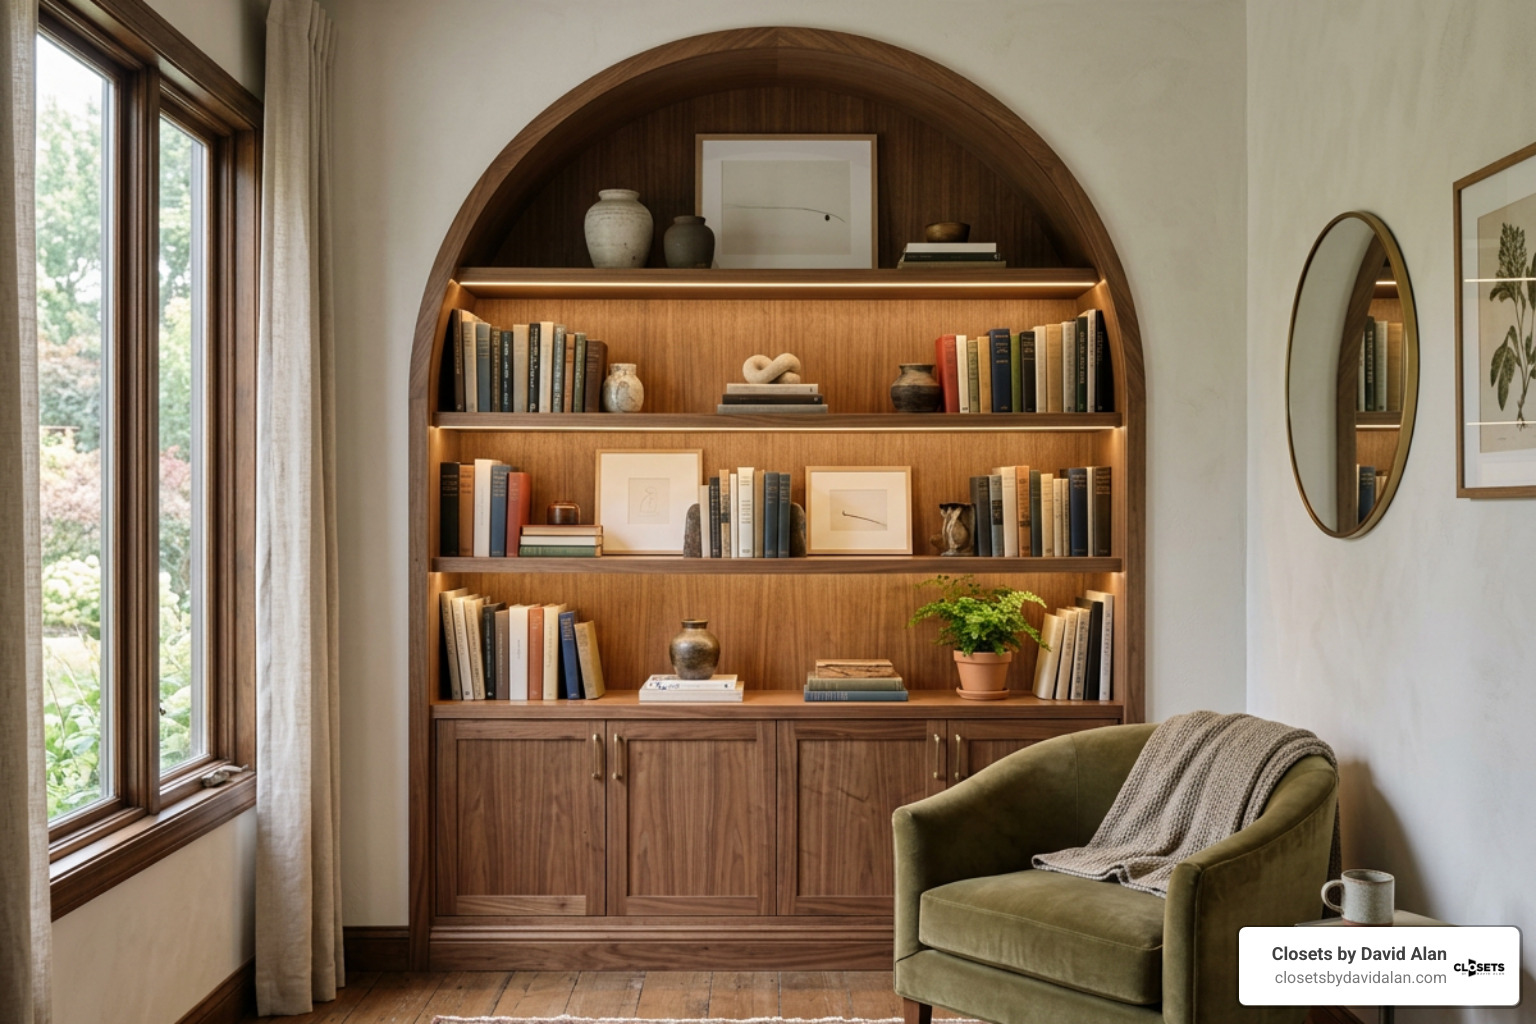
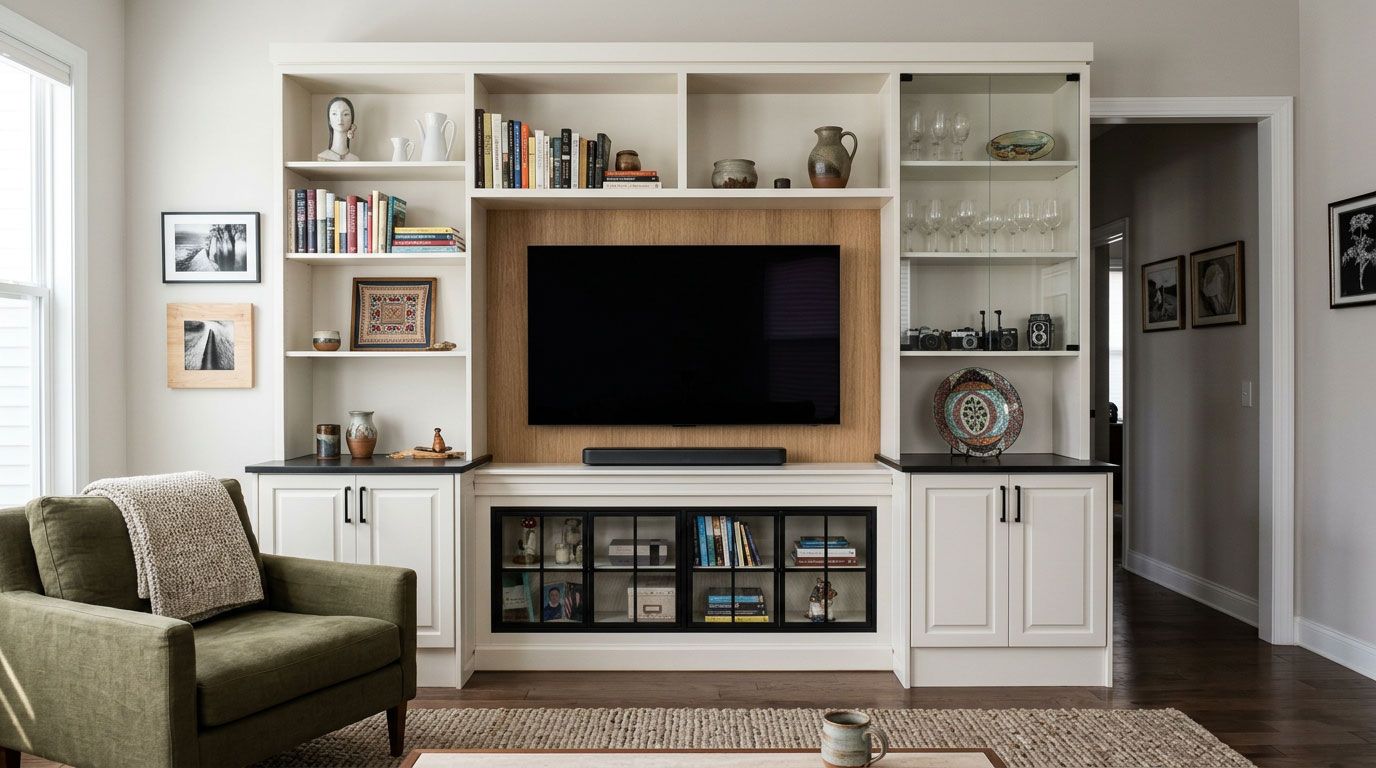
A well-designed built-in balances open display room with practical, concealed storage. Integrating lower cabinetry keeps daily clutter tucked away while highlighting your favorite literature and decor above.
Building Lower Cabinets and Drawers
- Cabinet Doors: Incorporate shaker, flat-panel, or modern fluted doors across the bottom 30 to 36 inches of the unit. Hang them on fully adjustable, soft-close Euro-style concealed hinges.
- Drawer Construction: Fabricate drawer boxes using 5/8-inch or 1/2-inch pre-finished Baltic birch plywood assembled with pocket holes or dovetail joinery. Mount them on full-extension, soft-close, under-mount drawer glides rated for at least 75 lbs.
Trim Continuity
To make the unit look original to the home, carry the room’s existing architectural millwork directly onto the bookcase face:
- Baseboards: Run your baseboard and shoe moulding continuously around the bottom plinth.
- Crown Moulding: Terminate the top perimeter with matching crown trim, bridging the transition between bookcase framing and the ceiling.
Concealing Architectural LED Lighting
Integrated accent lighting elevates custom built-ins from simple storage to a design centerpiece.
- Trim Overhang: Allow the vertical face frame stiles and arched header to overhang the interior cabinet walls by 3/4-inch to 1 inch. This creates a concealed recess along the interior face.
- Diffused Channels: Mount low-profile aluminum LED channels equipped with milky-white frosted diffusers into this recessed lip or rout shallow channels beneath the forward edge of each shelf.
- Color Temperature: Choose warm white LED tape (2700K to 3000K) with a high Color Rendering Index (CRI 90+) to bring out the natural tones of book covers, pottery, and wood grain without harsh glare.
If you are planning comprehensive home updates, exploring tailored storage for all your custom spaces ensures matching design continuity from room to room.
Finishing, Wall Anchoring, and Architectural Styling
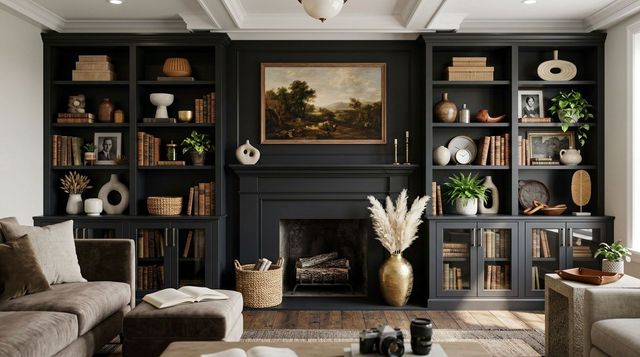
Preparation and Painting/Staining
Achieving a smooth, factory-grade finish requires proper prep work:
- Sanding Sequence: Sand all wood surfaces sequentially with 120-grit, 150-grit, and finally 220-grit sandpaper using a random orbital sander. Hand-sand the curved arch profiles along the direction of the wood grain.
- Sealing MDF Edges: If using MDF for the arch, seal cut edges with drywall spackle, shellac-based primer, or dedicated edge filler to prevent the porous core from soaking up topcoats unevenly.
- Application: Apply a stain-blocking bonding primer, followed by two topcoats of premium cabinet and trim enamel (satin or semi-gloss) using an airless HVLP sprayer or a short-nap microfiber roller tipped off with a fine synthetic brush.
Safe Wall Anchoring
Tall built-ins carry significant weight when loaded with books. Safe installation is essential:
- Locate wall studs behind the unit using a stud finder.
- Fasten a horizontal 2x4 ledger cleat to the wall studs using 3-inch structural wood screws.
- Anchor the upper rear cabinet frame directly into this ledger.
- For added safety in homes with children, install heavy-duty anti-tip bracket hardware rated for multi-point load distribution.
Curated Styling Tips
Once installed, style your arched shelves to celebrate their curved architecture:
- Embrace the Arch Apex: Place a single prominent statement piece—such as an oversized ceramic vase, a sculptural bust, or an organic urn—directly beneath the center of the arch to draw the eye upward.
- Vary Book Orientations: Alternate between vertical rows supported by stone bookends and horizontal stacks topped with small decorative brass accents.
- Incorporate Negative Space: Keep roughly 25% to 30% of each shelf open to avoid visual crowding.
- Add Natural Elements: Place trailing greenery (like a pothos or string of pearls) on upper shelves to contrast against straight architectural lines.
Frequently Asked Questions About Arched Bookcases
How do I calculate the correct arch radius for my bookshelf opening?
For a standard half-circle (Roman) arch, divide the total interior width of the cabinet opening by two ($Radius = Width / 2$). If your bookcase opening is 32 inches wide, your radius is 16 inches. For a shallower segmented arch across a wide span, use the chord formula:
$$Radius = \frac{H}{2} + \frac{W^2}{8H}$$
(Where $W$ is the total opening width and $H$ is the desired rise or height of the arch at its center apex).
What is the best material for cutting smooth arch headers: MDF or plywood?
Cabinet-grade hardwood plywood (such as birch or maple) is best if you want structural strength and crisp edges that won't flake. Medium-density fiberboard (MDF) is a budget-friendly alternative for painted projects because it lacks grain texture, though its edges require thorough sealing and careful dust management during routing.
How do I safely anchor a tall arched built-in unit to drywall?
Never rely on standard plastic drywall anchors for tall cabinetry. Always fasten through the cabinet's structural rear nailer strip directly into solid wall framing studs using 3-inch or 3.5-inch cabinet screws with washer heads. If studs do not align with cabinet corners, mount a recessed 2x4 backing cleat securely between the wall studs during initial framing.
Conclusion
An arched built-in bookshelf brings architectural character, visual softness, and functional storage to any room. Whether you build from scratch with cabinet-grade hardwood, frame an alcove with drywall curves, or convert modular cabinets with custom trim, careful prep work and accurate templating make all the difference.
If you are looking for a completely tailored, turnkey storage solution without handling the carpentry yourself, our team at Closets by David Alan is here to help. We design, build, and install custom millwork, bookcases, and high-end organizational systems tailored to your home and lifestyle. Contact us today to schedule your design consultation and bring your vision to life.
Recent Posts